The other day I was setting up my new Nomad computer and it occurs to me how much stuff stands between “turn it on” and “I’m ready to start controlling and programming lighting.” It’s fairly well known that ETC consoles that run EOS are actually conventional PC computers inside a custom face-panel with a special version of Microsoft Windows that’s been stripped of anything extraneous designed to be used inside of dedicated devices like cash registers, automatic teller machines, and digital signage. After embarking on a journey to see if I could get hold of the same Windows IoT that’s installed in EOS consoles, I found that Microsoft really doesn’t want anyone other than big corporations from having it. So I set off trying to do the next best thing.
After a bit of experimentation and several re-installs I have assembled this guide which is an amalgamation of a few scattered tips and tricks. Some of which I would find useful on any Windows system and some are specialized at making the system feel more like a console. Insert all the usual disclaimers concerning proceeding at your own risk if your computer explodes and starts a fire that spreads to burn down an orphanage, don’t came after me.
Use Windows Professional
Microsoft releases multiple versions of Windows for different use cases. Broadly the versions are centrally managed versions like Enterprise and Education designed to connect to central server and adopt organizational policies like automatic updates and restrictions that protect the organization from losing trade secrets or breaches of privacy and non-managed versions of Windows are Widows Home and Windows Professional. In my opinion, Both Windows Home and Windows Professional are targeted to consumers. Windows Professional just Windows Home with a few extra bells and whistles and greater customizing opportunities. These customizing opportunities make Windows Professional the idea choice for an EOS dedicated computer.
Erase The Entire Computer
After all is said and done, the only thing you should use this computer for is running EOS. This section assumes you’re repurposing an old computer. If you’ve got a brand new computer, skip to the next section.
Reset PC
This is going to erase everything. If you have precious family photos or tax documents on the computer you’re going to use, transfer those to another computer. Then, use one of two methods to re-install Windows. The first version is to use the built-in “Reset this PC” system found in the recovery windows of the Settings application. On Windows 10, it looks like this.
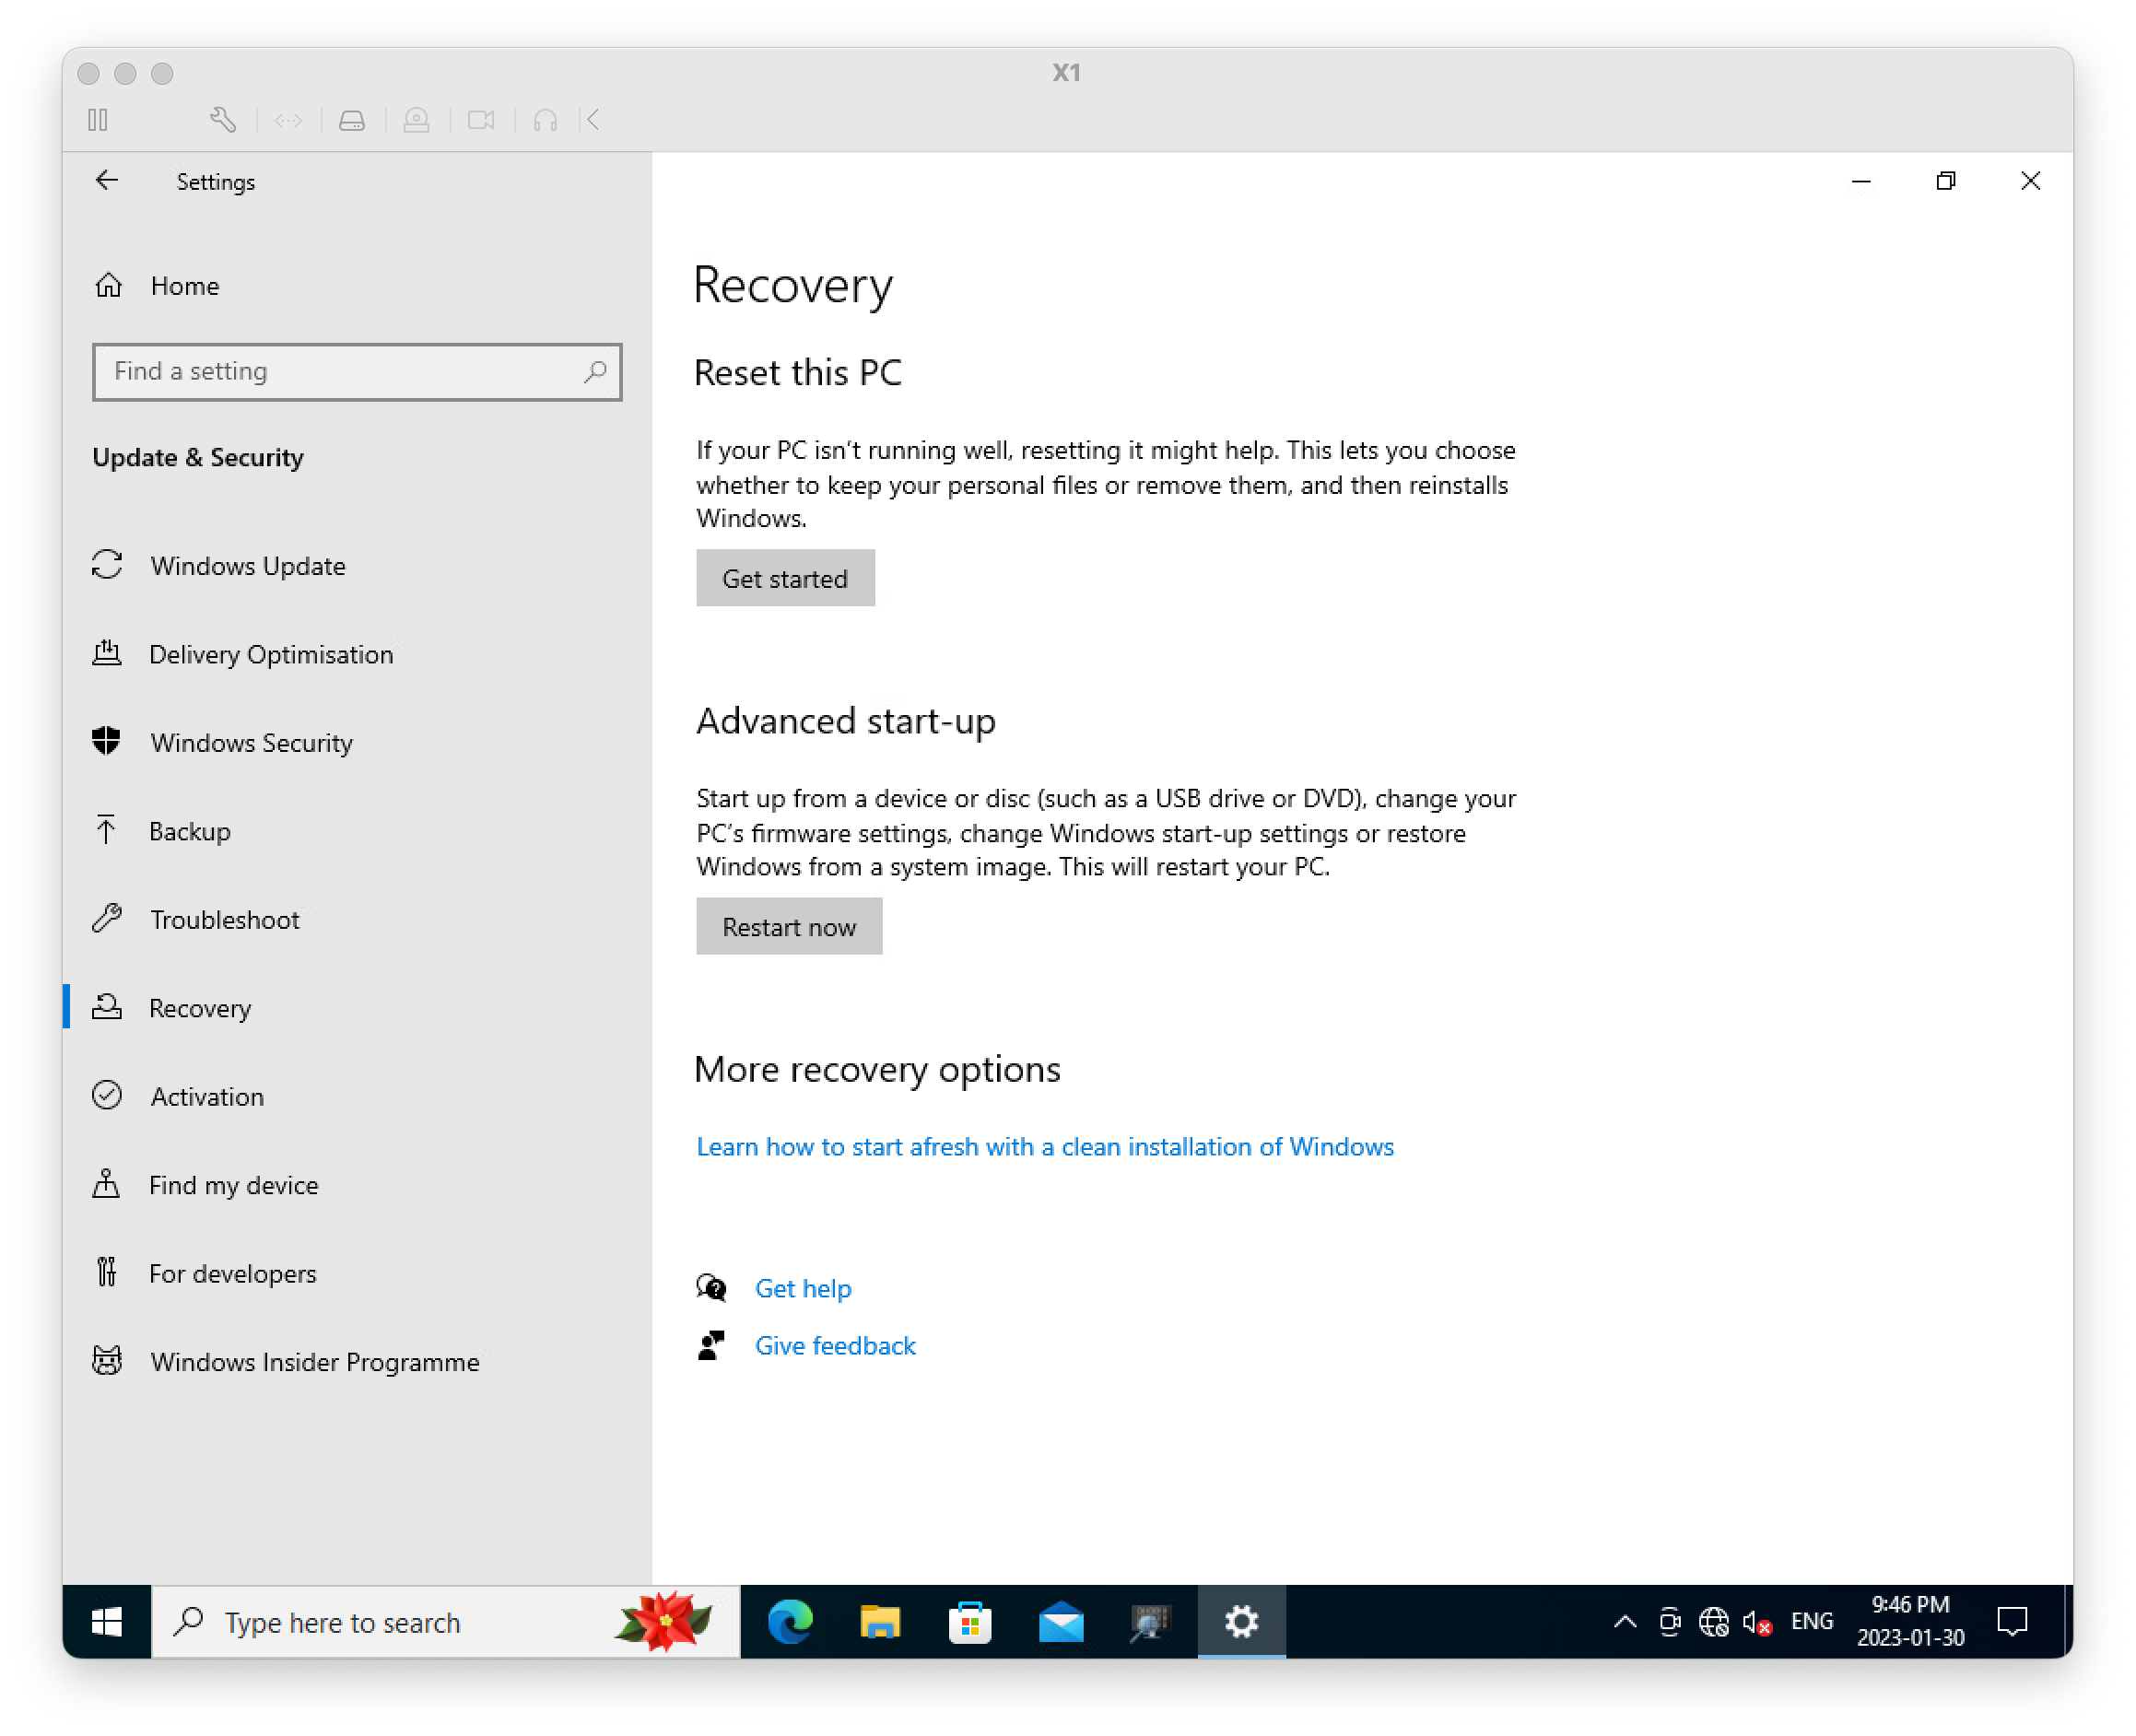
Pressing “Reset PC” will then ask if you want to “Keep my files” or “Remove everything.” Removing everything will reset the system back to new just like it was when you bought it. If prompted for a “cleaning” erase, declining that is a sensible choice that since you’re not giving the computer away. After the final confirmation screen, it will start delete everything and re-install Windows. It may need to communicate with Microsoft servers so having an external network connection is helpful at this phase. That said, make sure you disconnect from the network when it reboots.
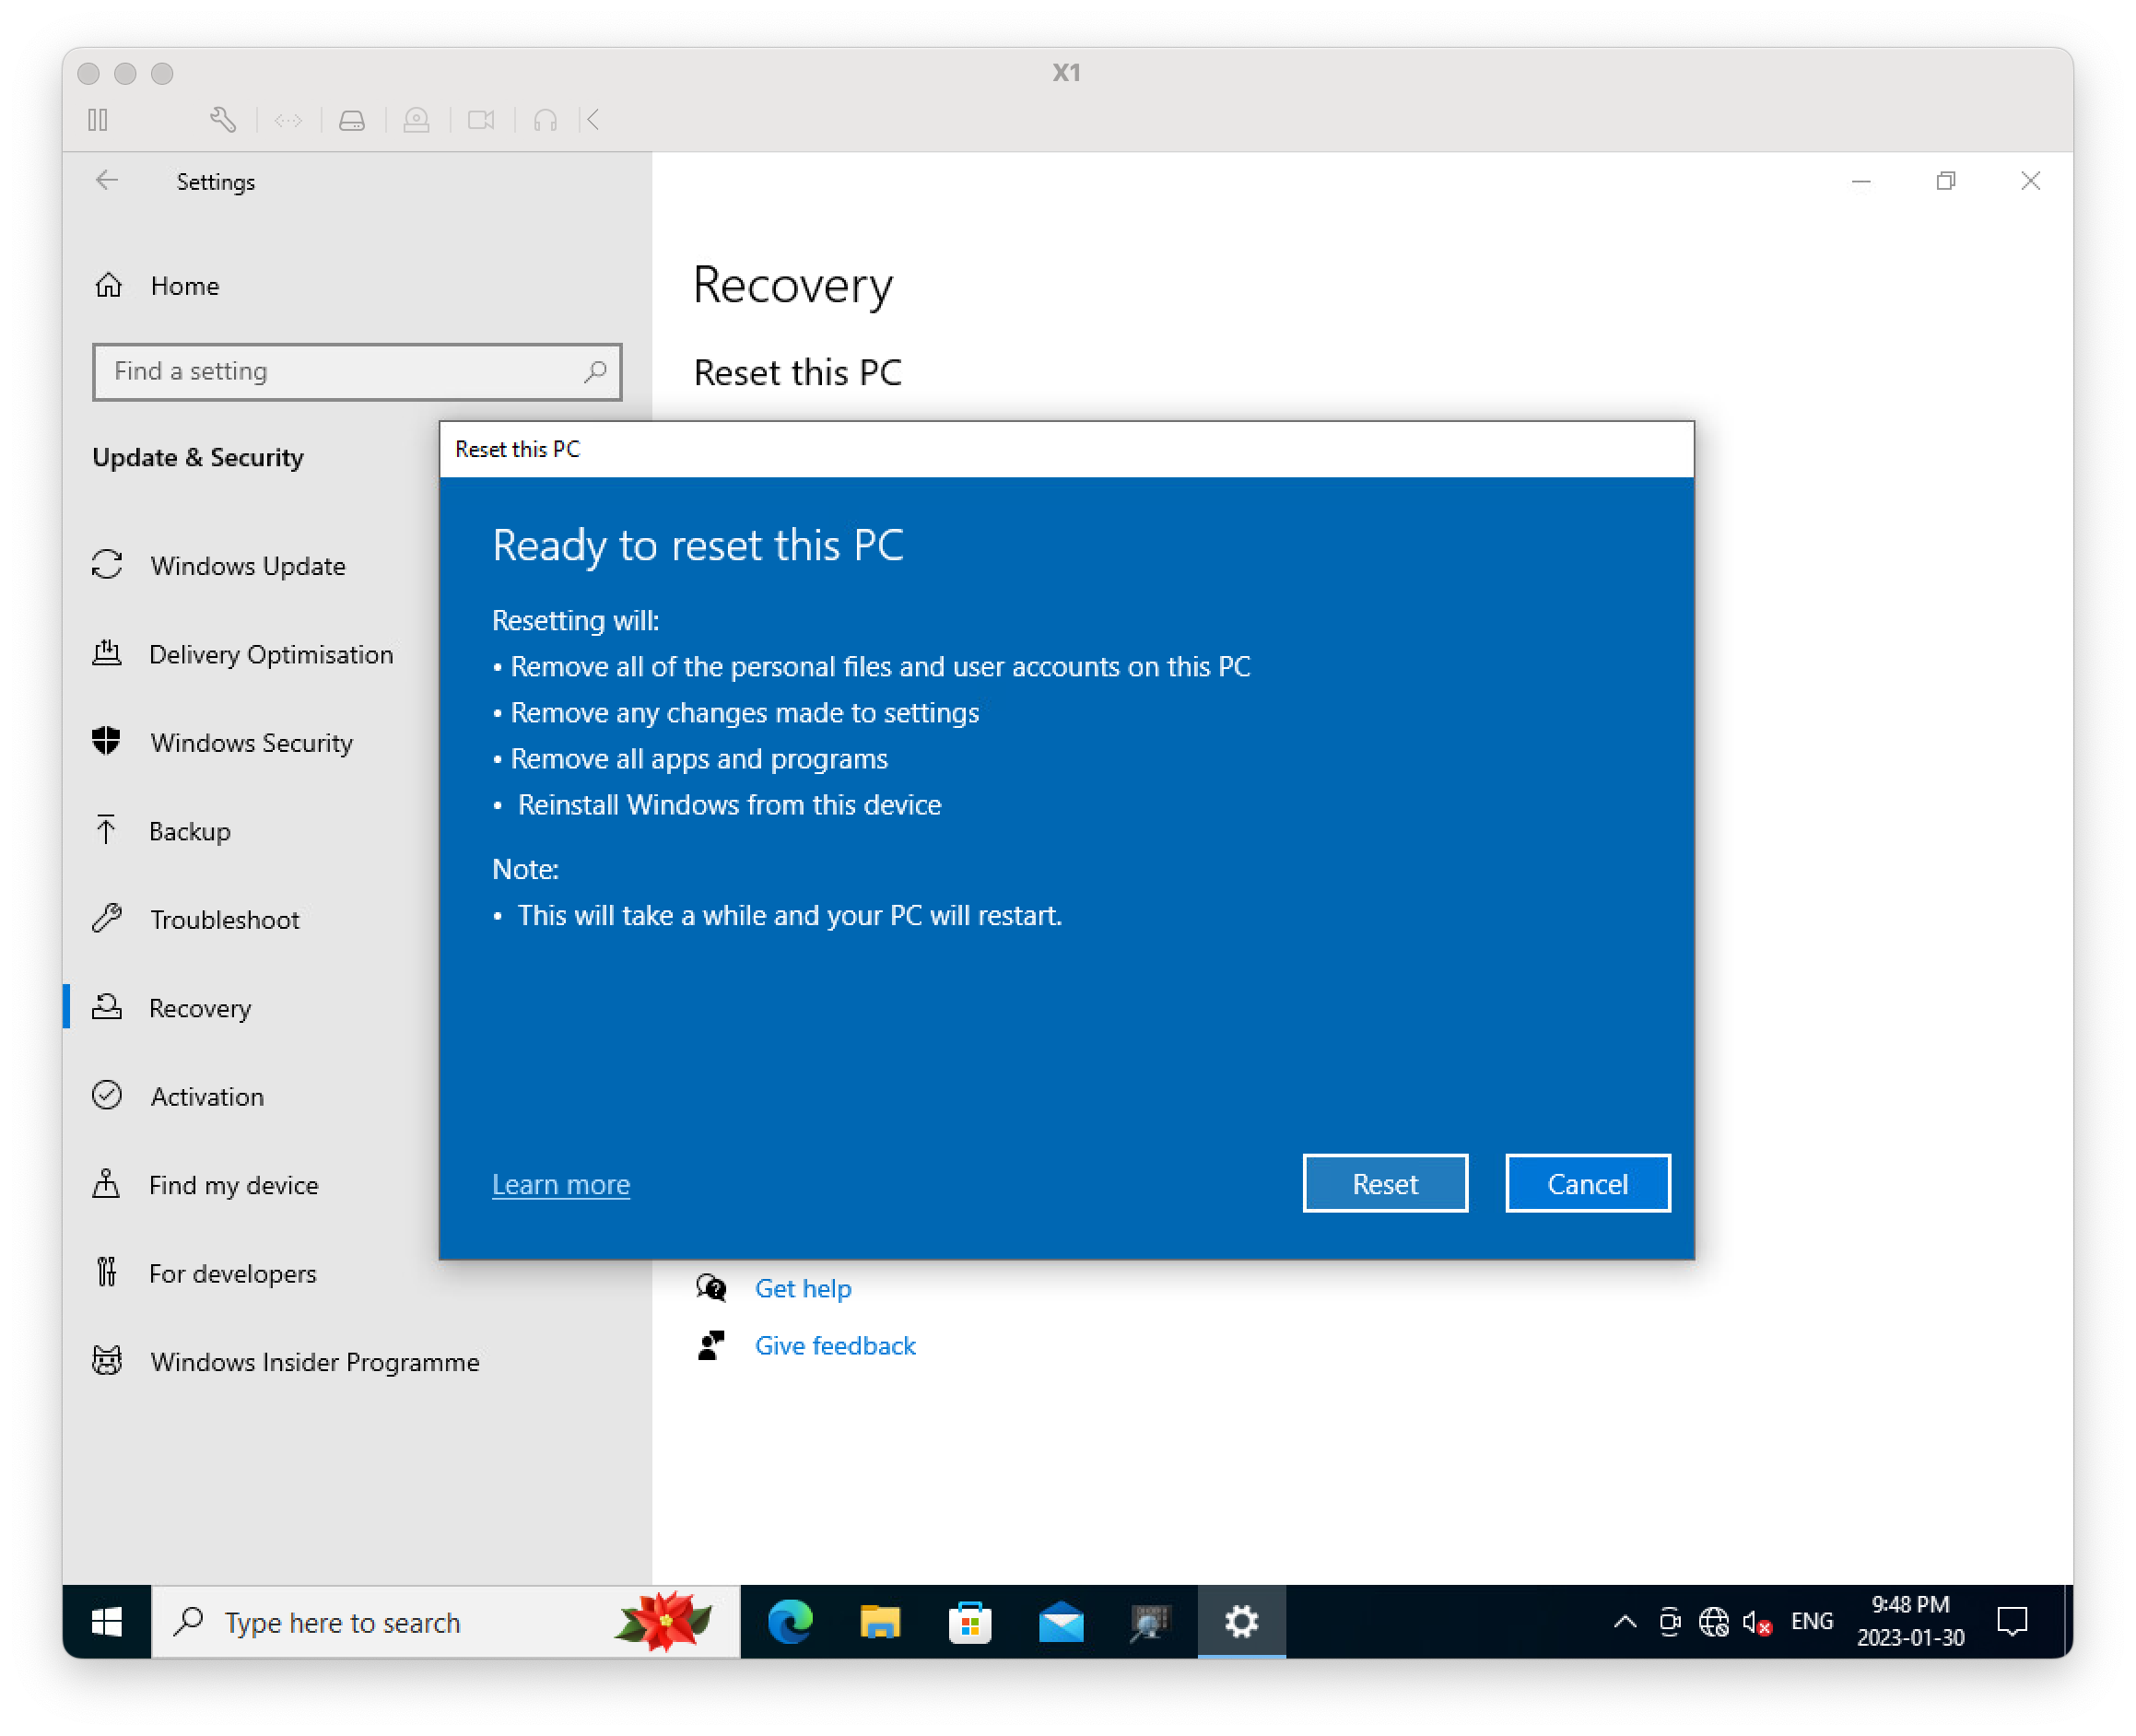
This will take a while. After the system resets, unplug the network cable. Just ahead to the Out Of Box Experience section.
USB Install
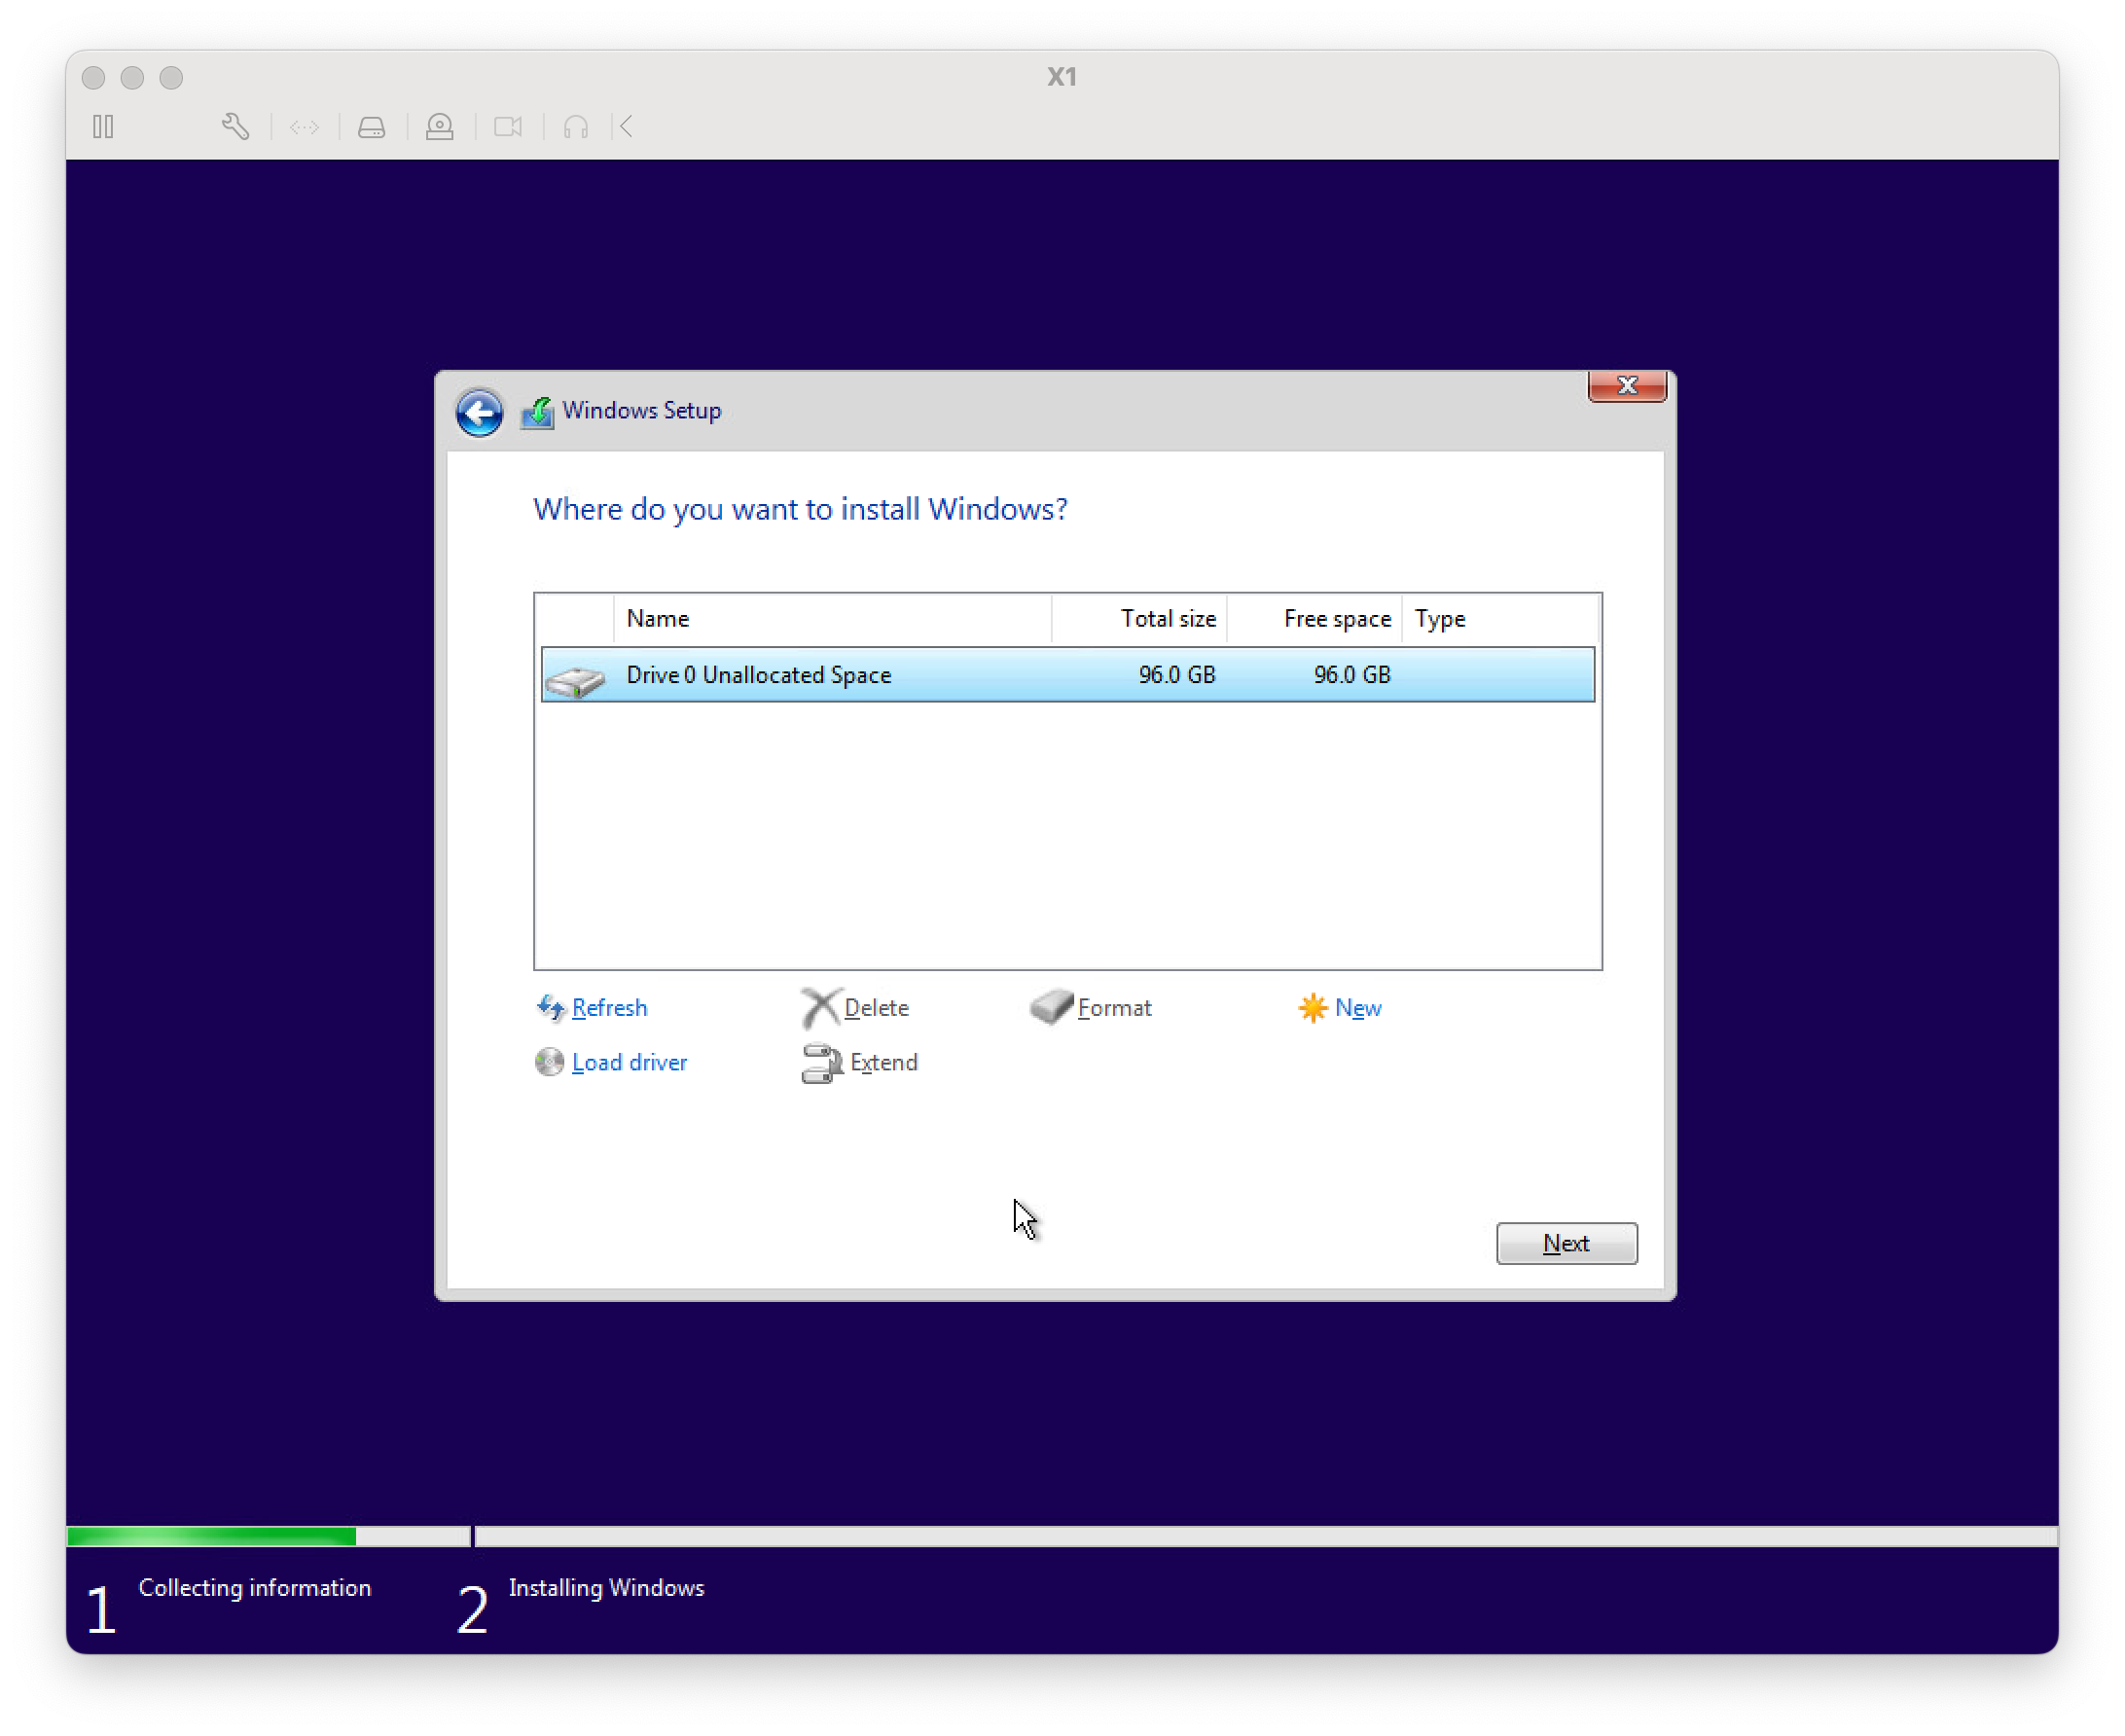
After booting from the thumb drive, delete any existing partitions. This WILL erase all data on the hard drive. The
The Out Of Box Experience
Don’t plug in the network cable or remove it if you did.
The Out Of Box Experience (OOBE) is what Microsoft calls the first boot of a Windows system. This initial system setup asks the user about preferred language, network settings, initial account. Microsoft assumes you’re going to use this computer for consumer tasks like email, reminders, web surfing, video games, music and will steer the setup towards using Microsoft features like One Drive and a Microsoft account that can synchronize settings across multiple devices. Over the years, Microsoft have been making it more and more difficult to avoid using a Microsoft account.
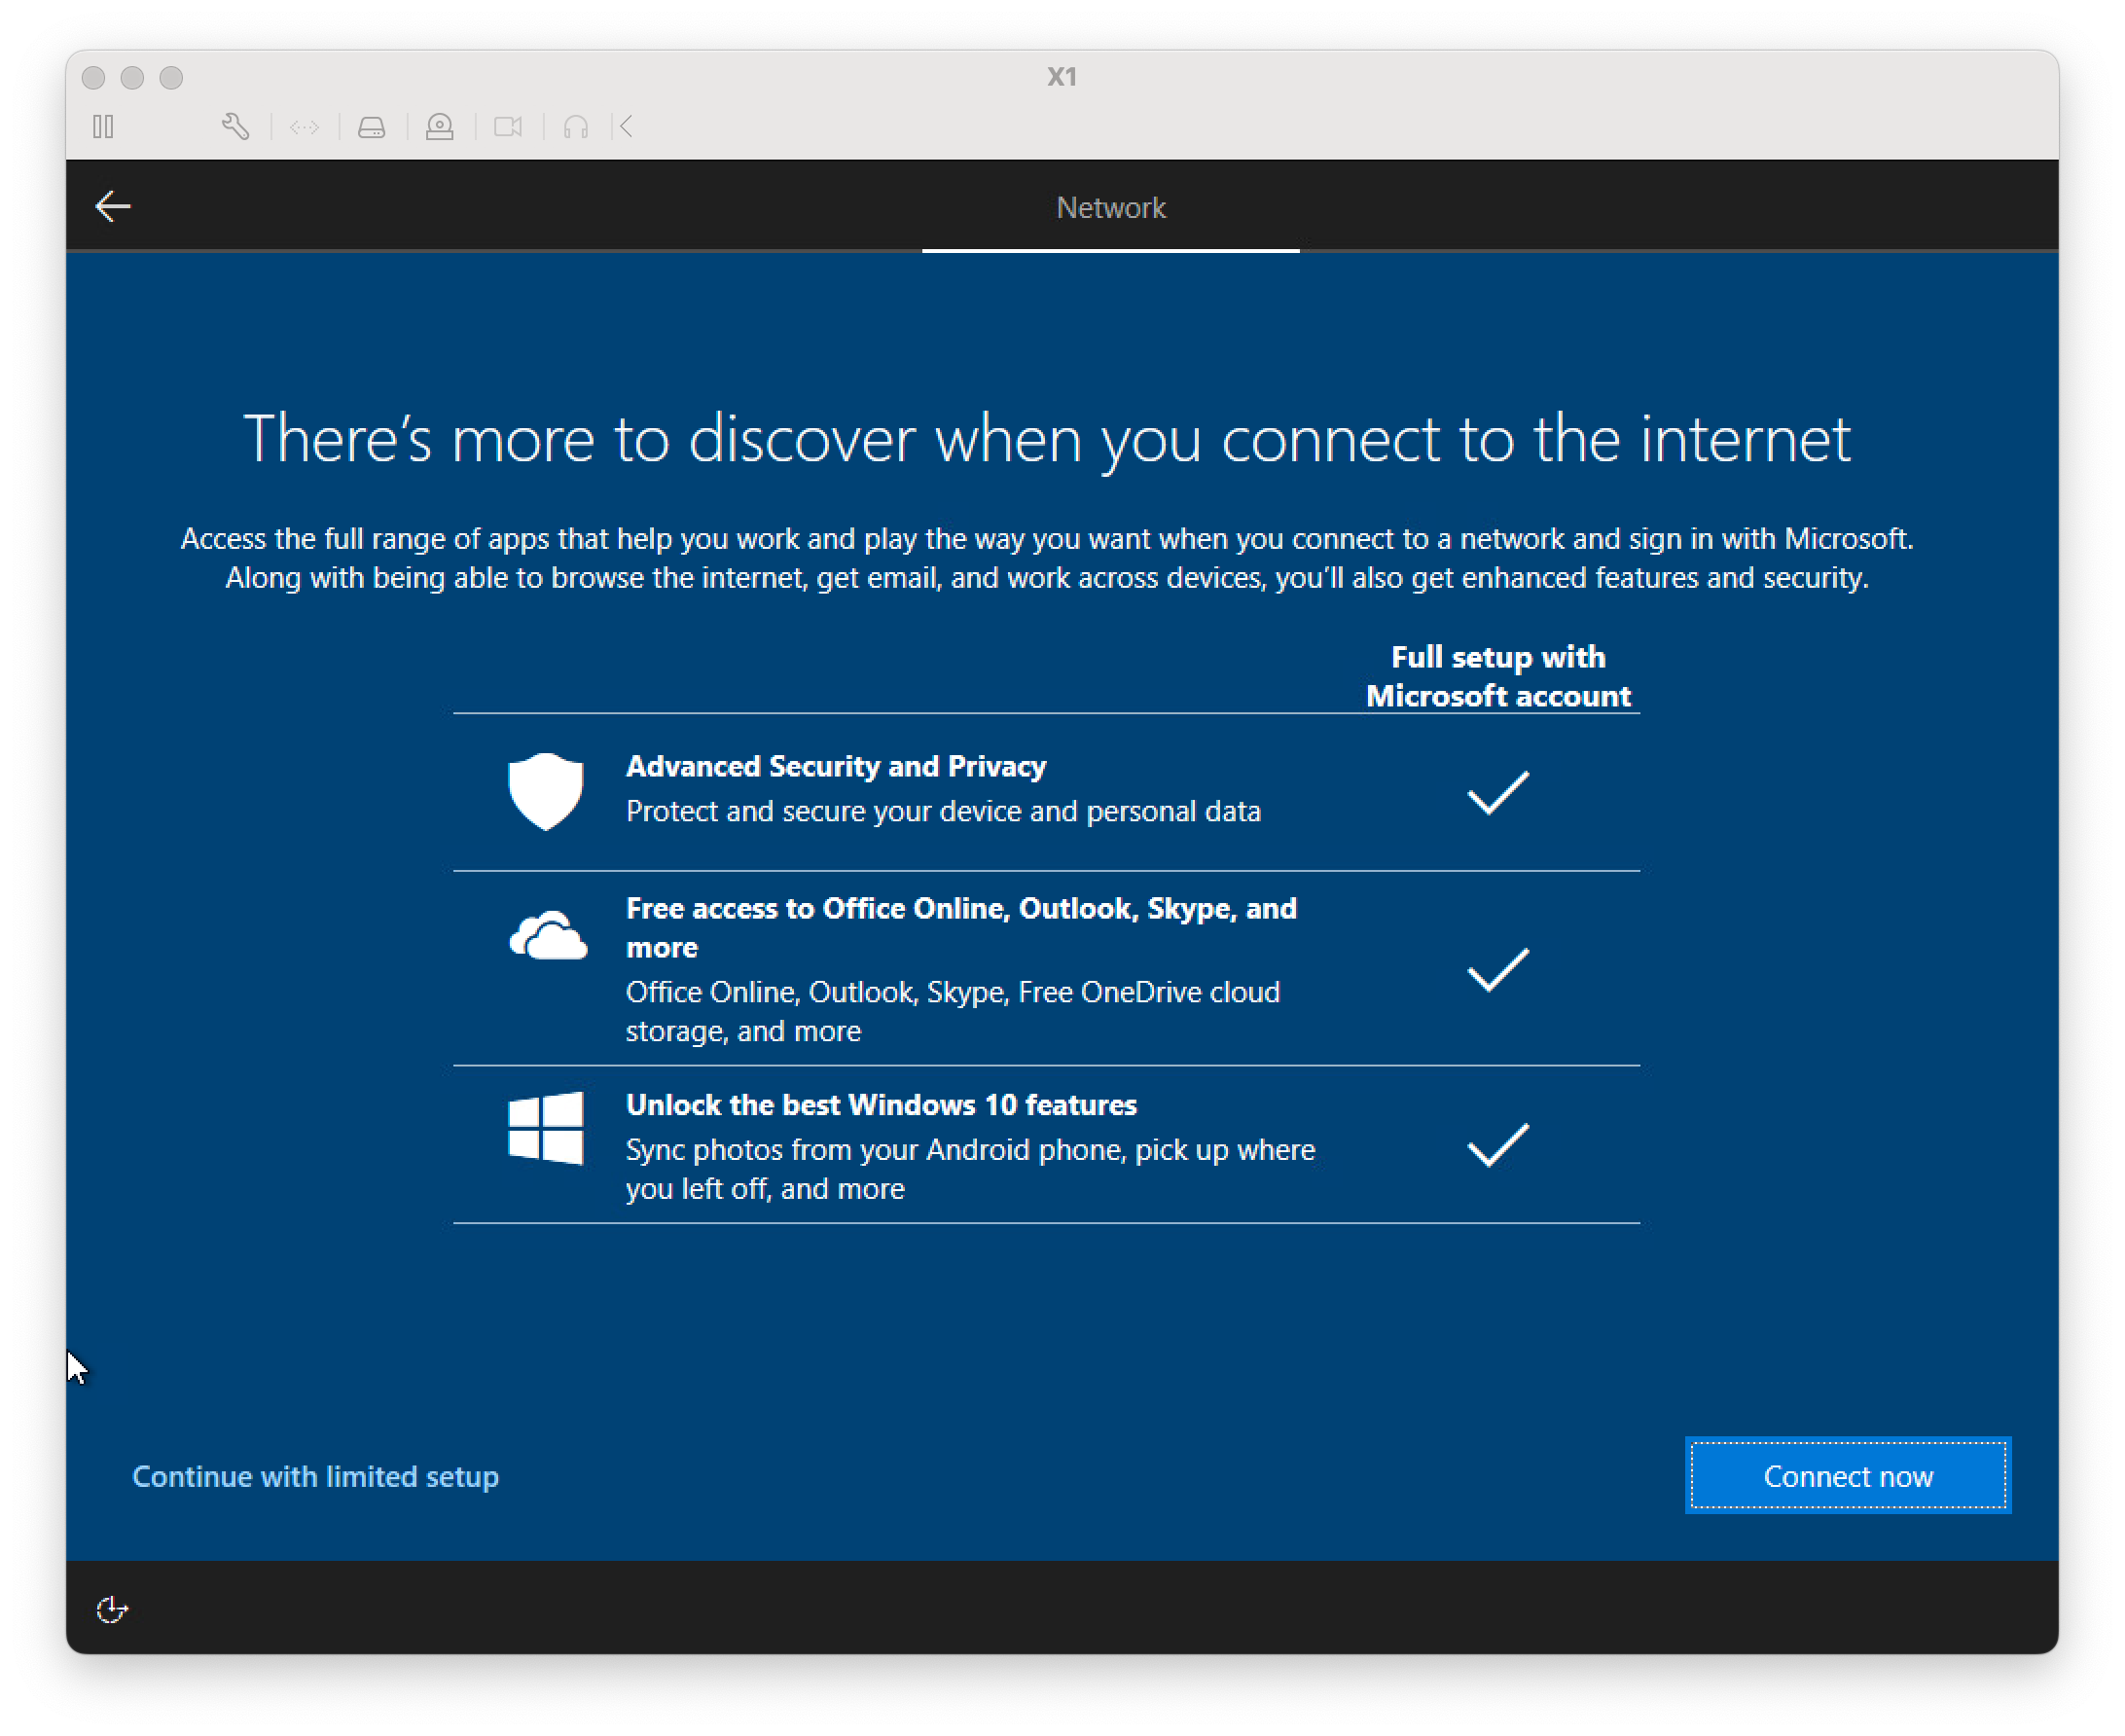
After getting past language, location and keyboard settings, you’ll get a prompt that you’ll either need to connect to the internet or select a Wi-Fi hotspot. The screen might look a little different, but choose “I don’t have internet.” I’ve been led to believe that Windows 10 Home won’t let a user past this point no matter what. Hence the benefit of Windows Professional.
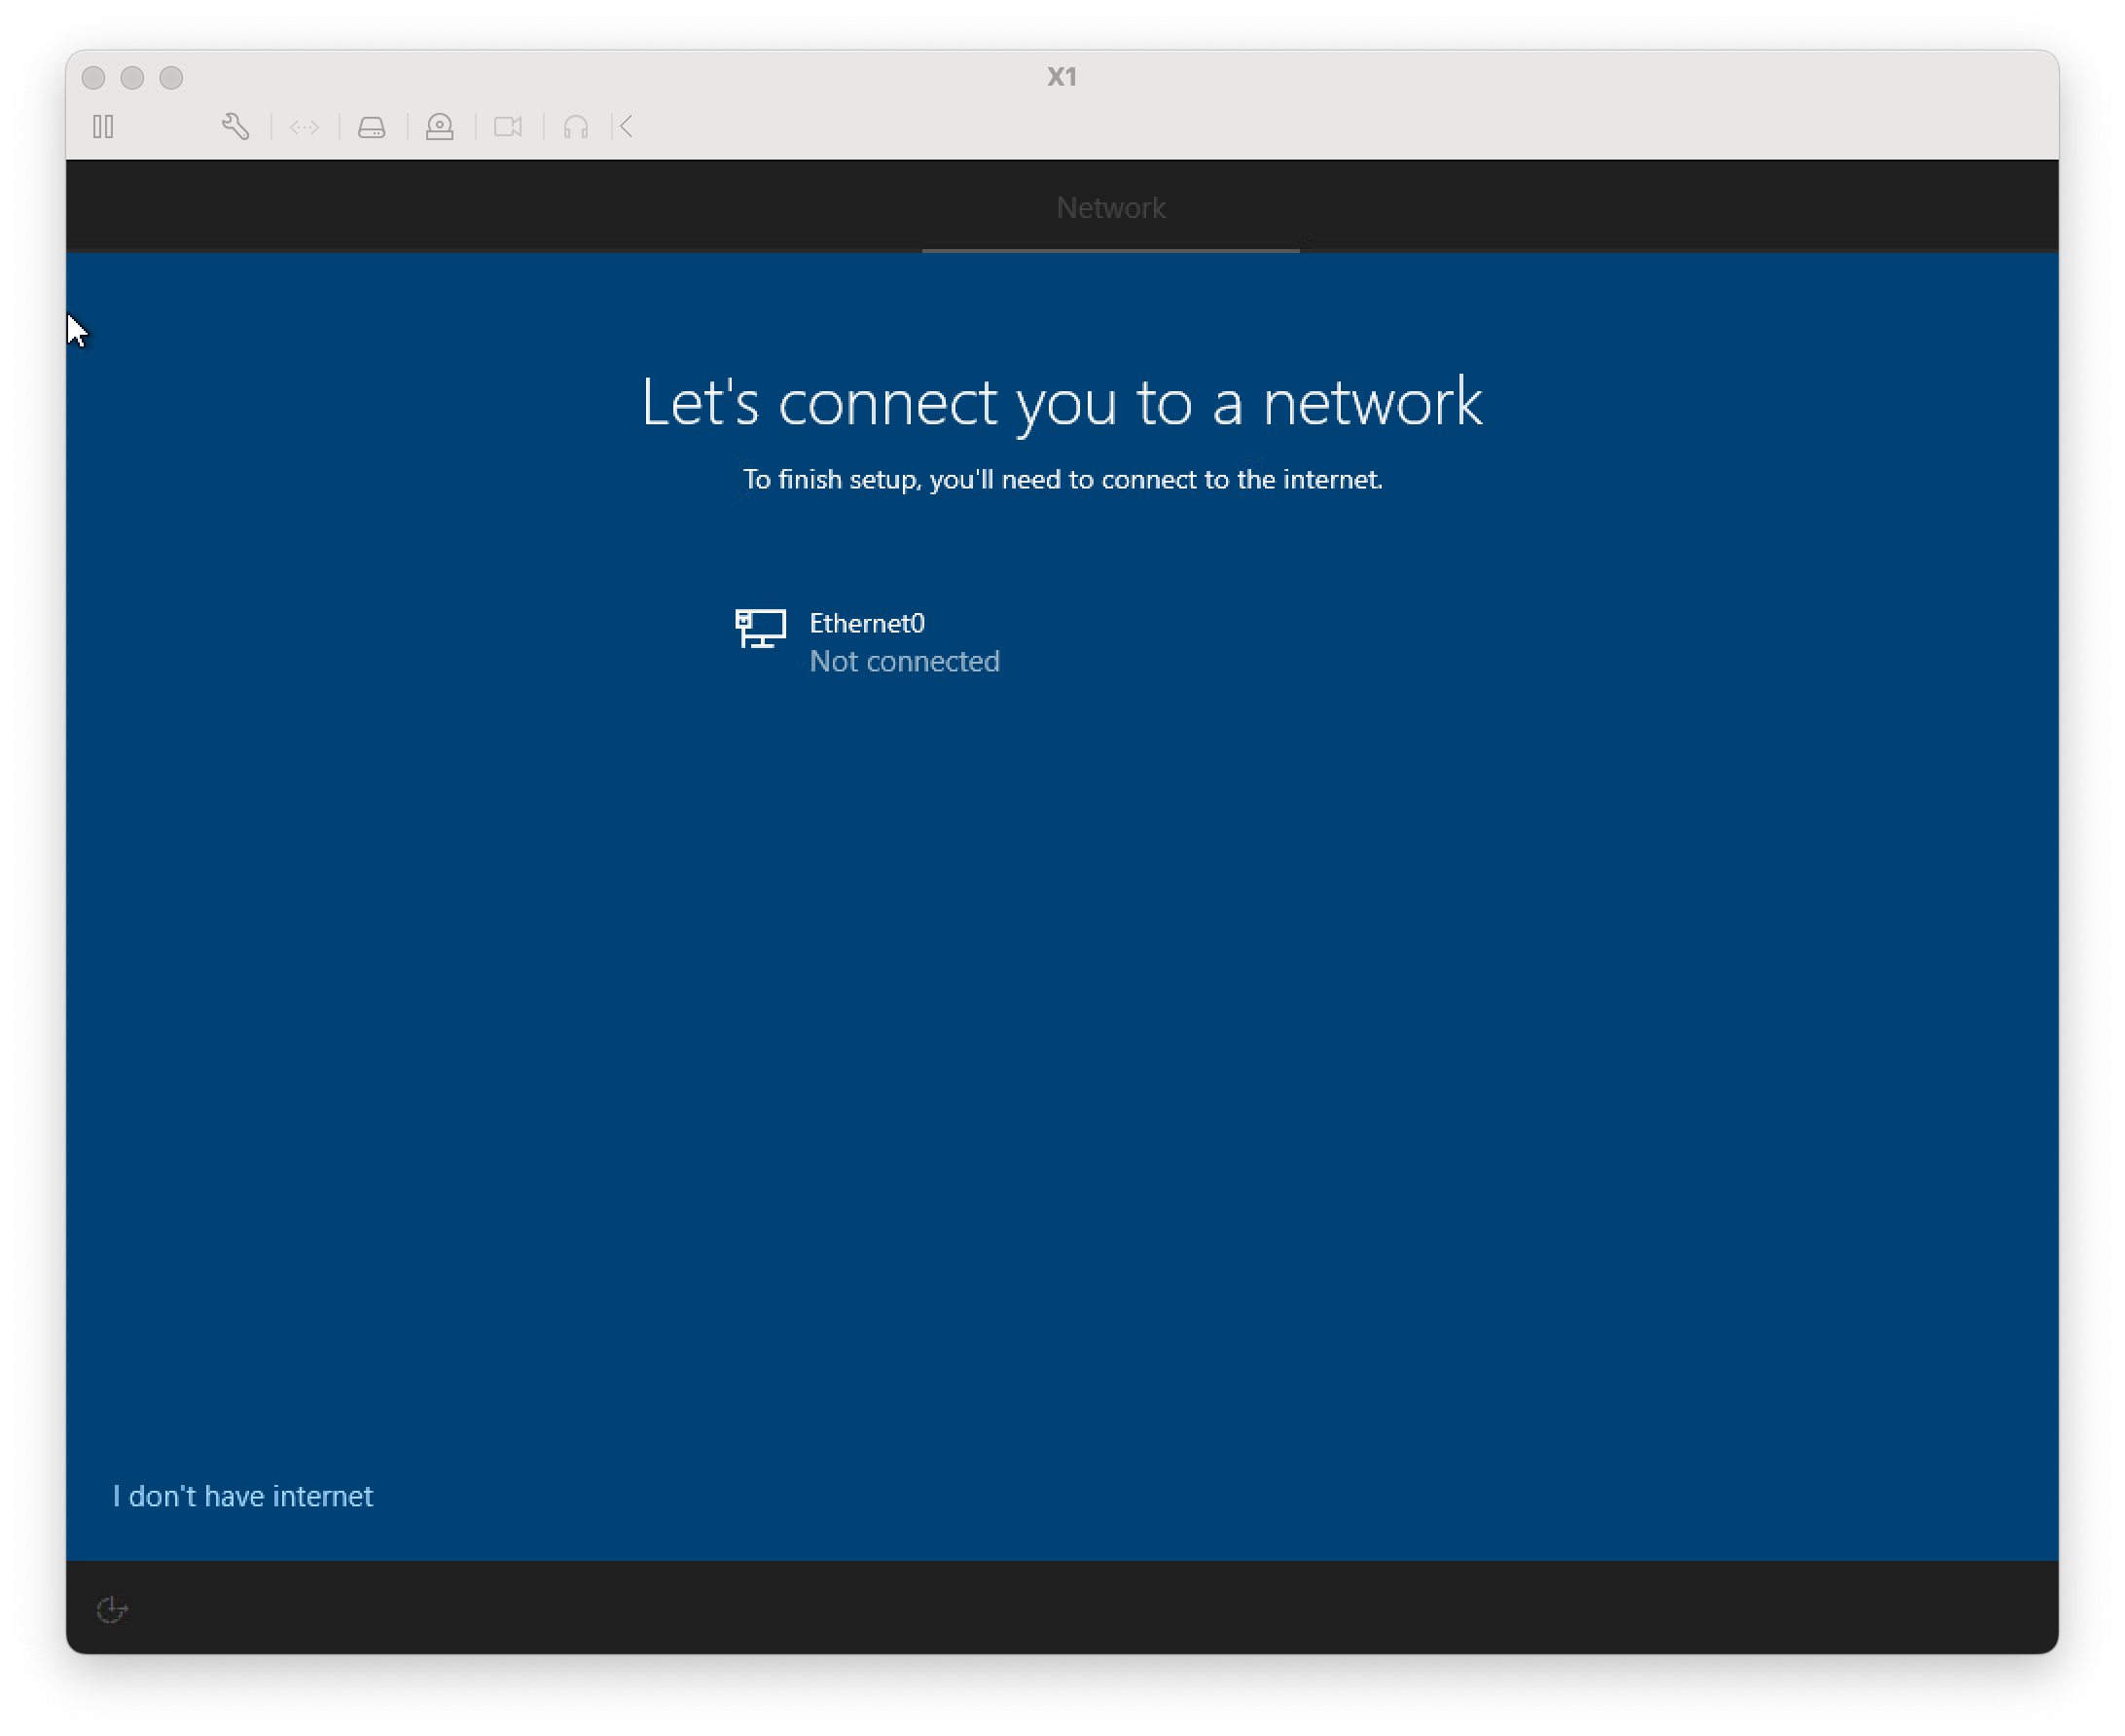
Microsoft will urge you to reconsider and suggest it’s better to have the very things I never want on a dedicates EOS system. Select “Continue with limited setup.”
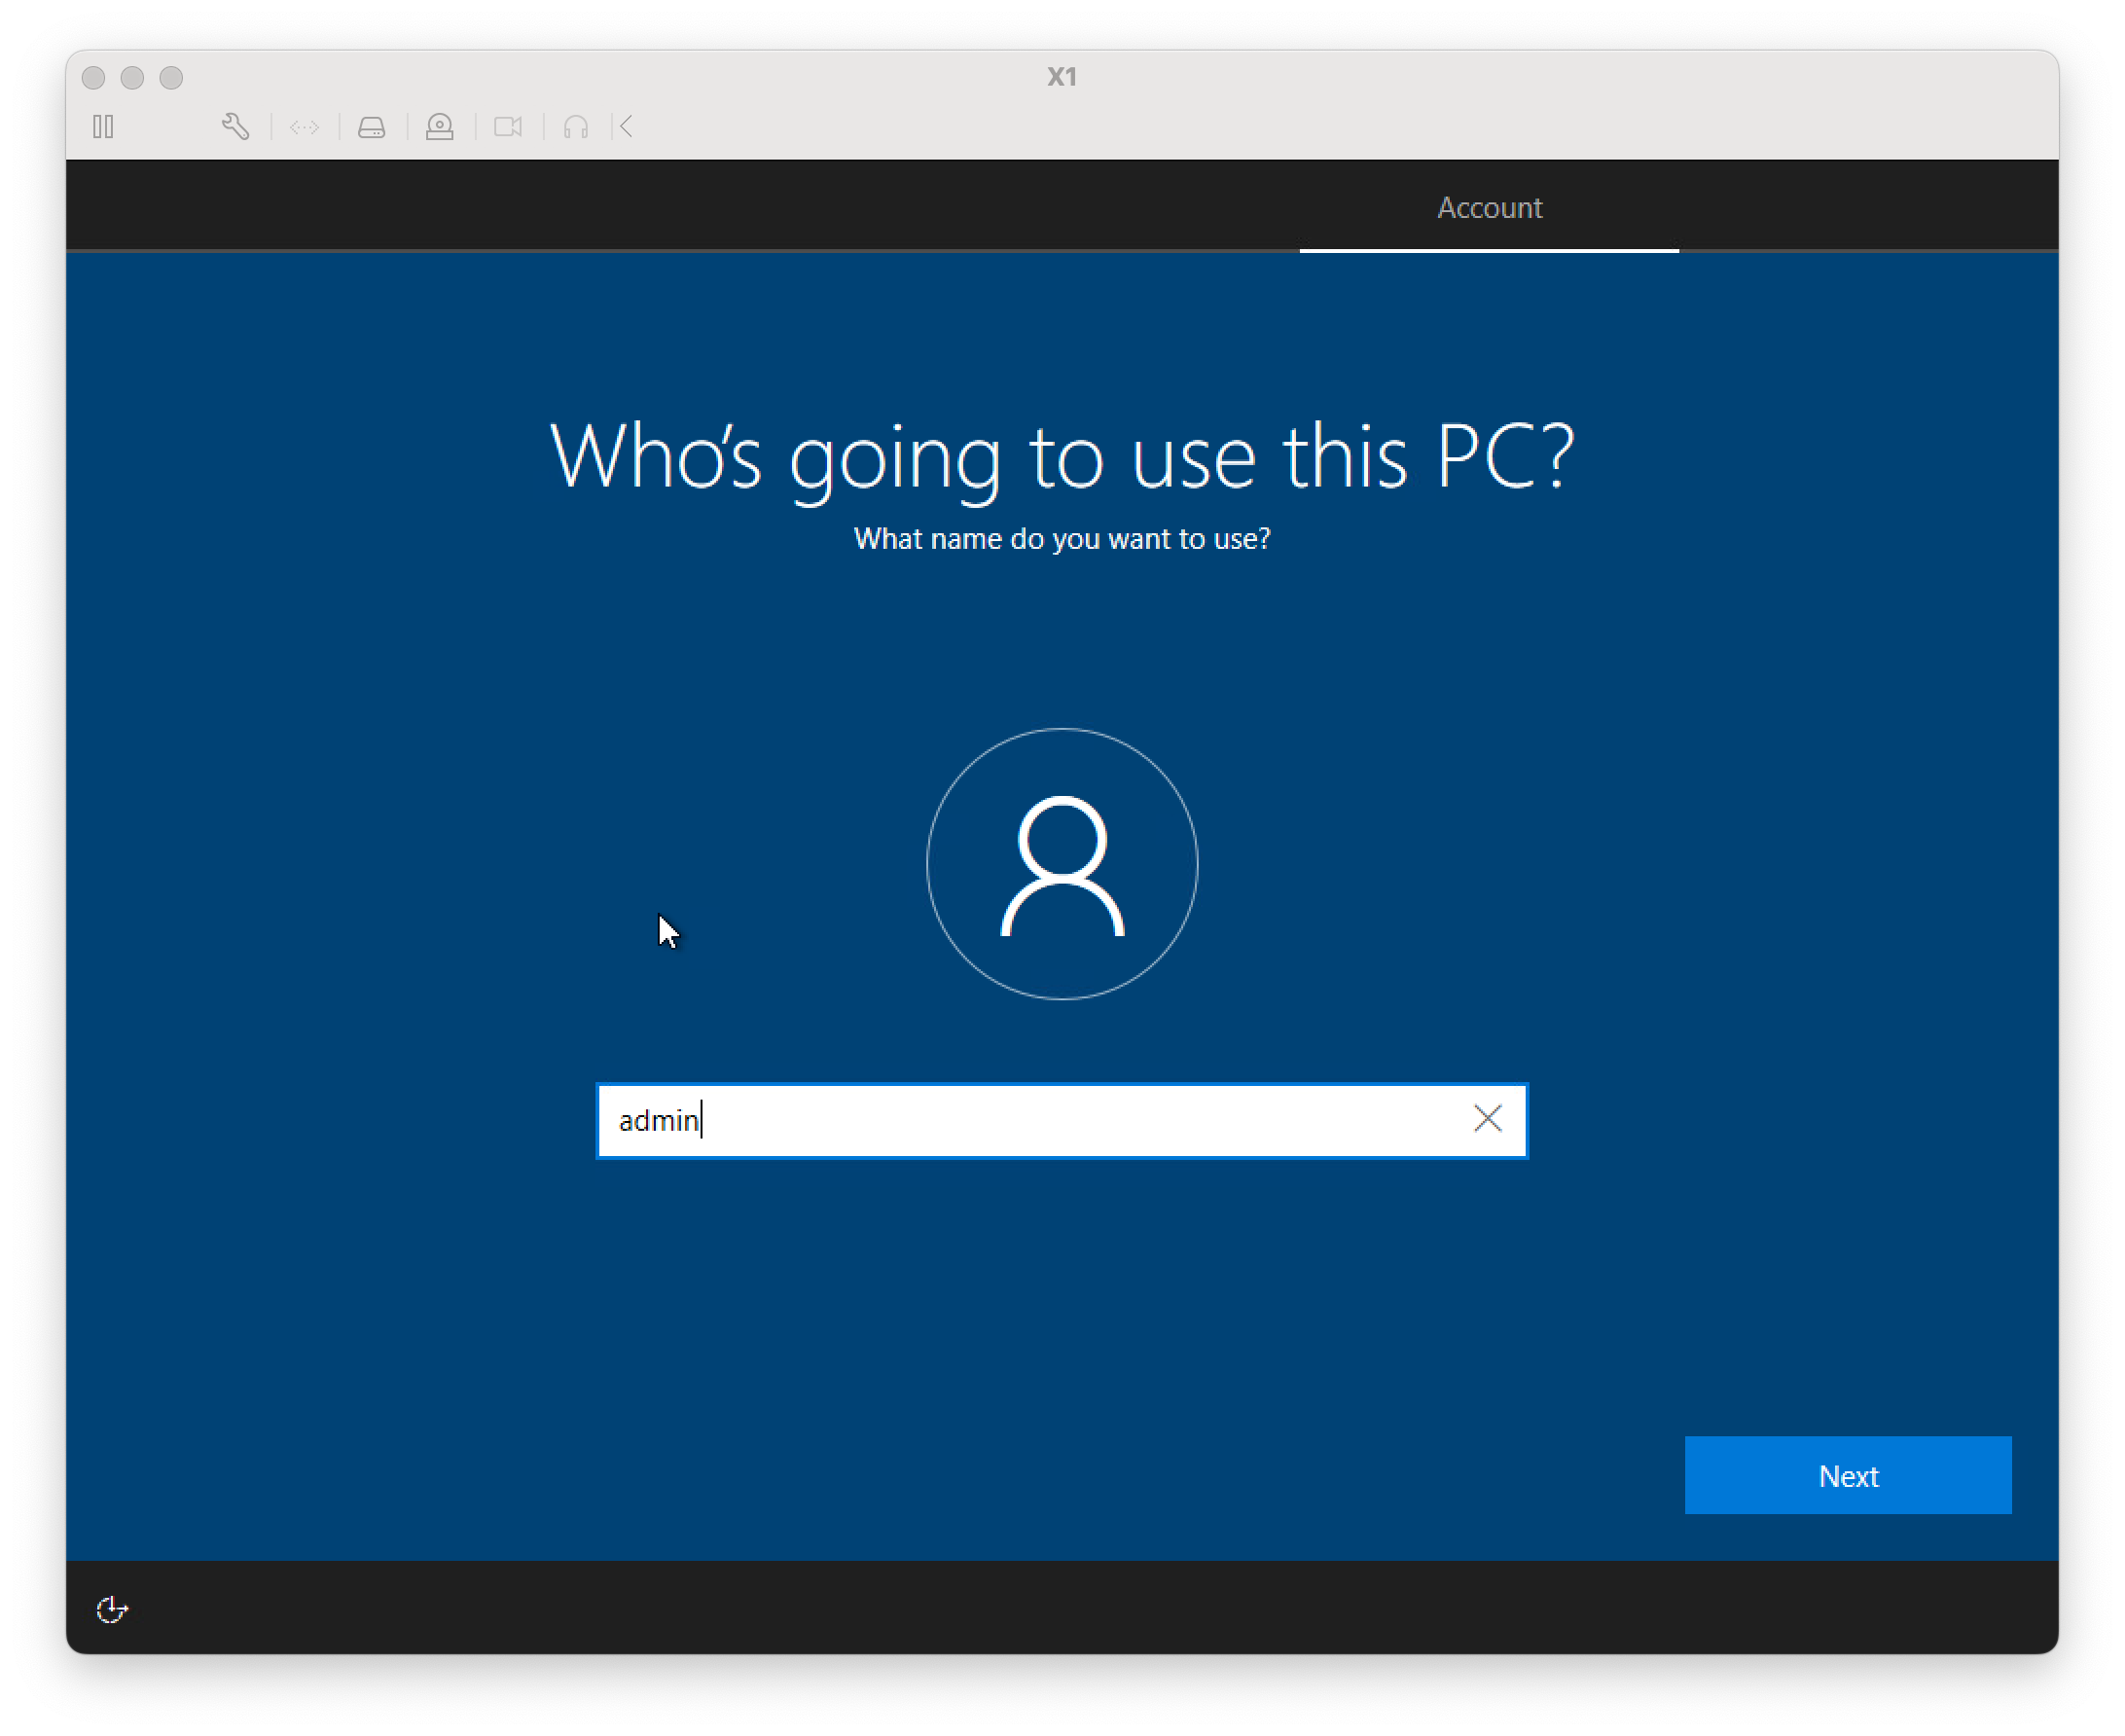
Now it’s time to set up an account. This will be an administrative account. I like to call this account “admin.” When it prompts for a password, leave it blank - at least for now. Entering a password will trigger a series of password recovery prompts like “what’s your favourite movie.”
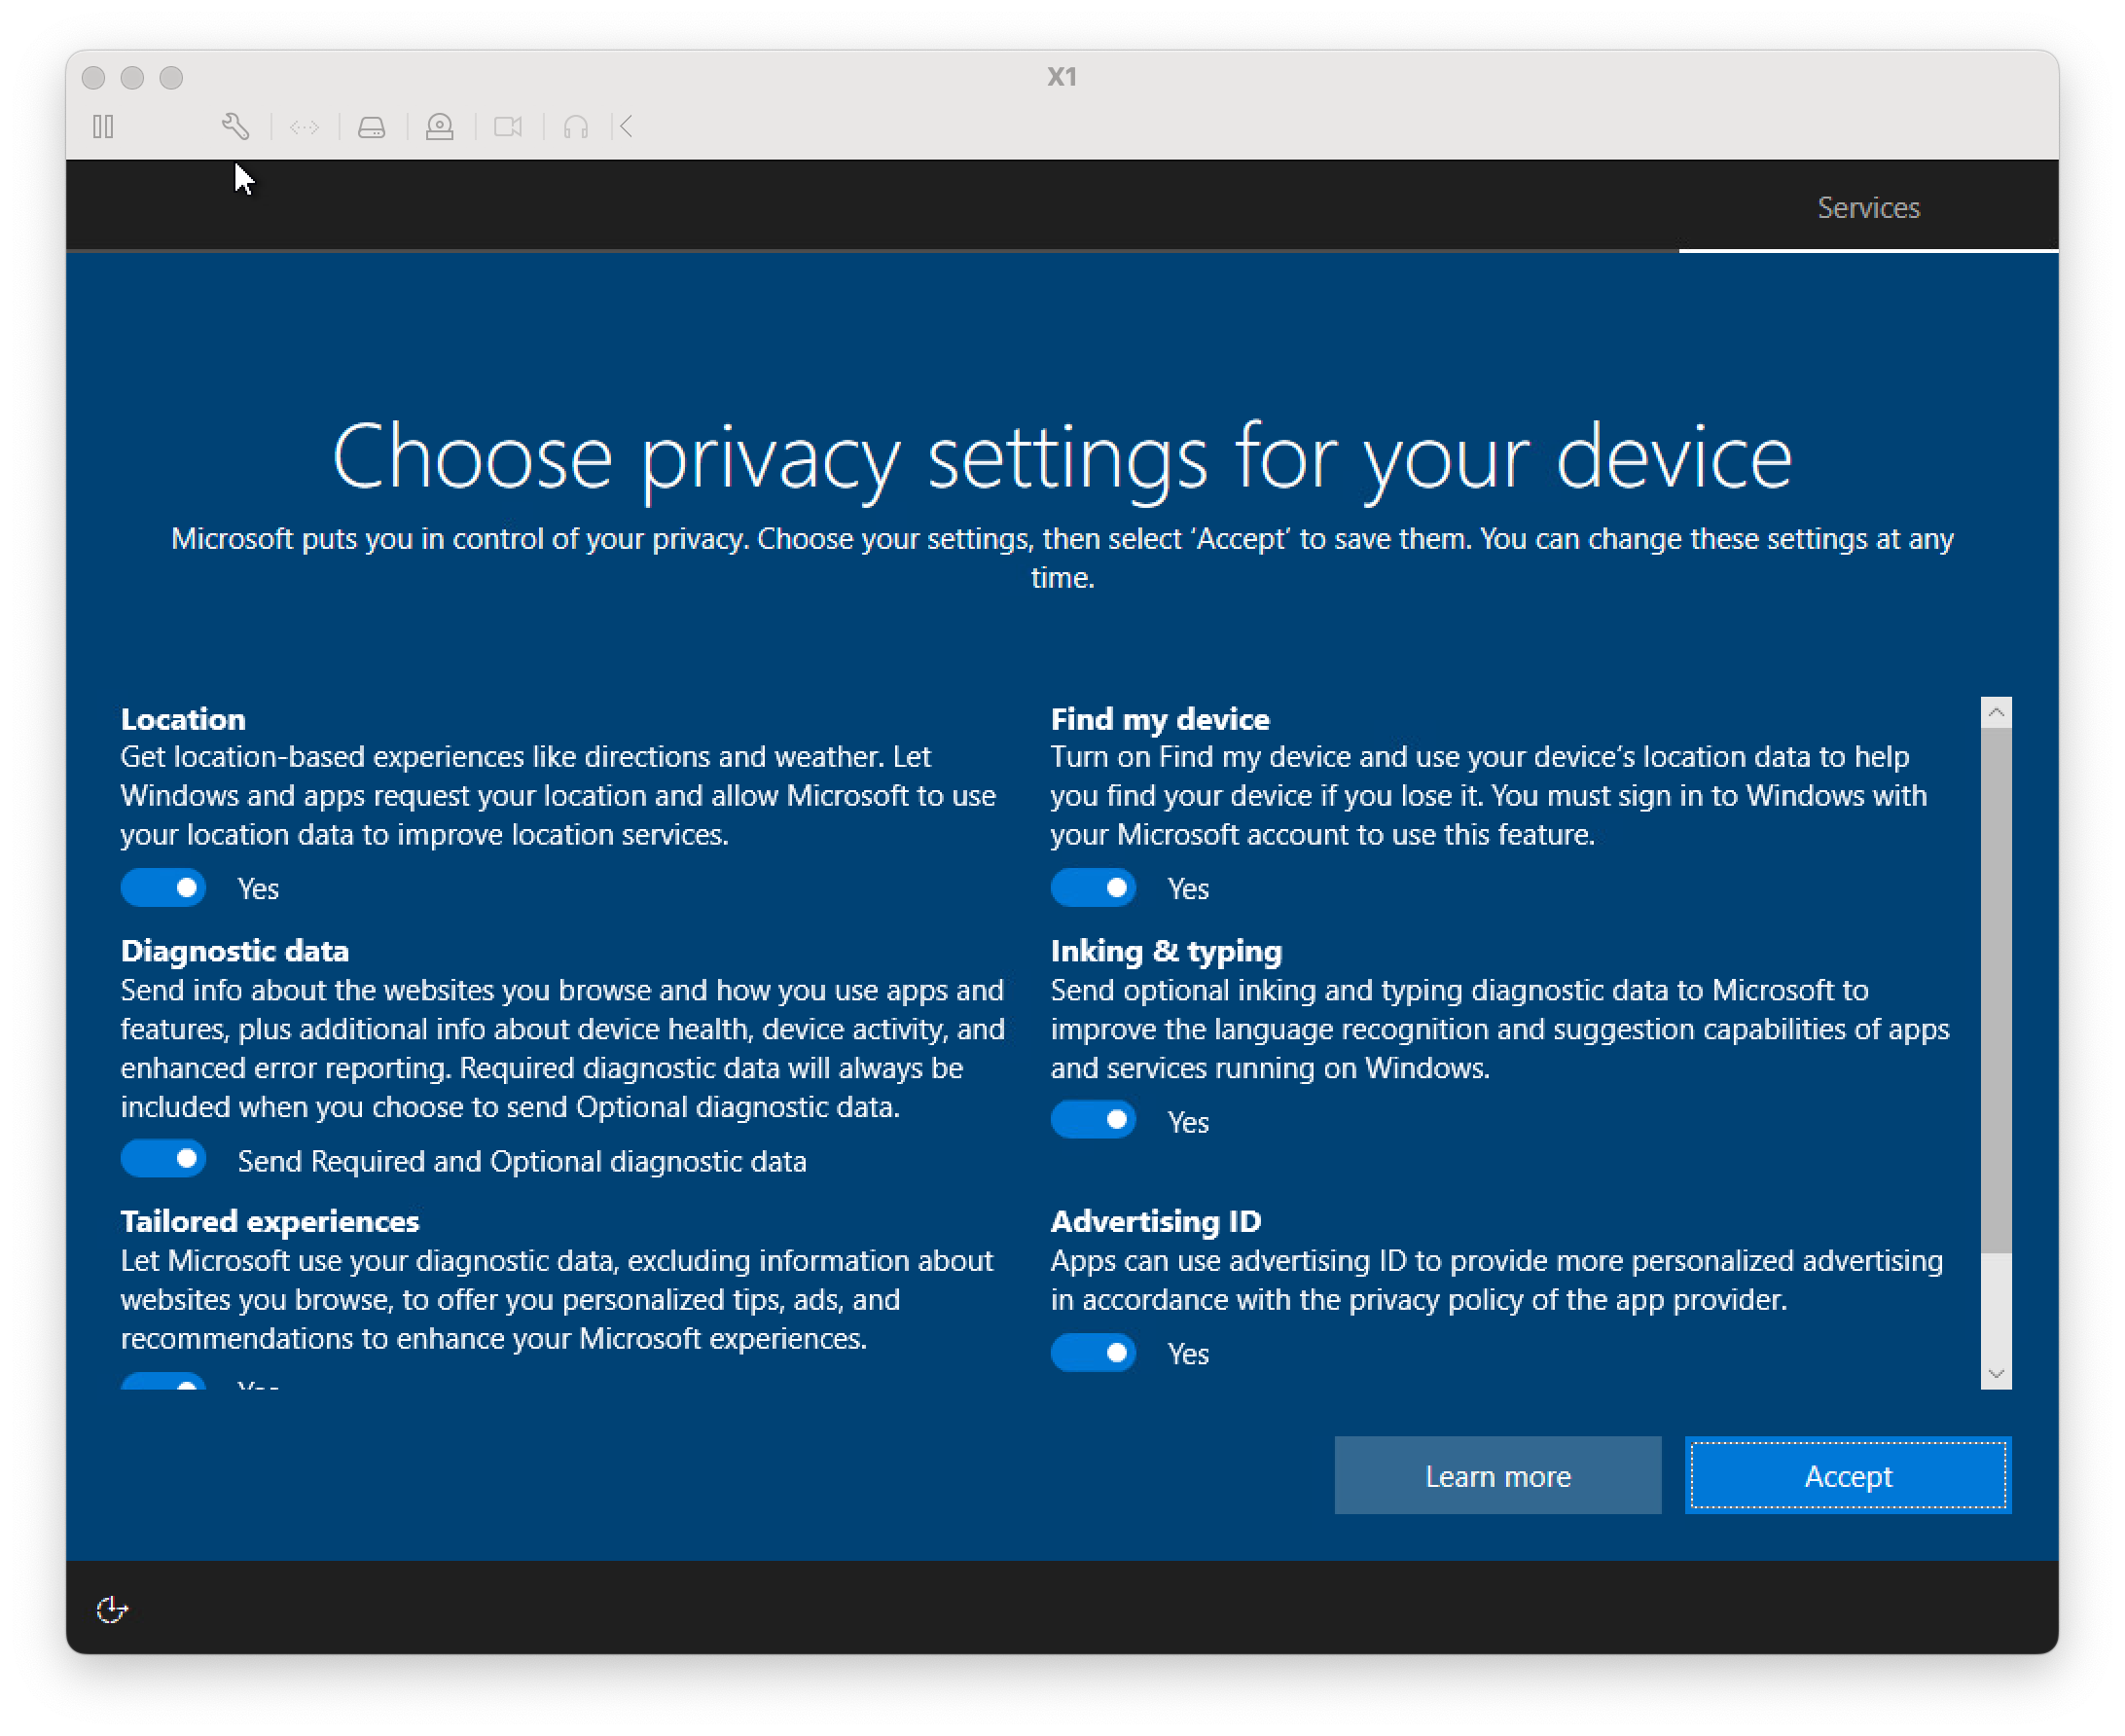
Say No to all of these.
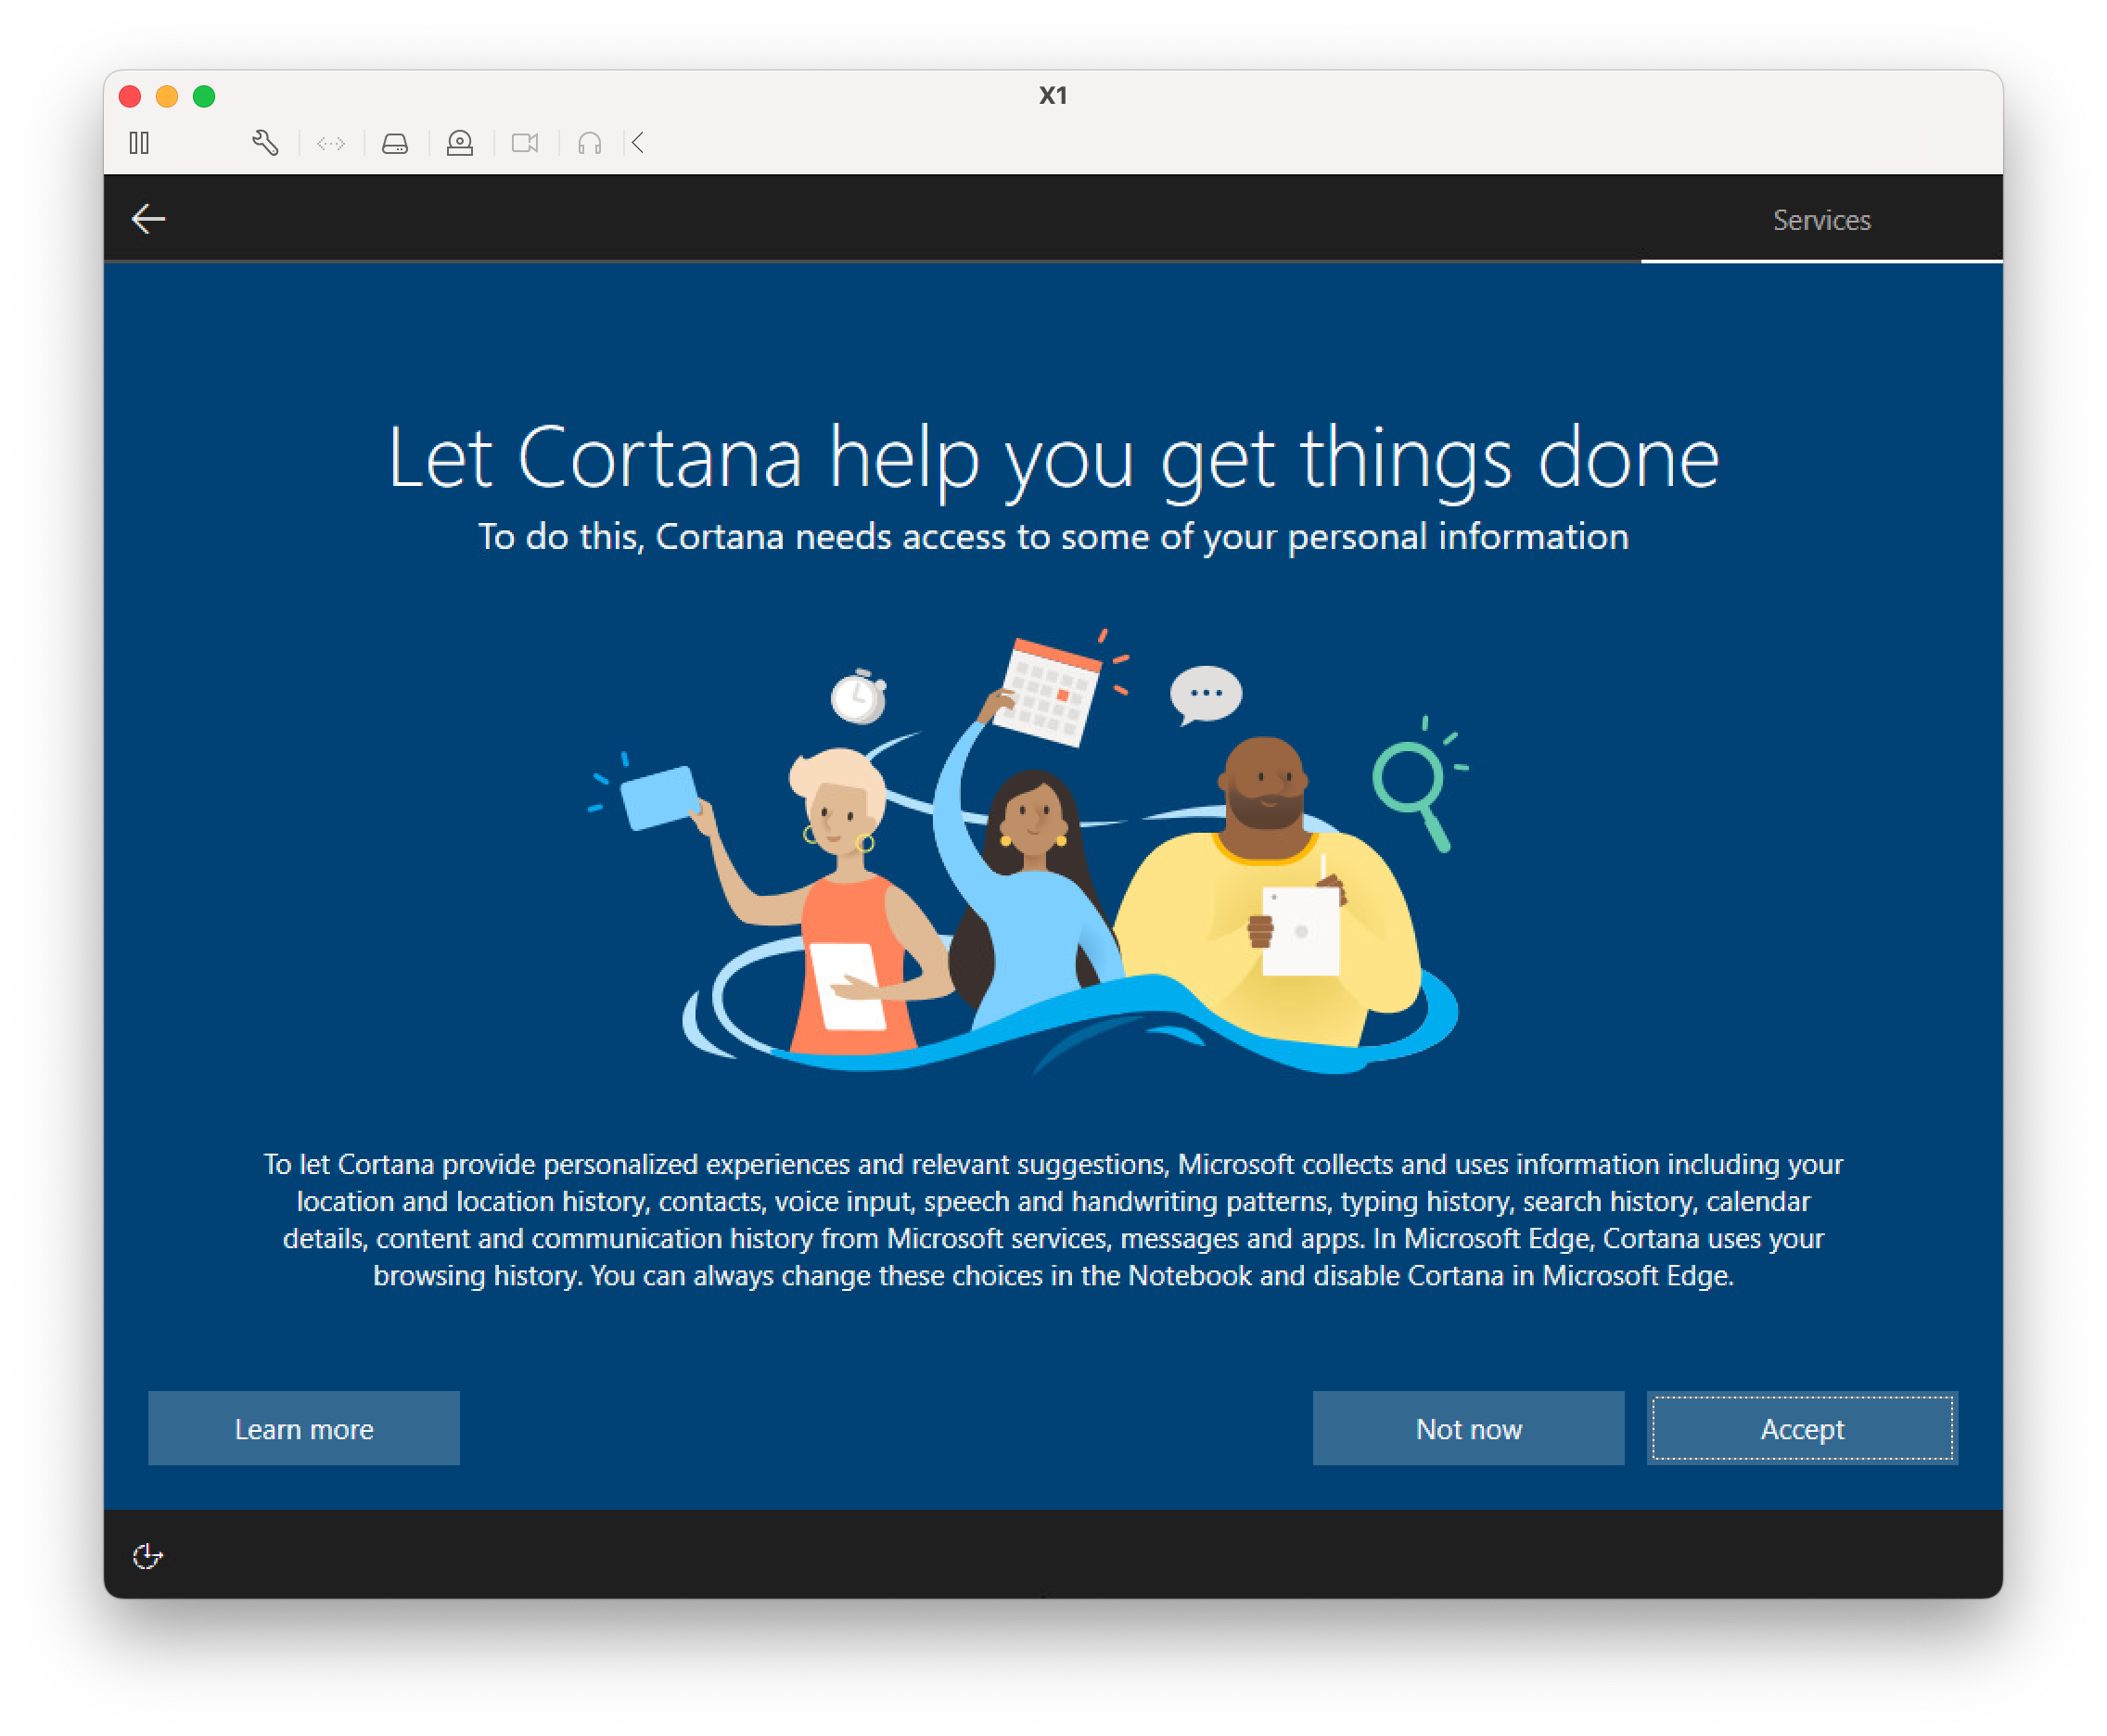
Cortana isn’t lighting. “Not Now”
Wait.
That’s a lot of crap. I’ve heard suggestions that all those down arrows are incomplete download links for Candy Crush, Disney+, Spotify and all sorts of bloatware crap that just doesn’t belong on any computer belonging to people who have real work to do.
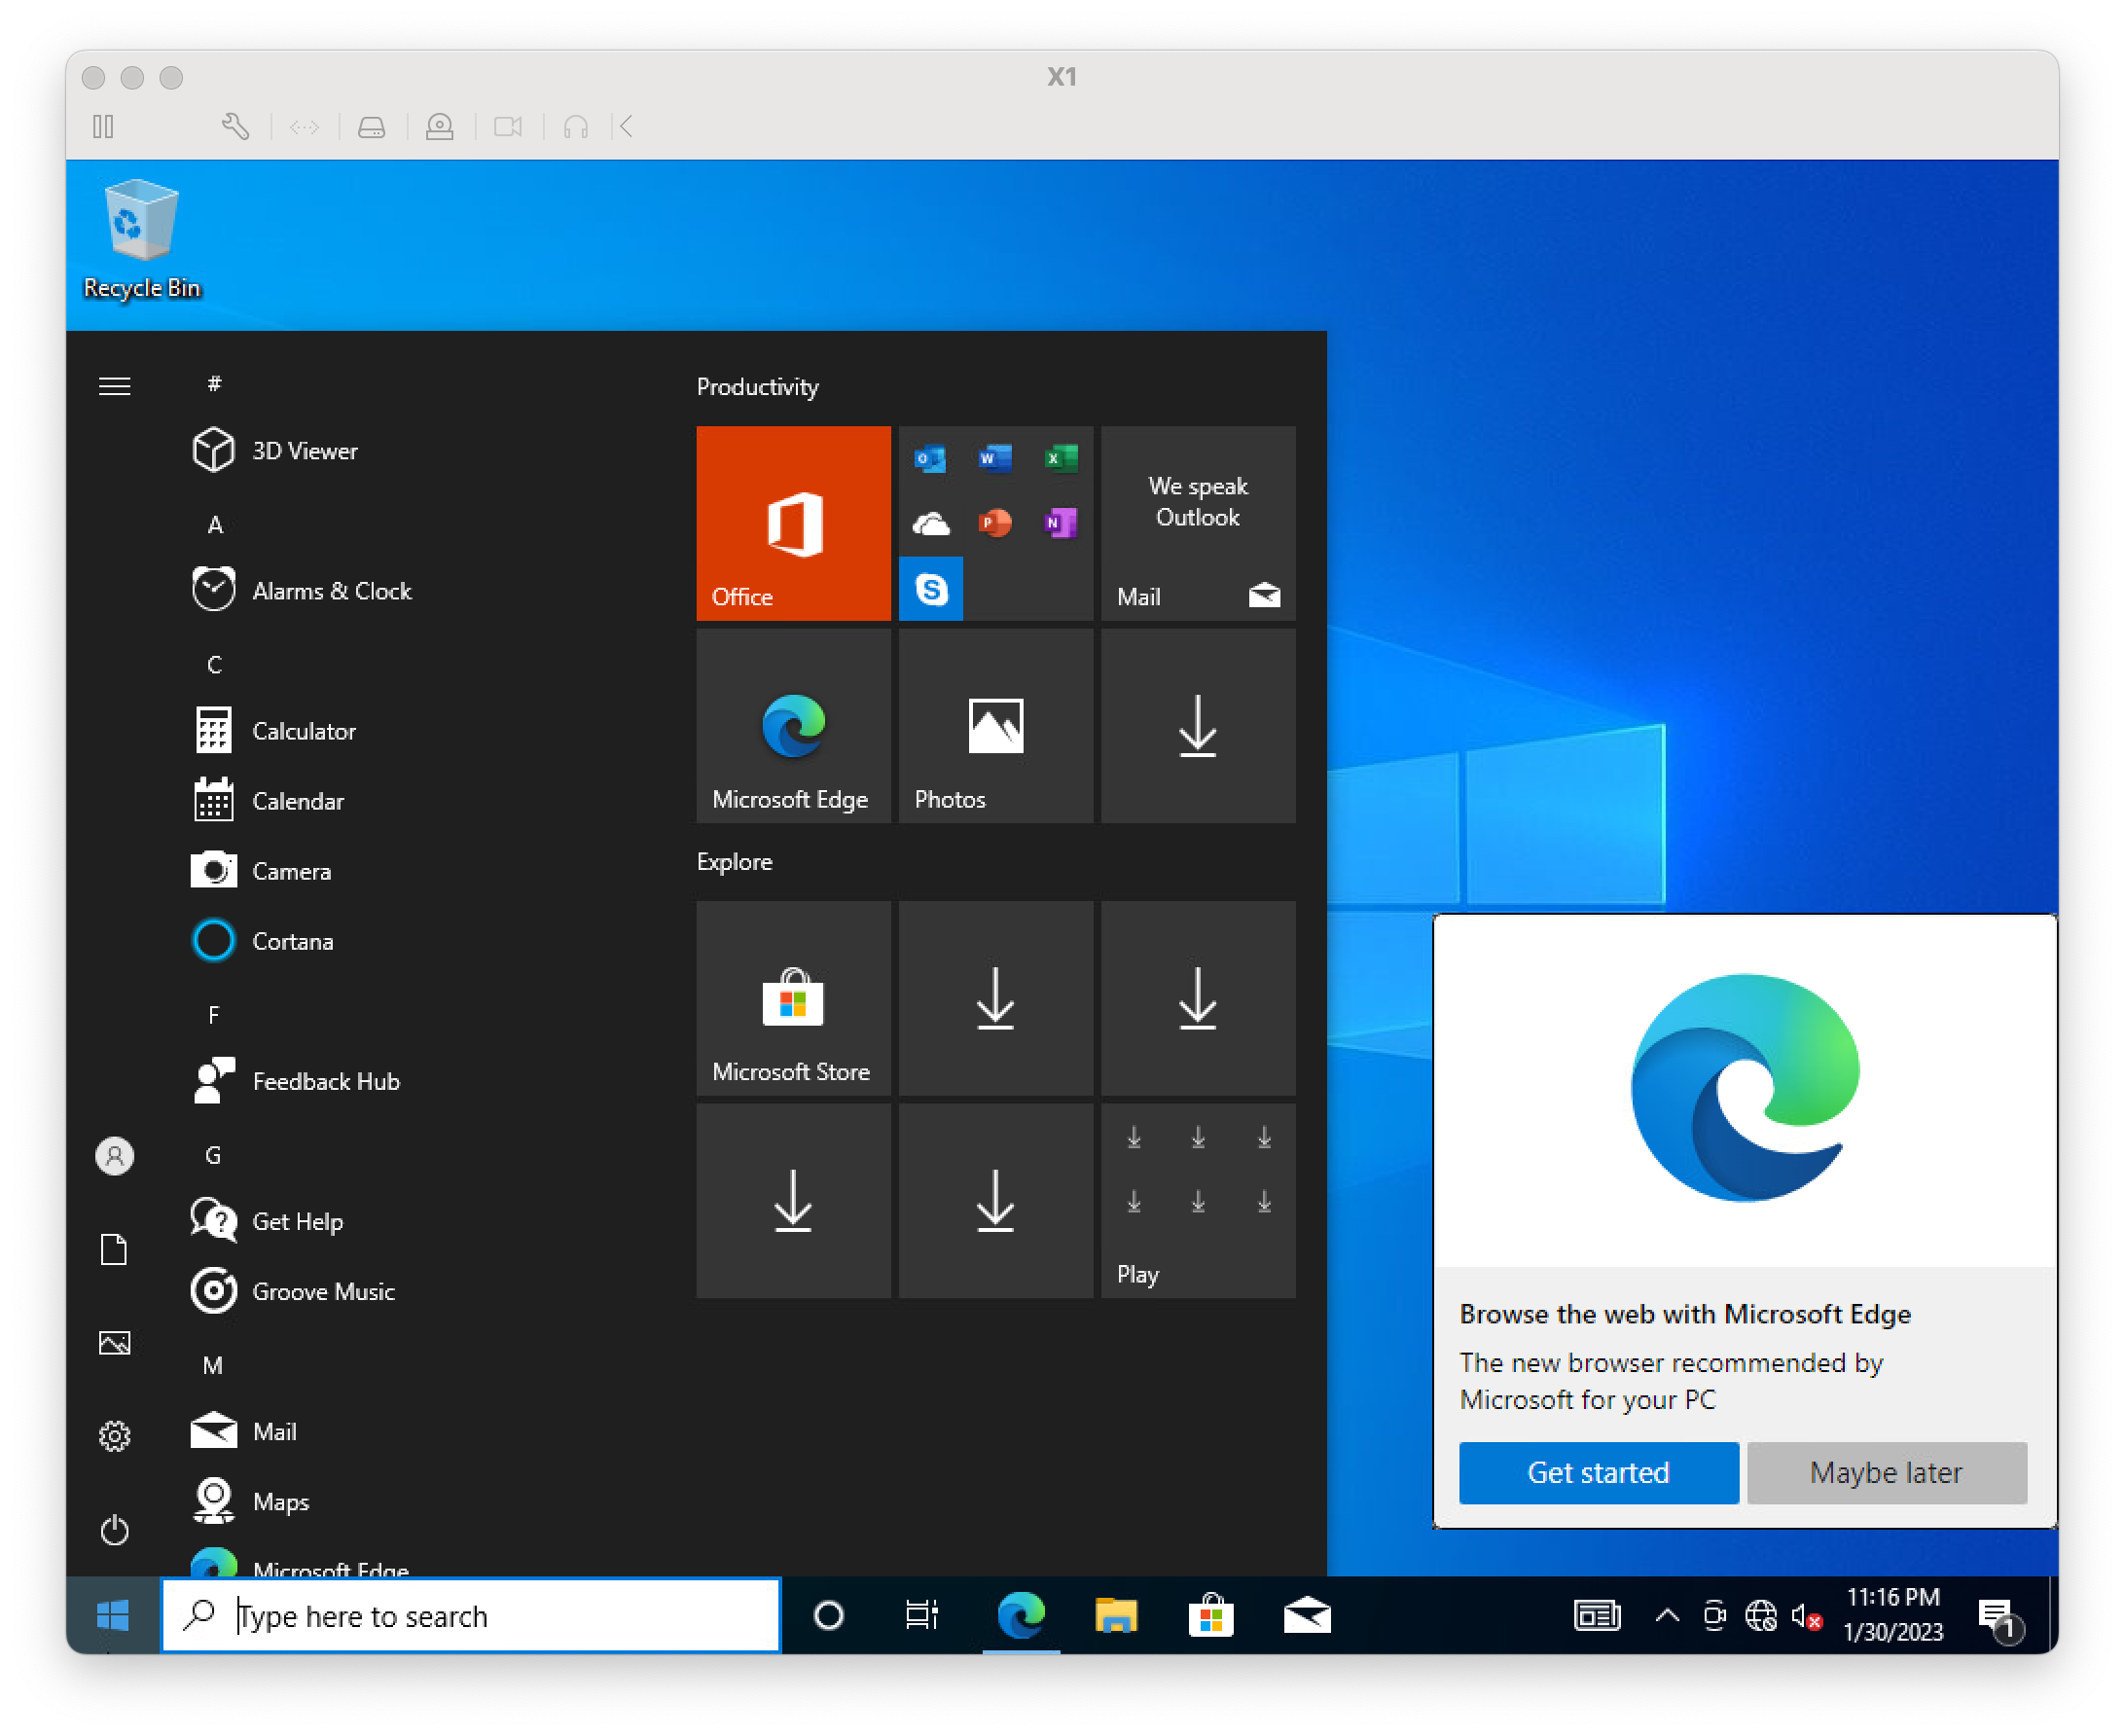
Crapware Removal
Time to plug in the network cable or connect to a hotspot so we can download some tools to remove some of the crap to give us more room for show file. One of my favourite clean up tools is Windows Decrapifier which is an open source tools that automates the process. I’m not going to repeat the steps found at the site. Read carefully and we’ll return and continue after we get to this screen.
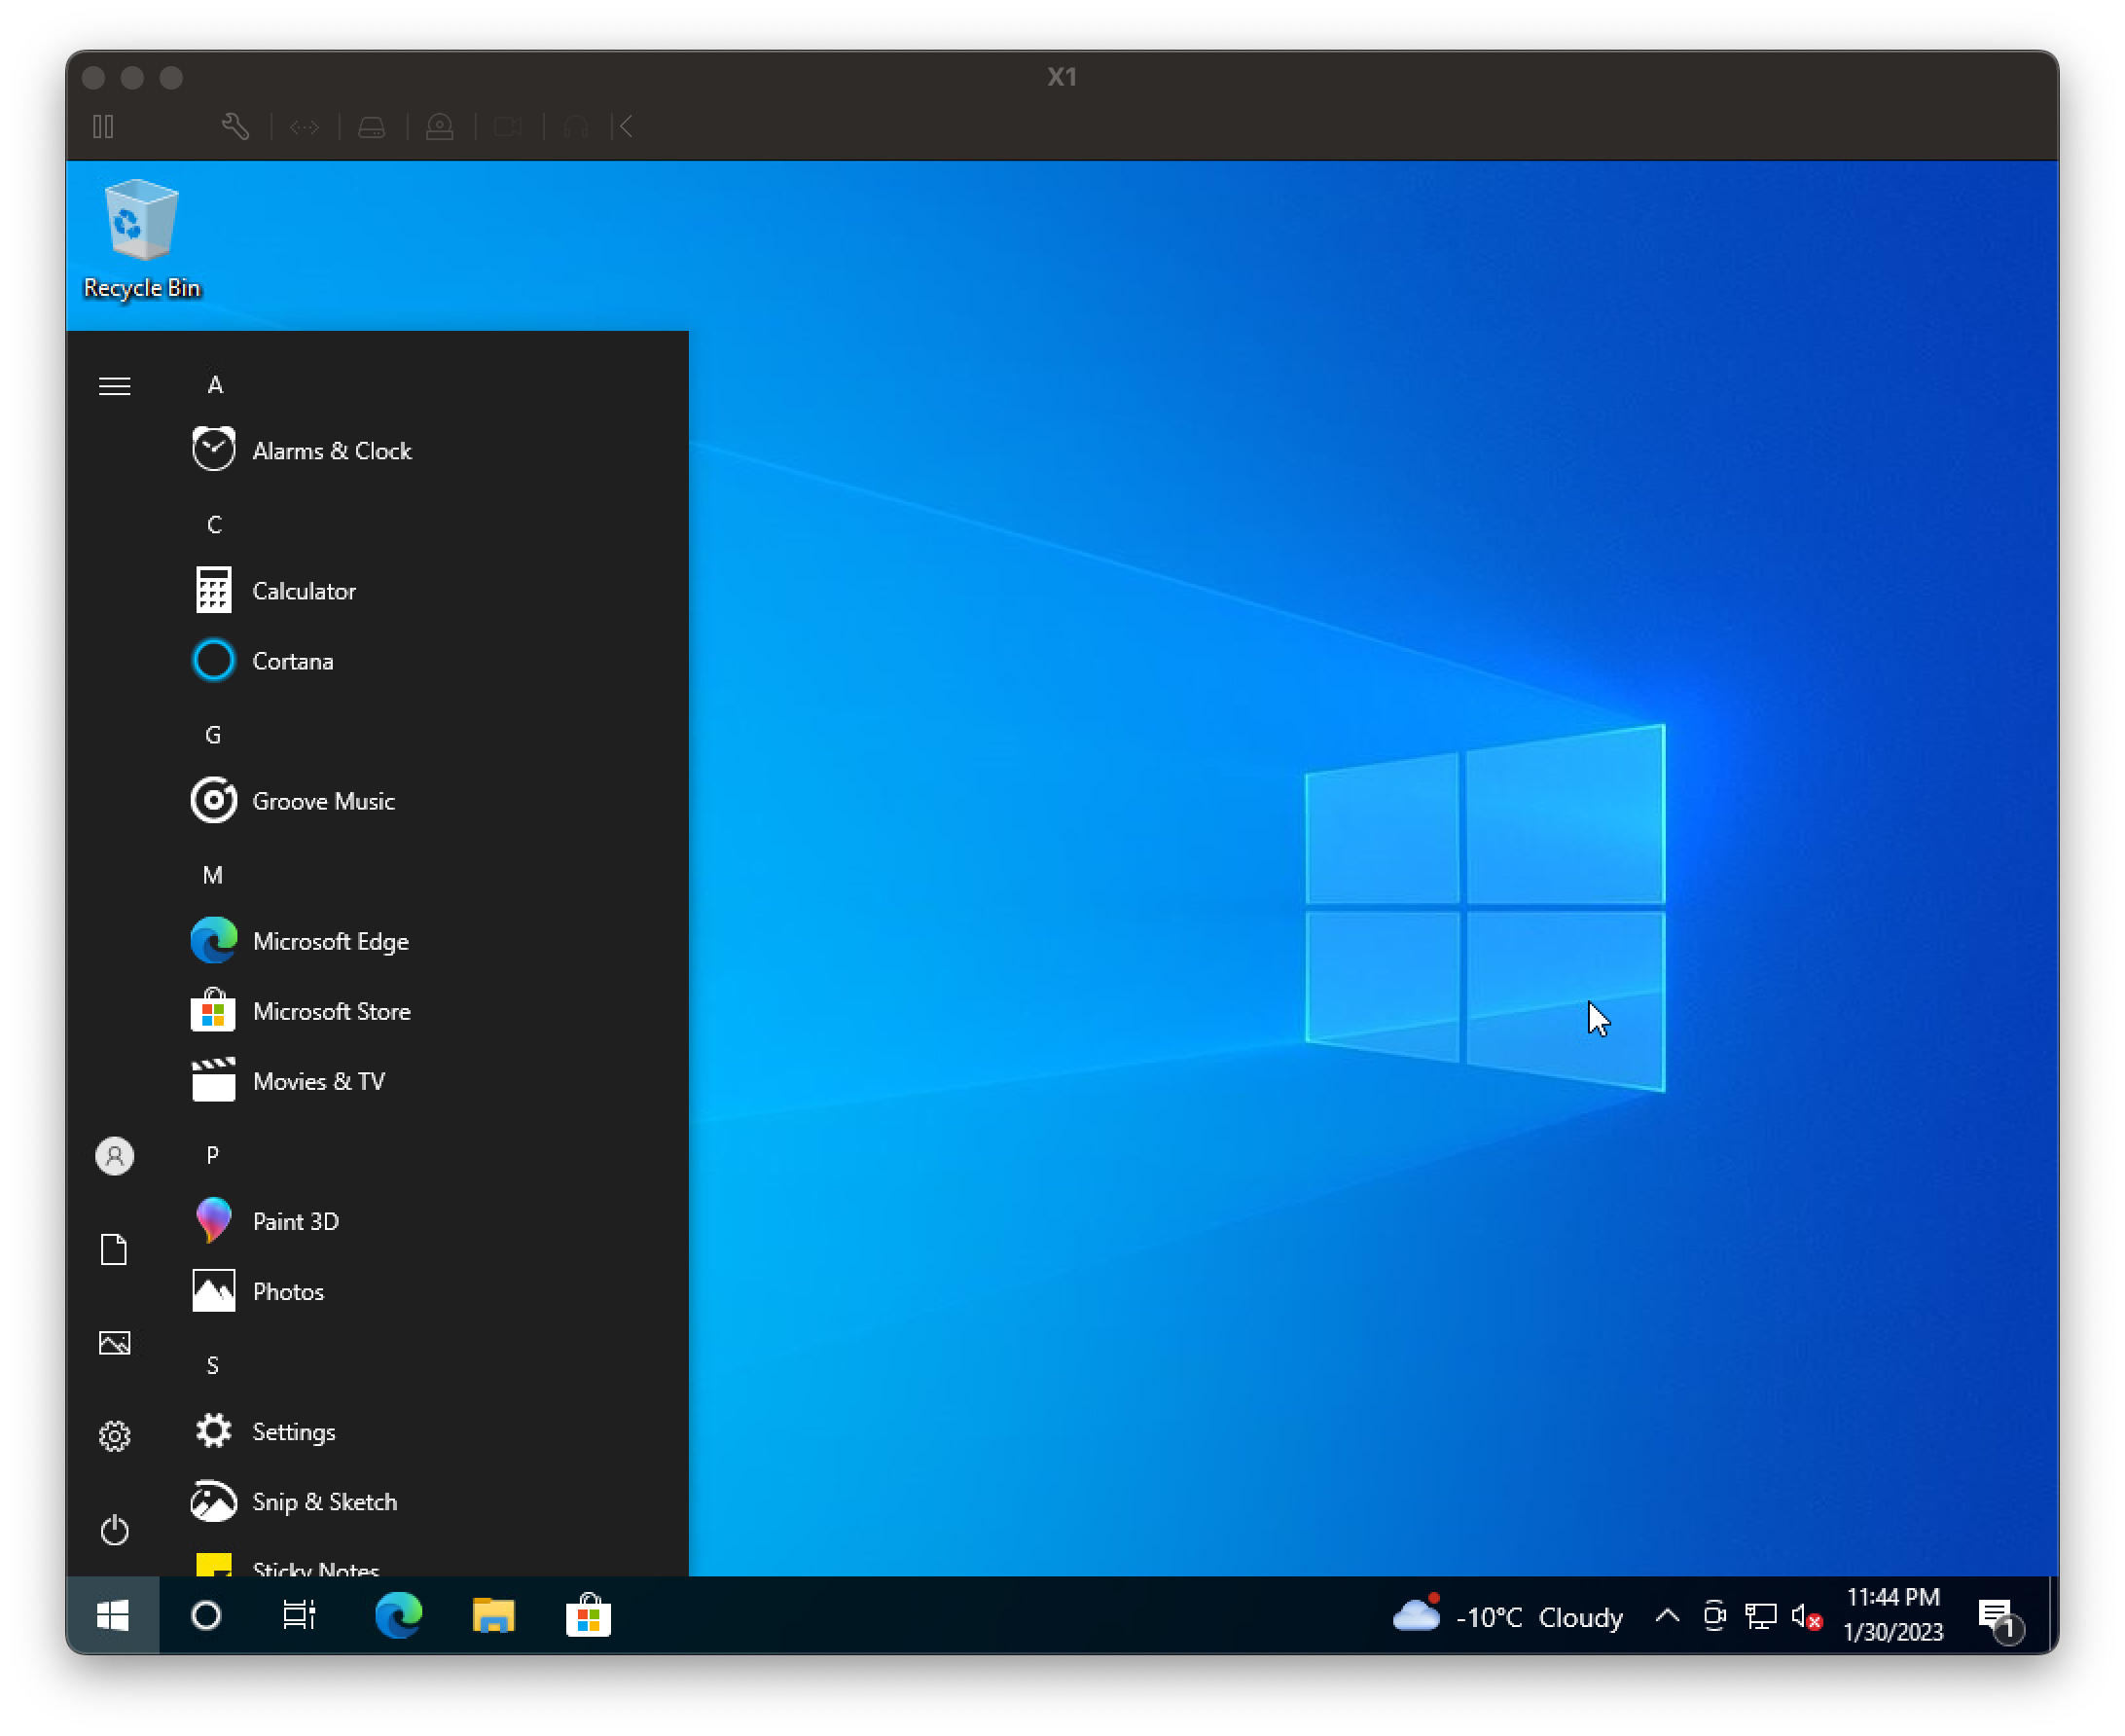
I already feel so much better.
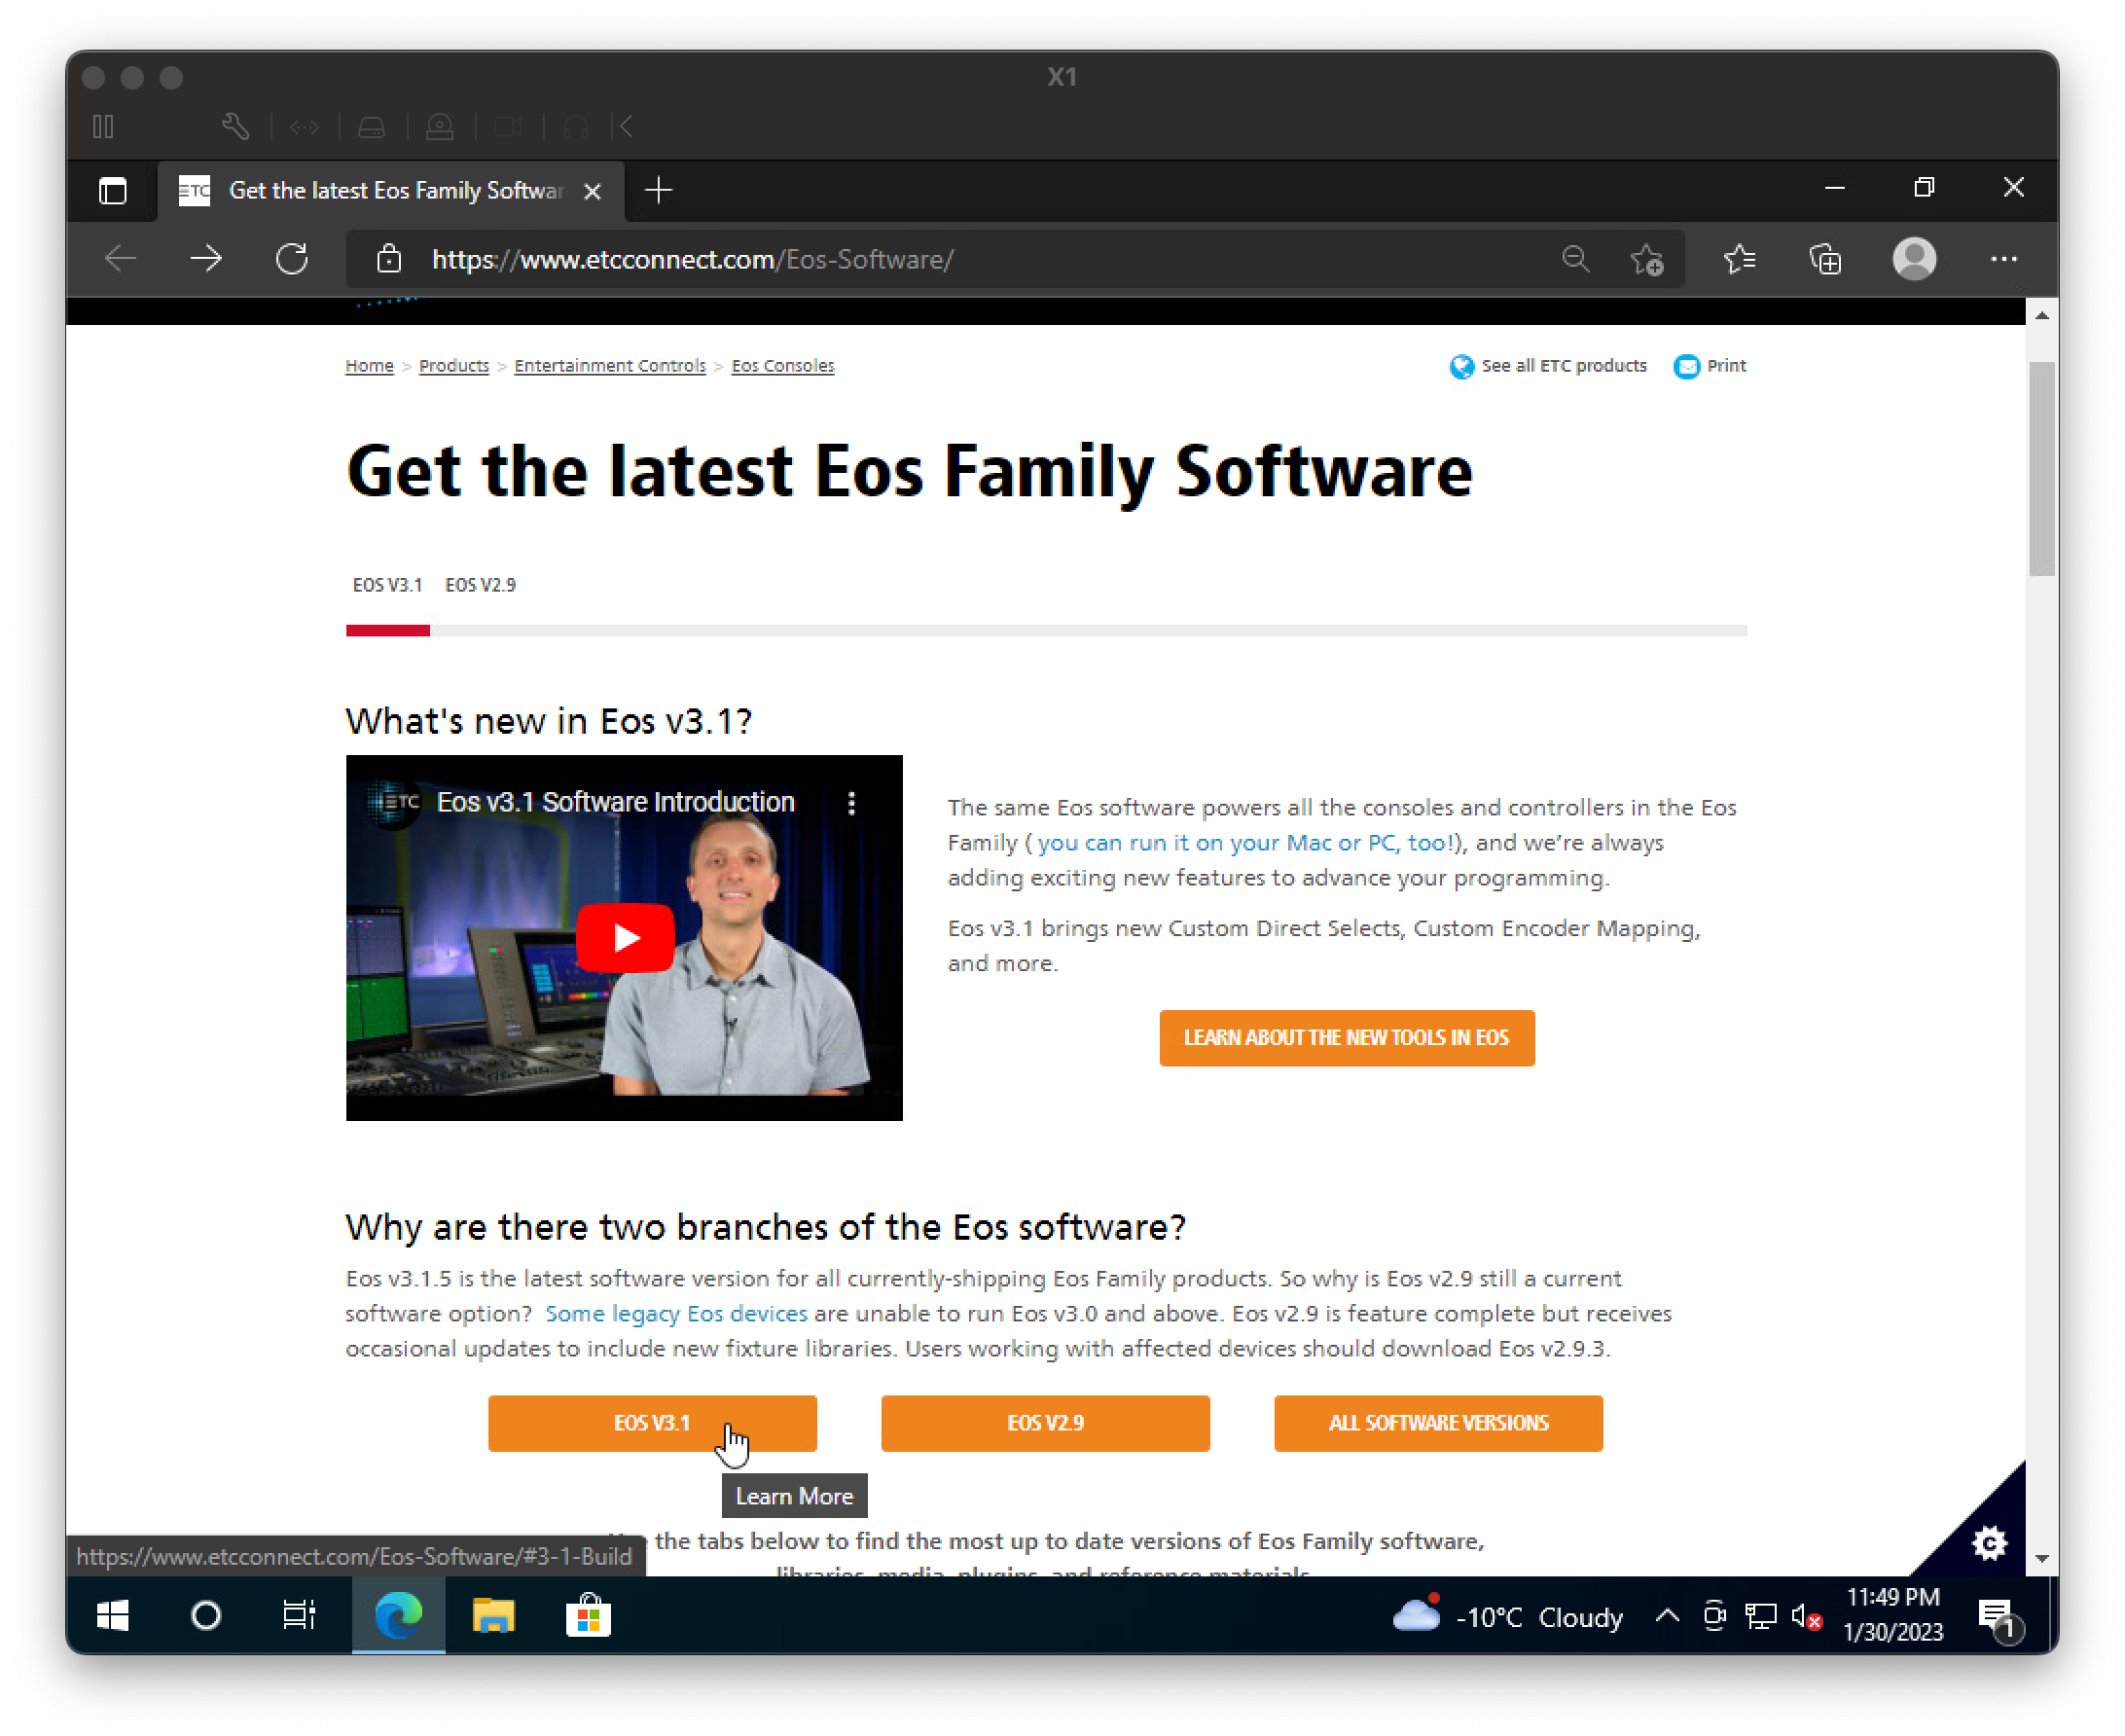
Download and install EOS
This will lead you to the ETC Download EOS Page. From there click on the 3.1 version (or newer) and click the download link for “Eos Family Console Software.” The same package that runs in the console also runs on your computer.
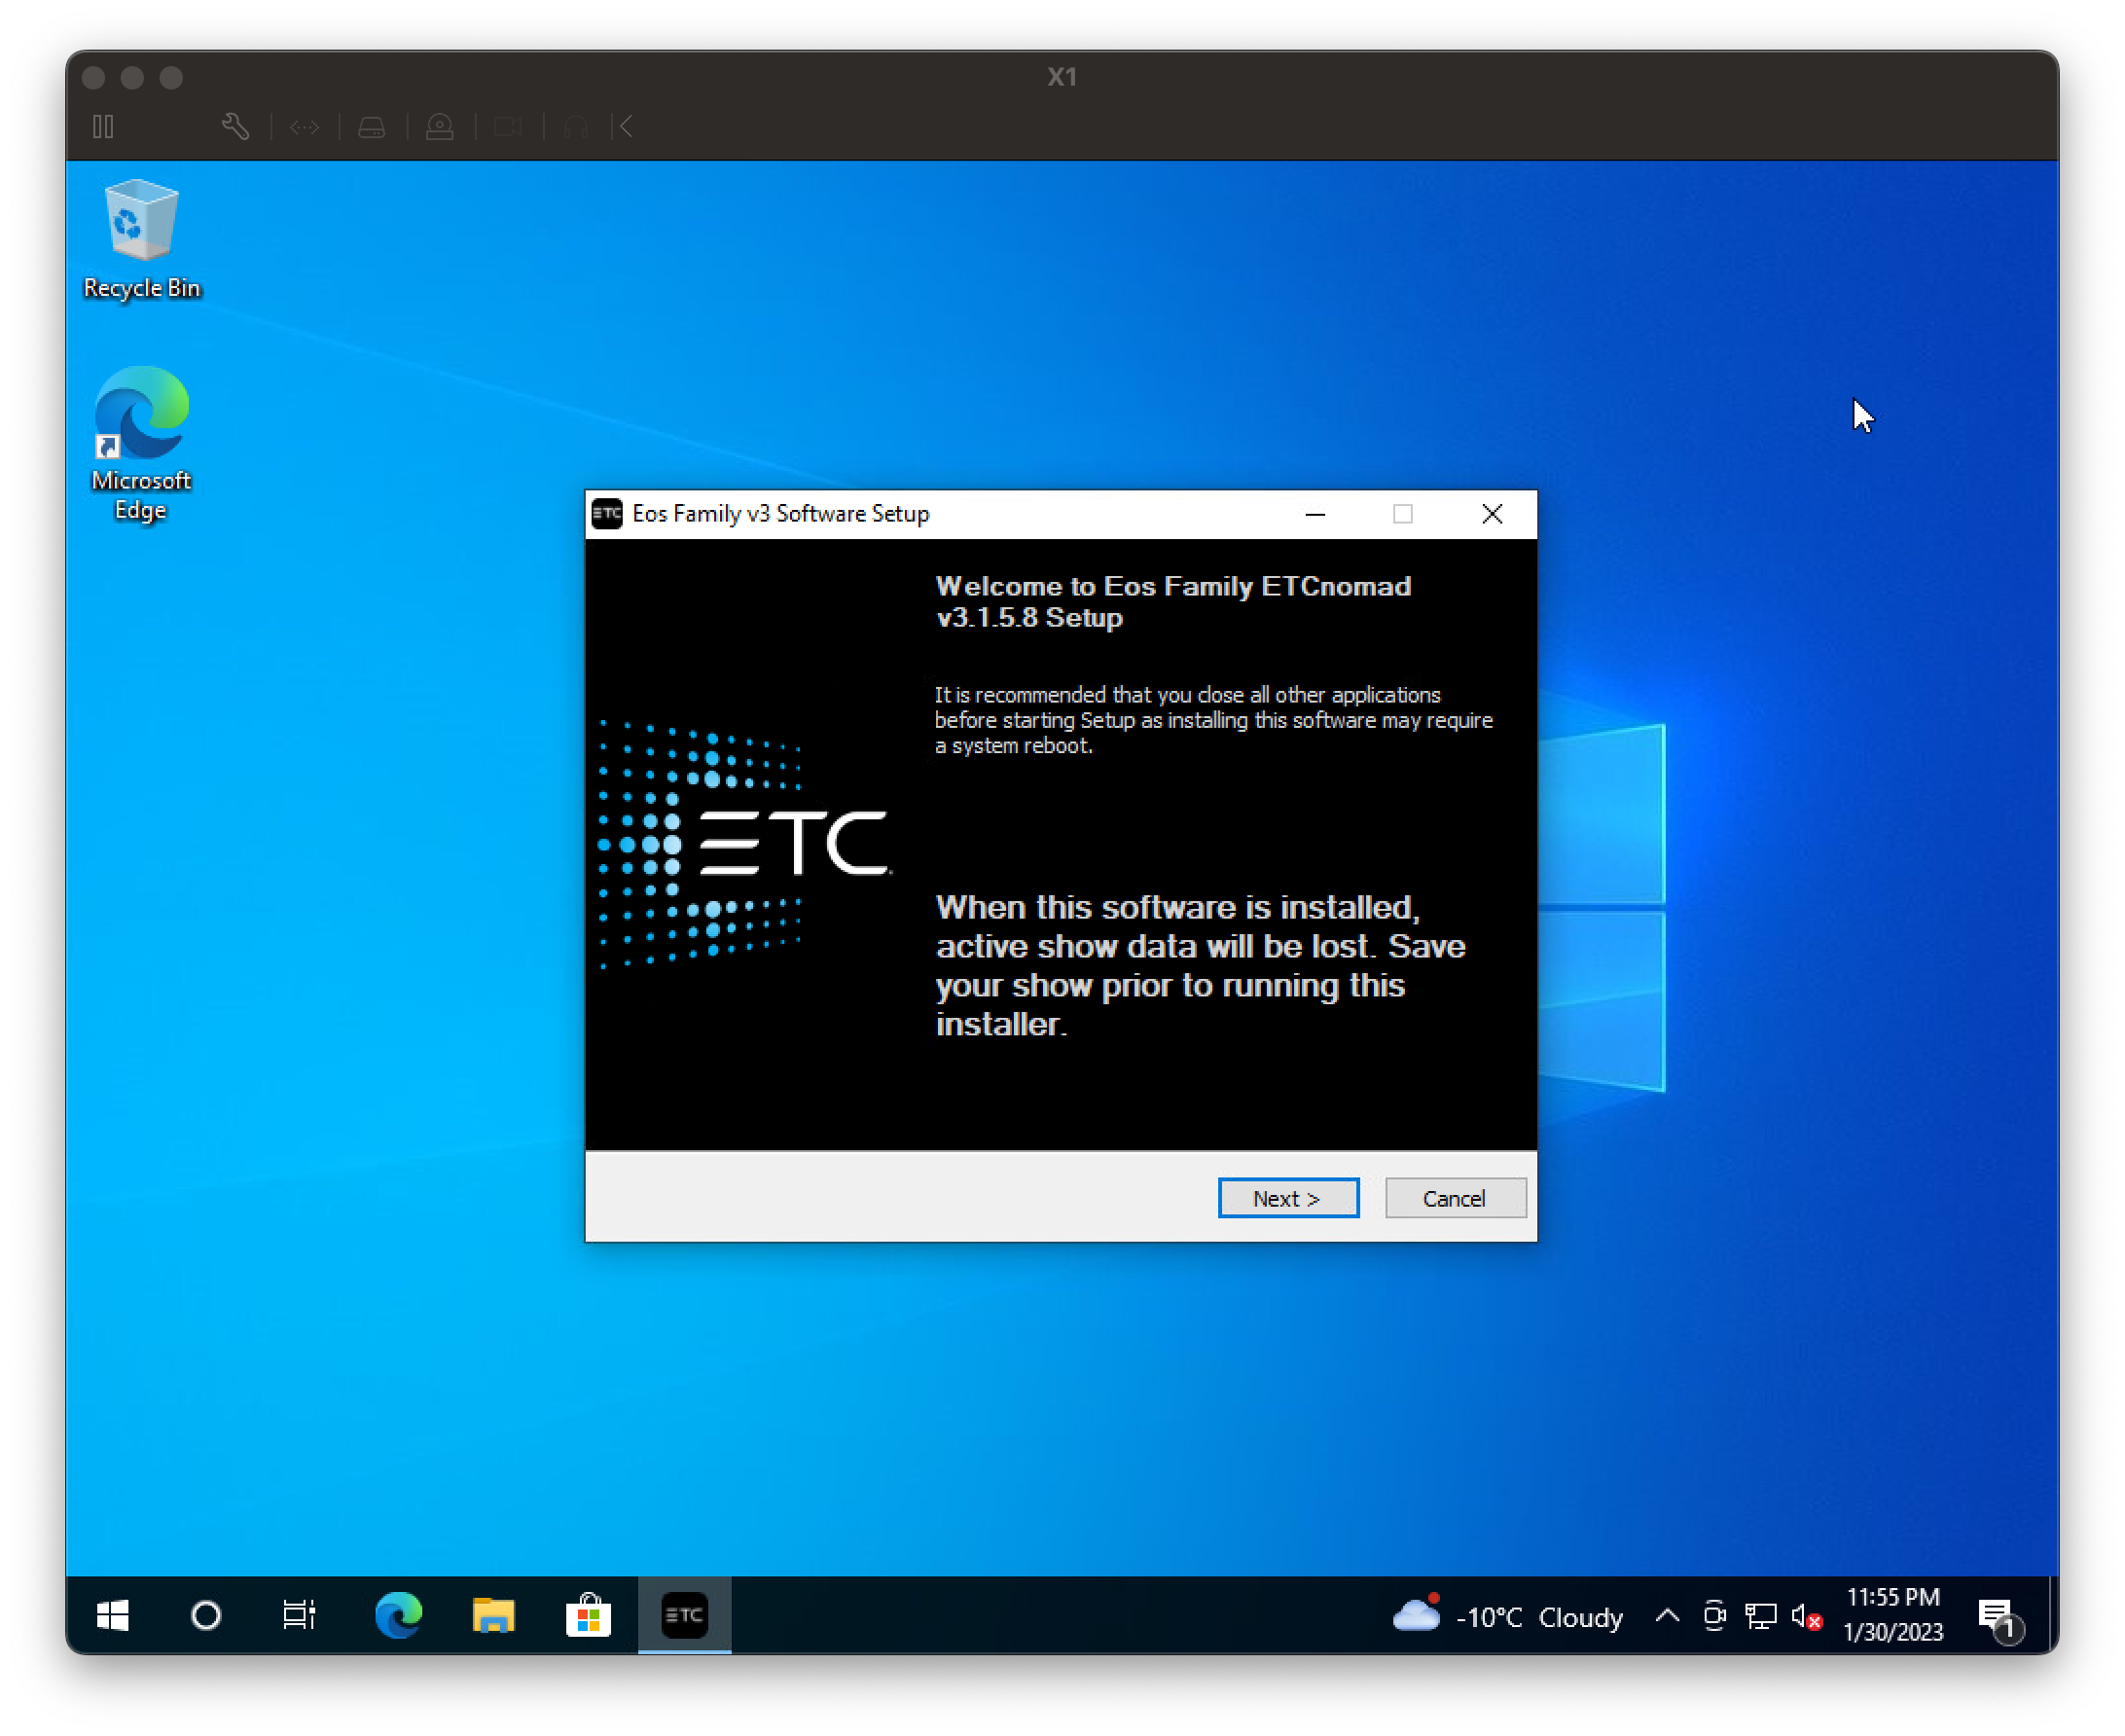
Kick off the installer.
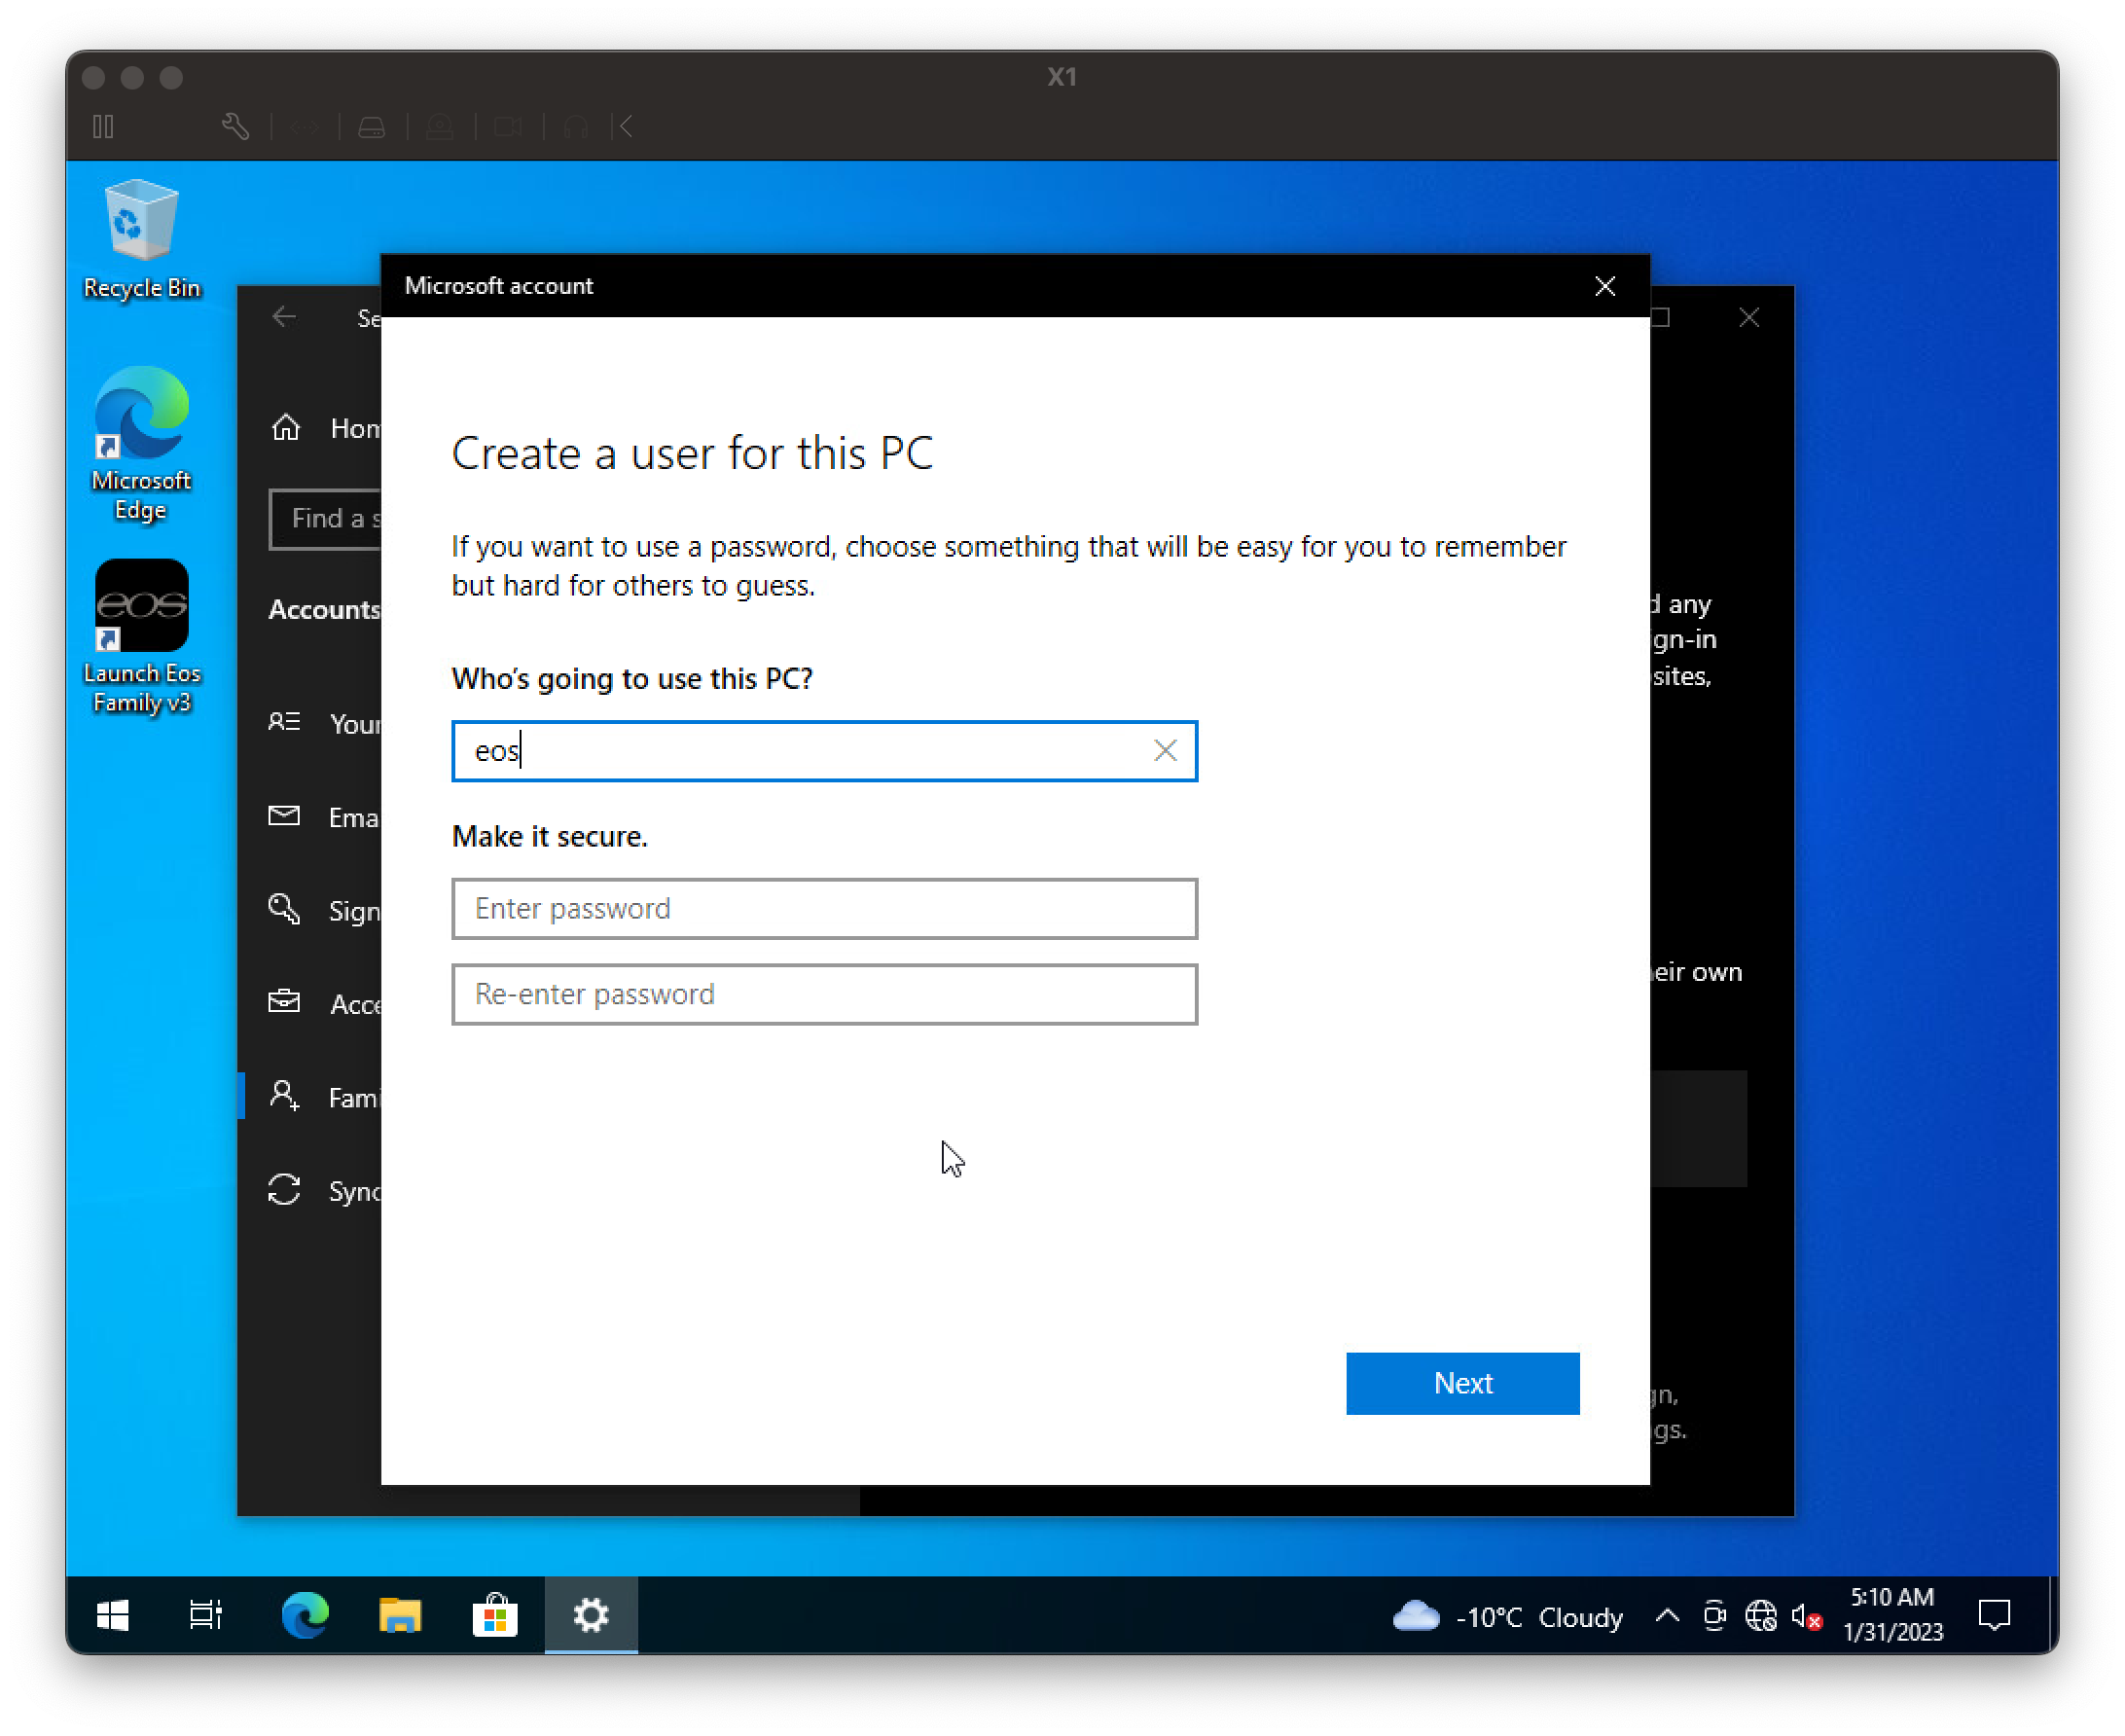
Add ordinary user
I created an account called EOS. Resist all attempts and prompts about using a Microsoft account. This is should be a non-privileged account that will be modified to automatically start EOS. Leave the password fields blank.
Hide the Lock Screen
Quick bit of terminology: Windows has a login screen and it has a lock screen. The lock screen covers the login screen. You know what it looks like.

It requires an extra key press or mouse click before you can get to the login screen. The login screen it where you select a user and enter a password (if any). That means it’s something that stands in between you can getting work done. Let’s get rid of it.
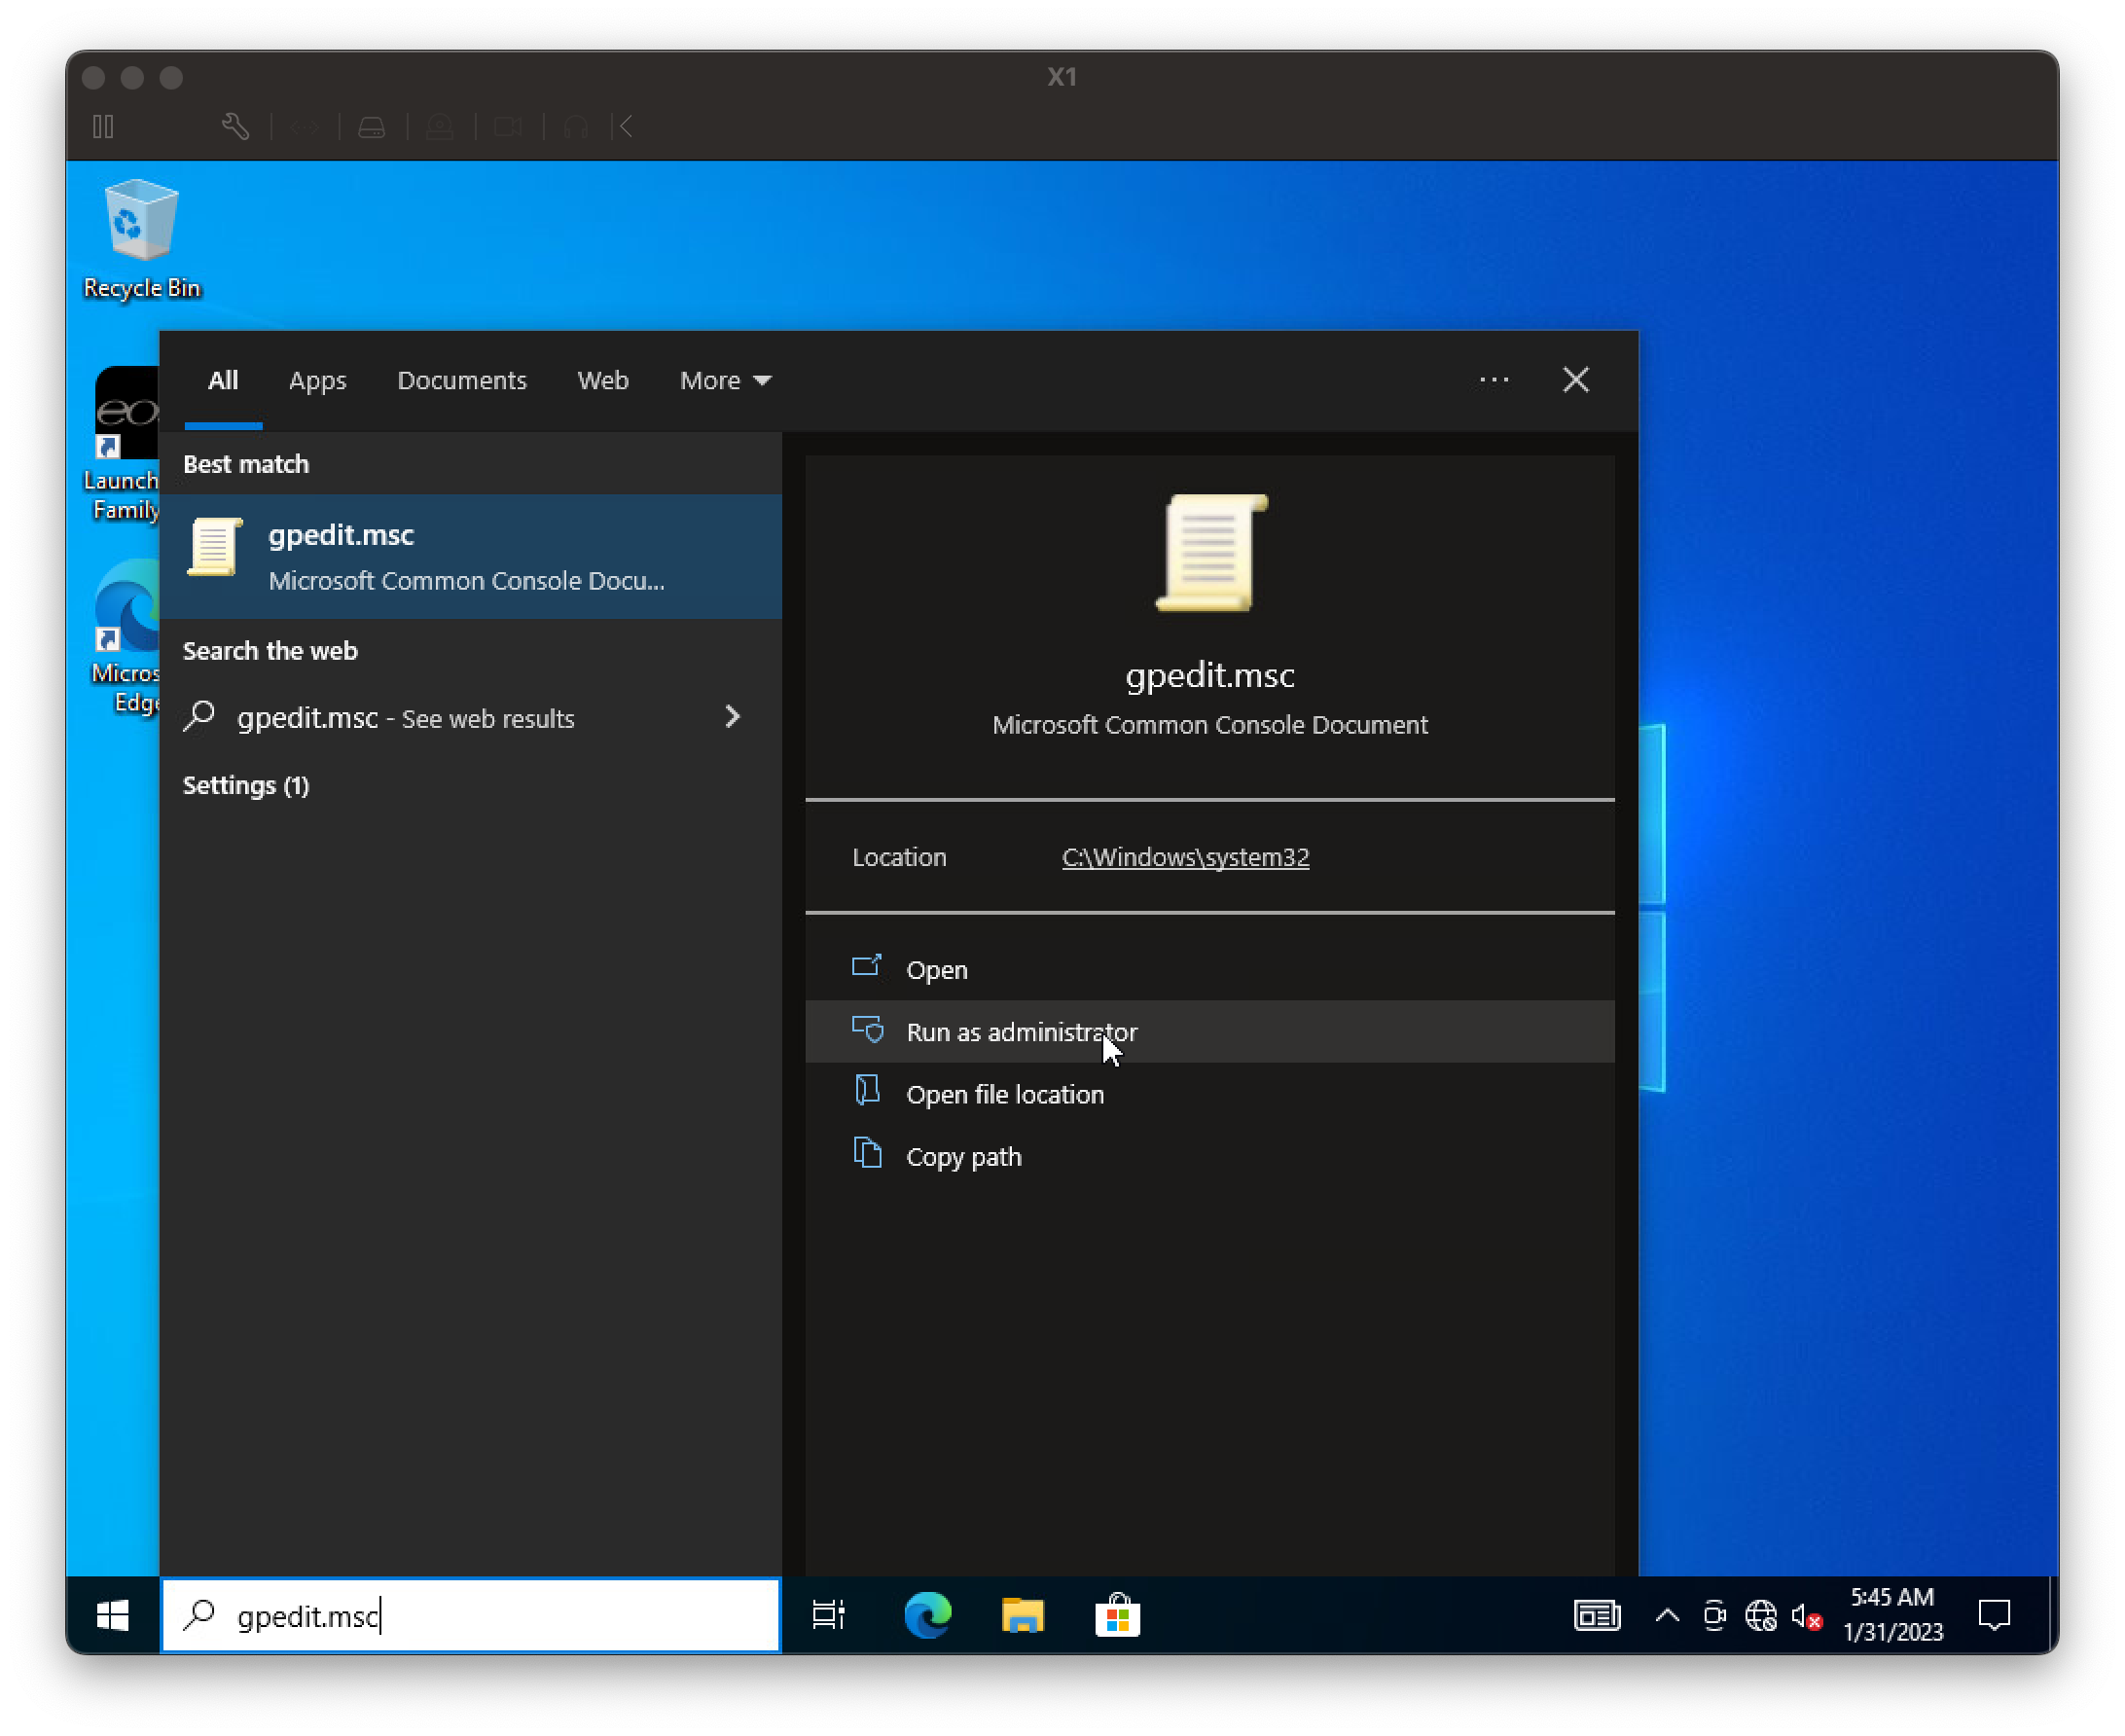
Click on the search box and type “gpedit.msc” (without the quotes, of course) and choose Run as administrator. Using the navigation on the left pane, go to Computer Configuration > Administrative Templates > Control Panel > Personalization. In the right pane, there is an option to “Do not display the lock screen.” Double click on that. Click “Enable” on the popup window and click OK. Then exit out of Group Policy Edit.
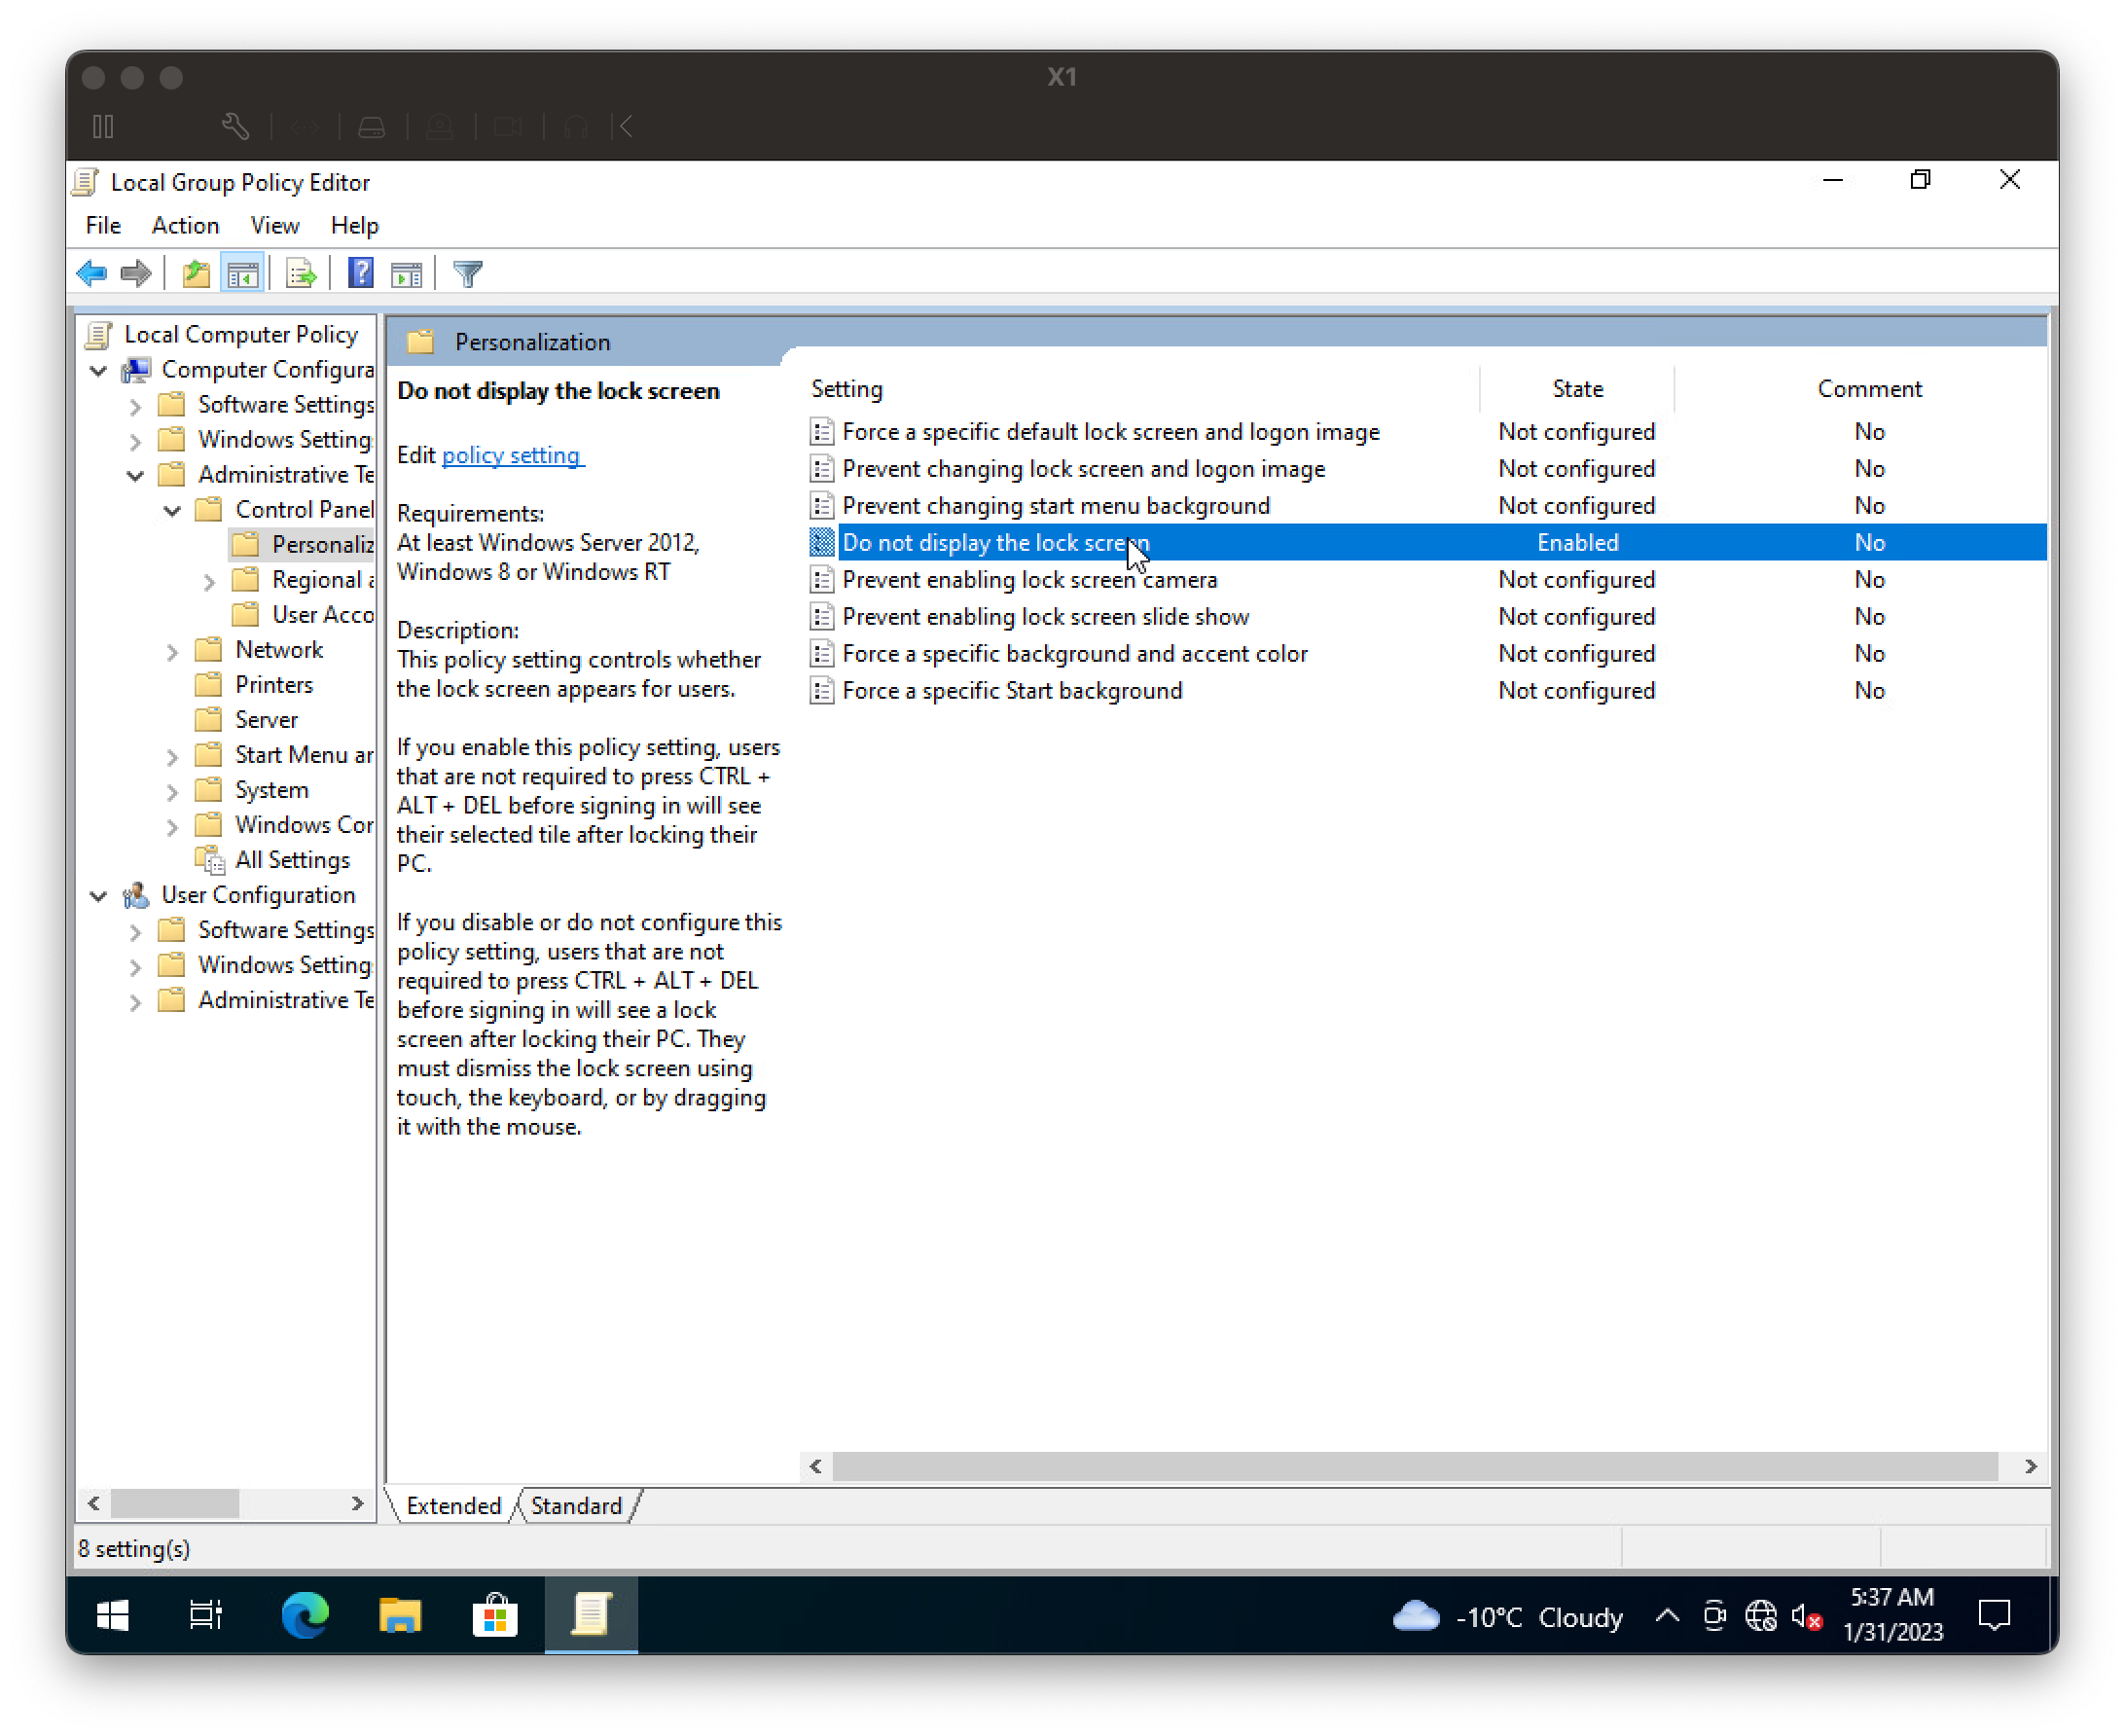
I do this now for ALL of my Windows computers no matter what I use them for.
Change User Interface for the EOS User
This is the big one. It’s what we’ve been working towards to make our computer feel more like a console. Log out of the admin account and log into the eos account.
Type “regedit.exe” into the search bar choose Run as administrator since the eos account isn’t an administrator. You’ll be prompted to enter a password for the admin account and if you haven’t set it yet, leave password blank. Navigate to the location in the Registry Editor.
HKEY_CURRENT_USER\Software\Microsoft\Windows\CurrentVersion\Policies
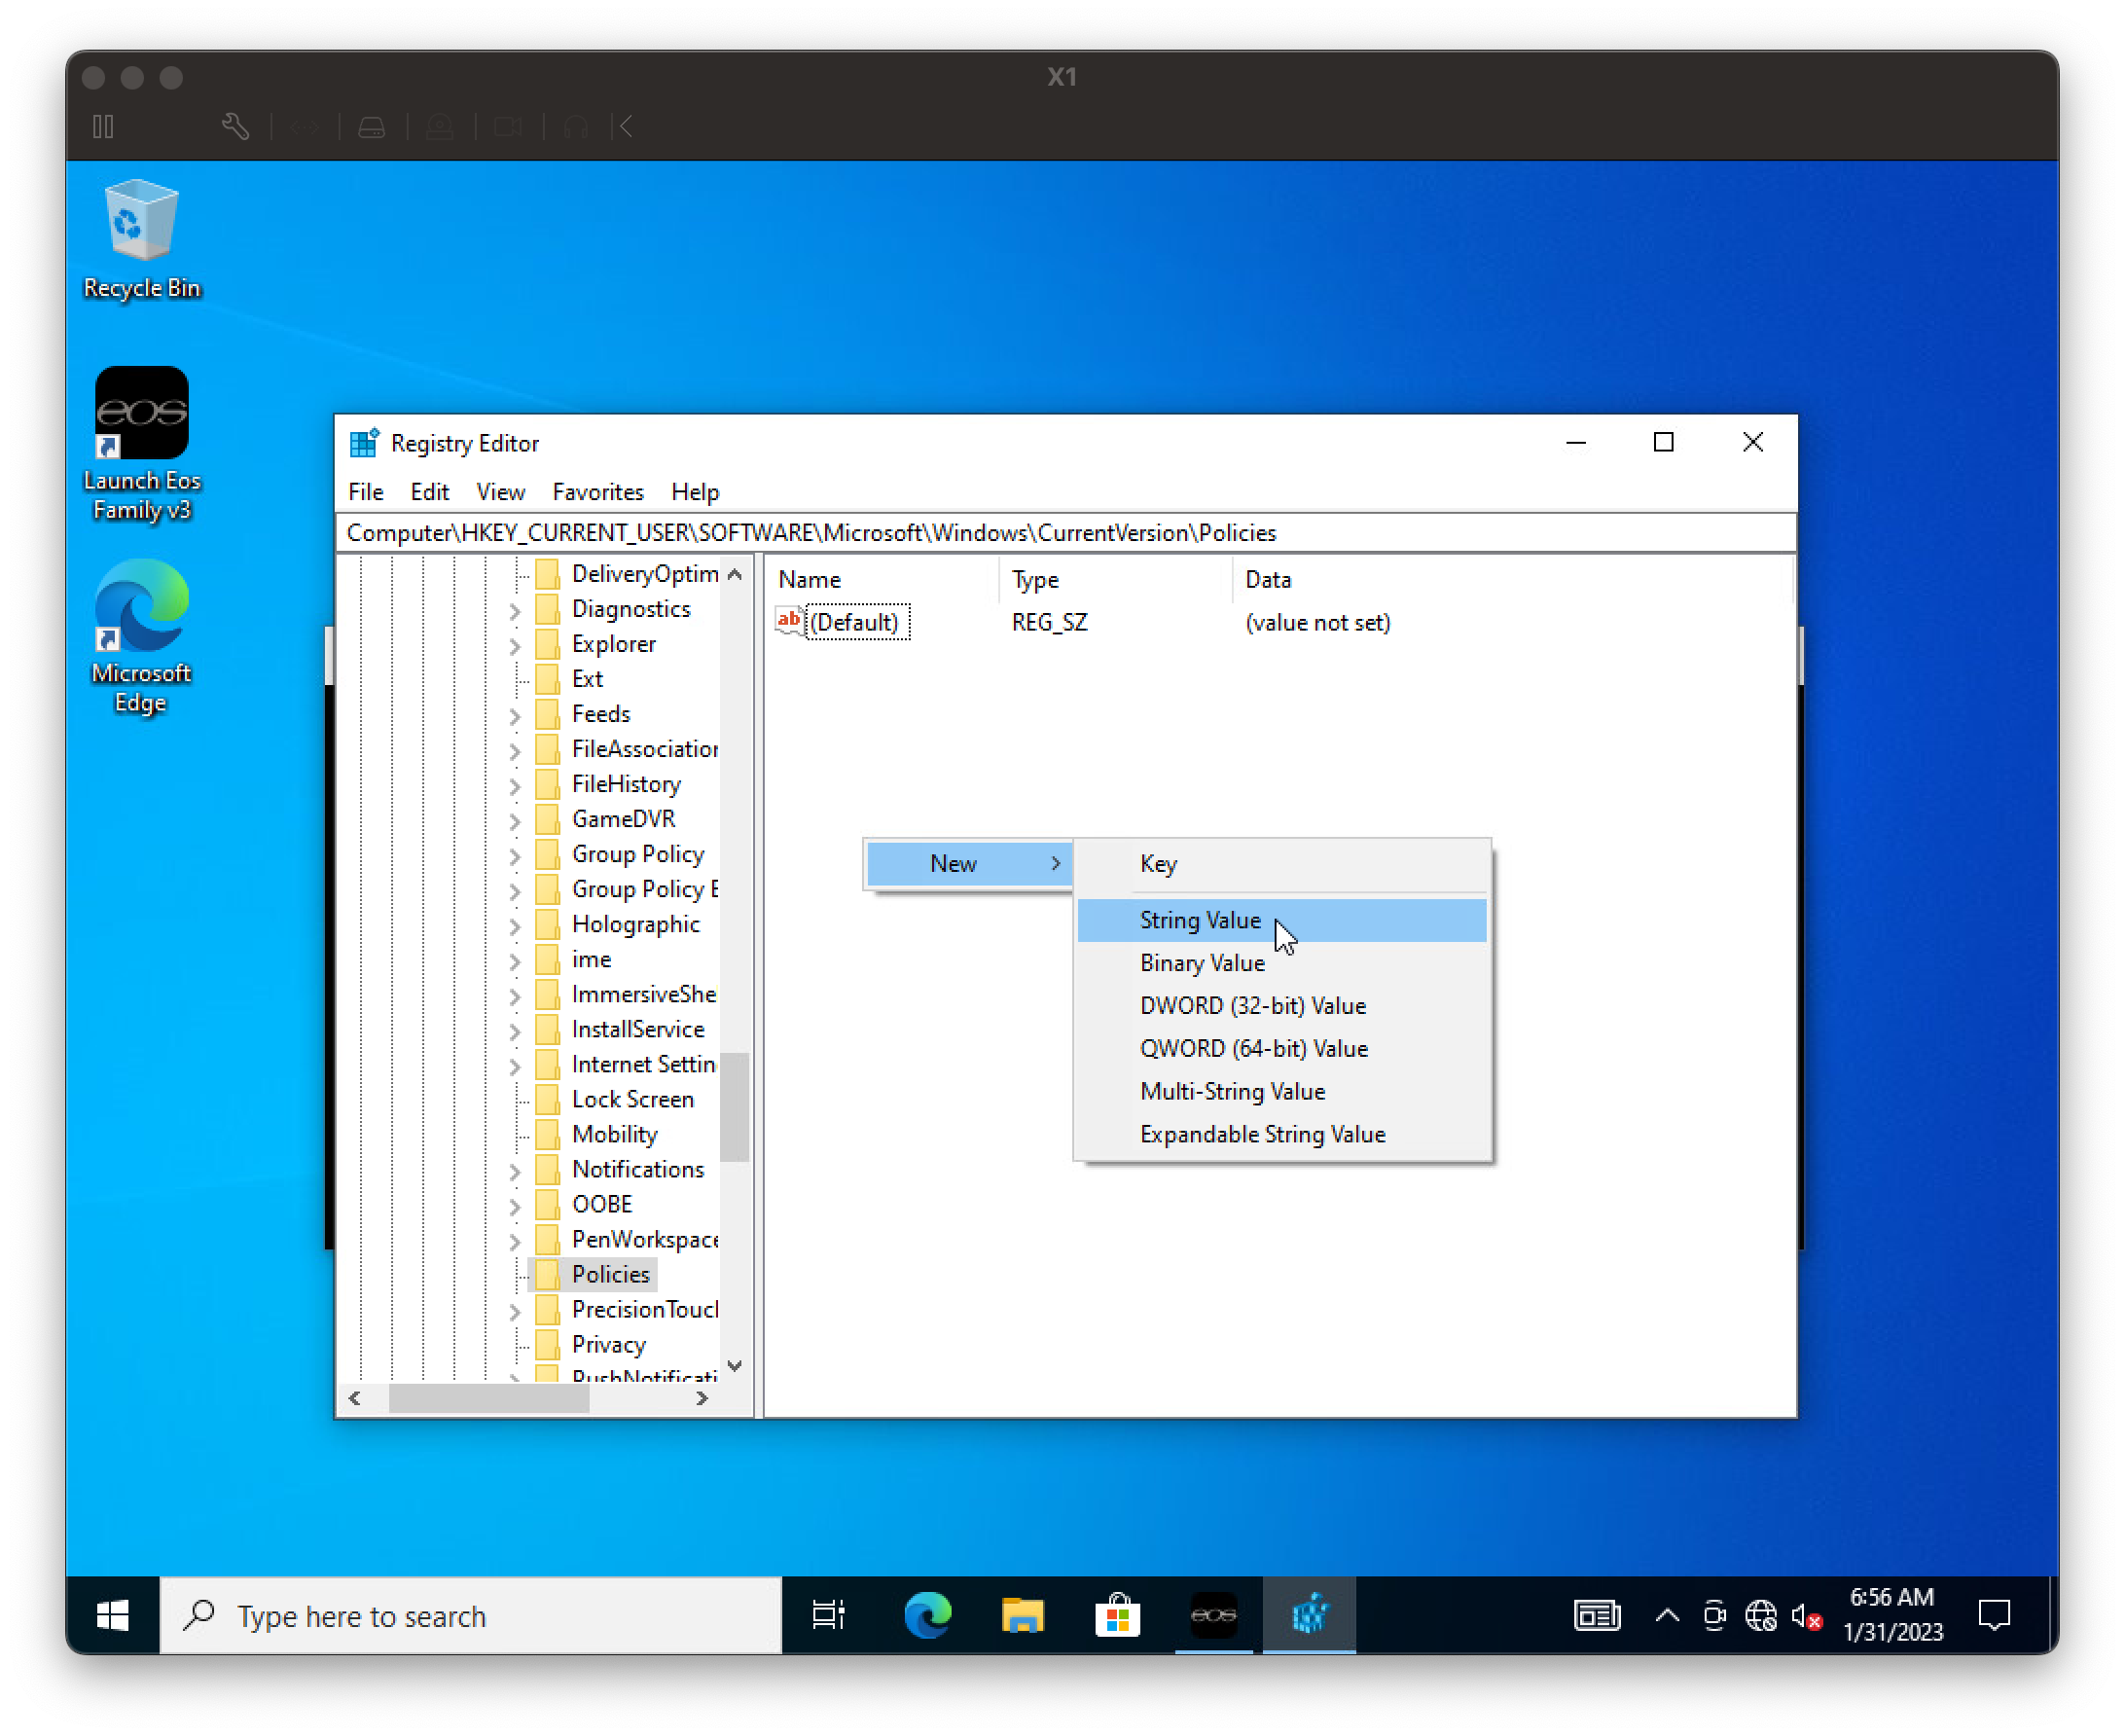
We will add a String value. The name of the value is “Shell” without the quotes. The value should be this with the quotes included.
"C:\Program Files\ETC\EosFamily\v3\ETC_Launch\ETC_LaunchOffline.exe"
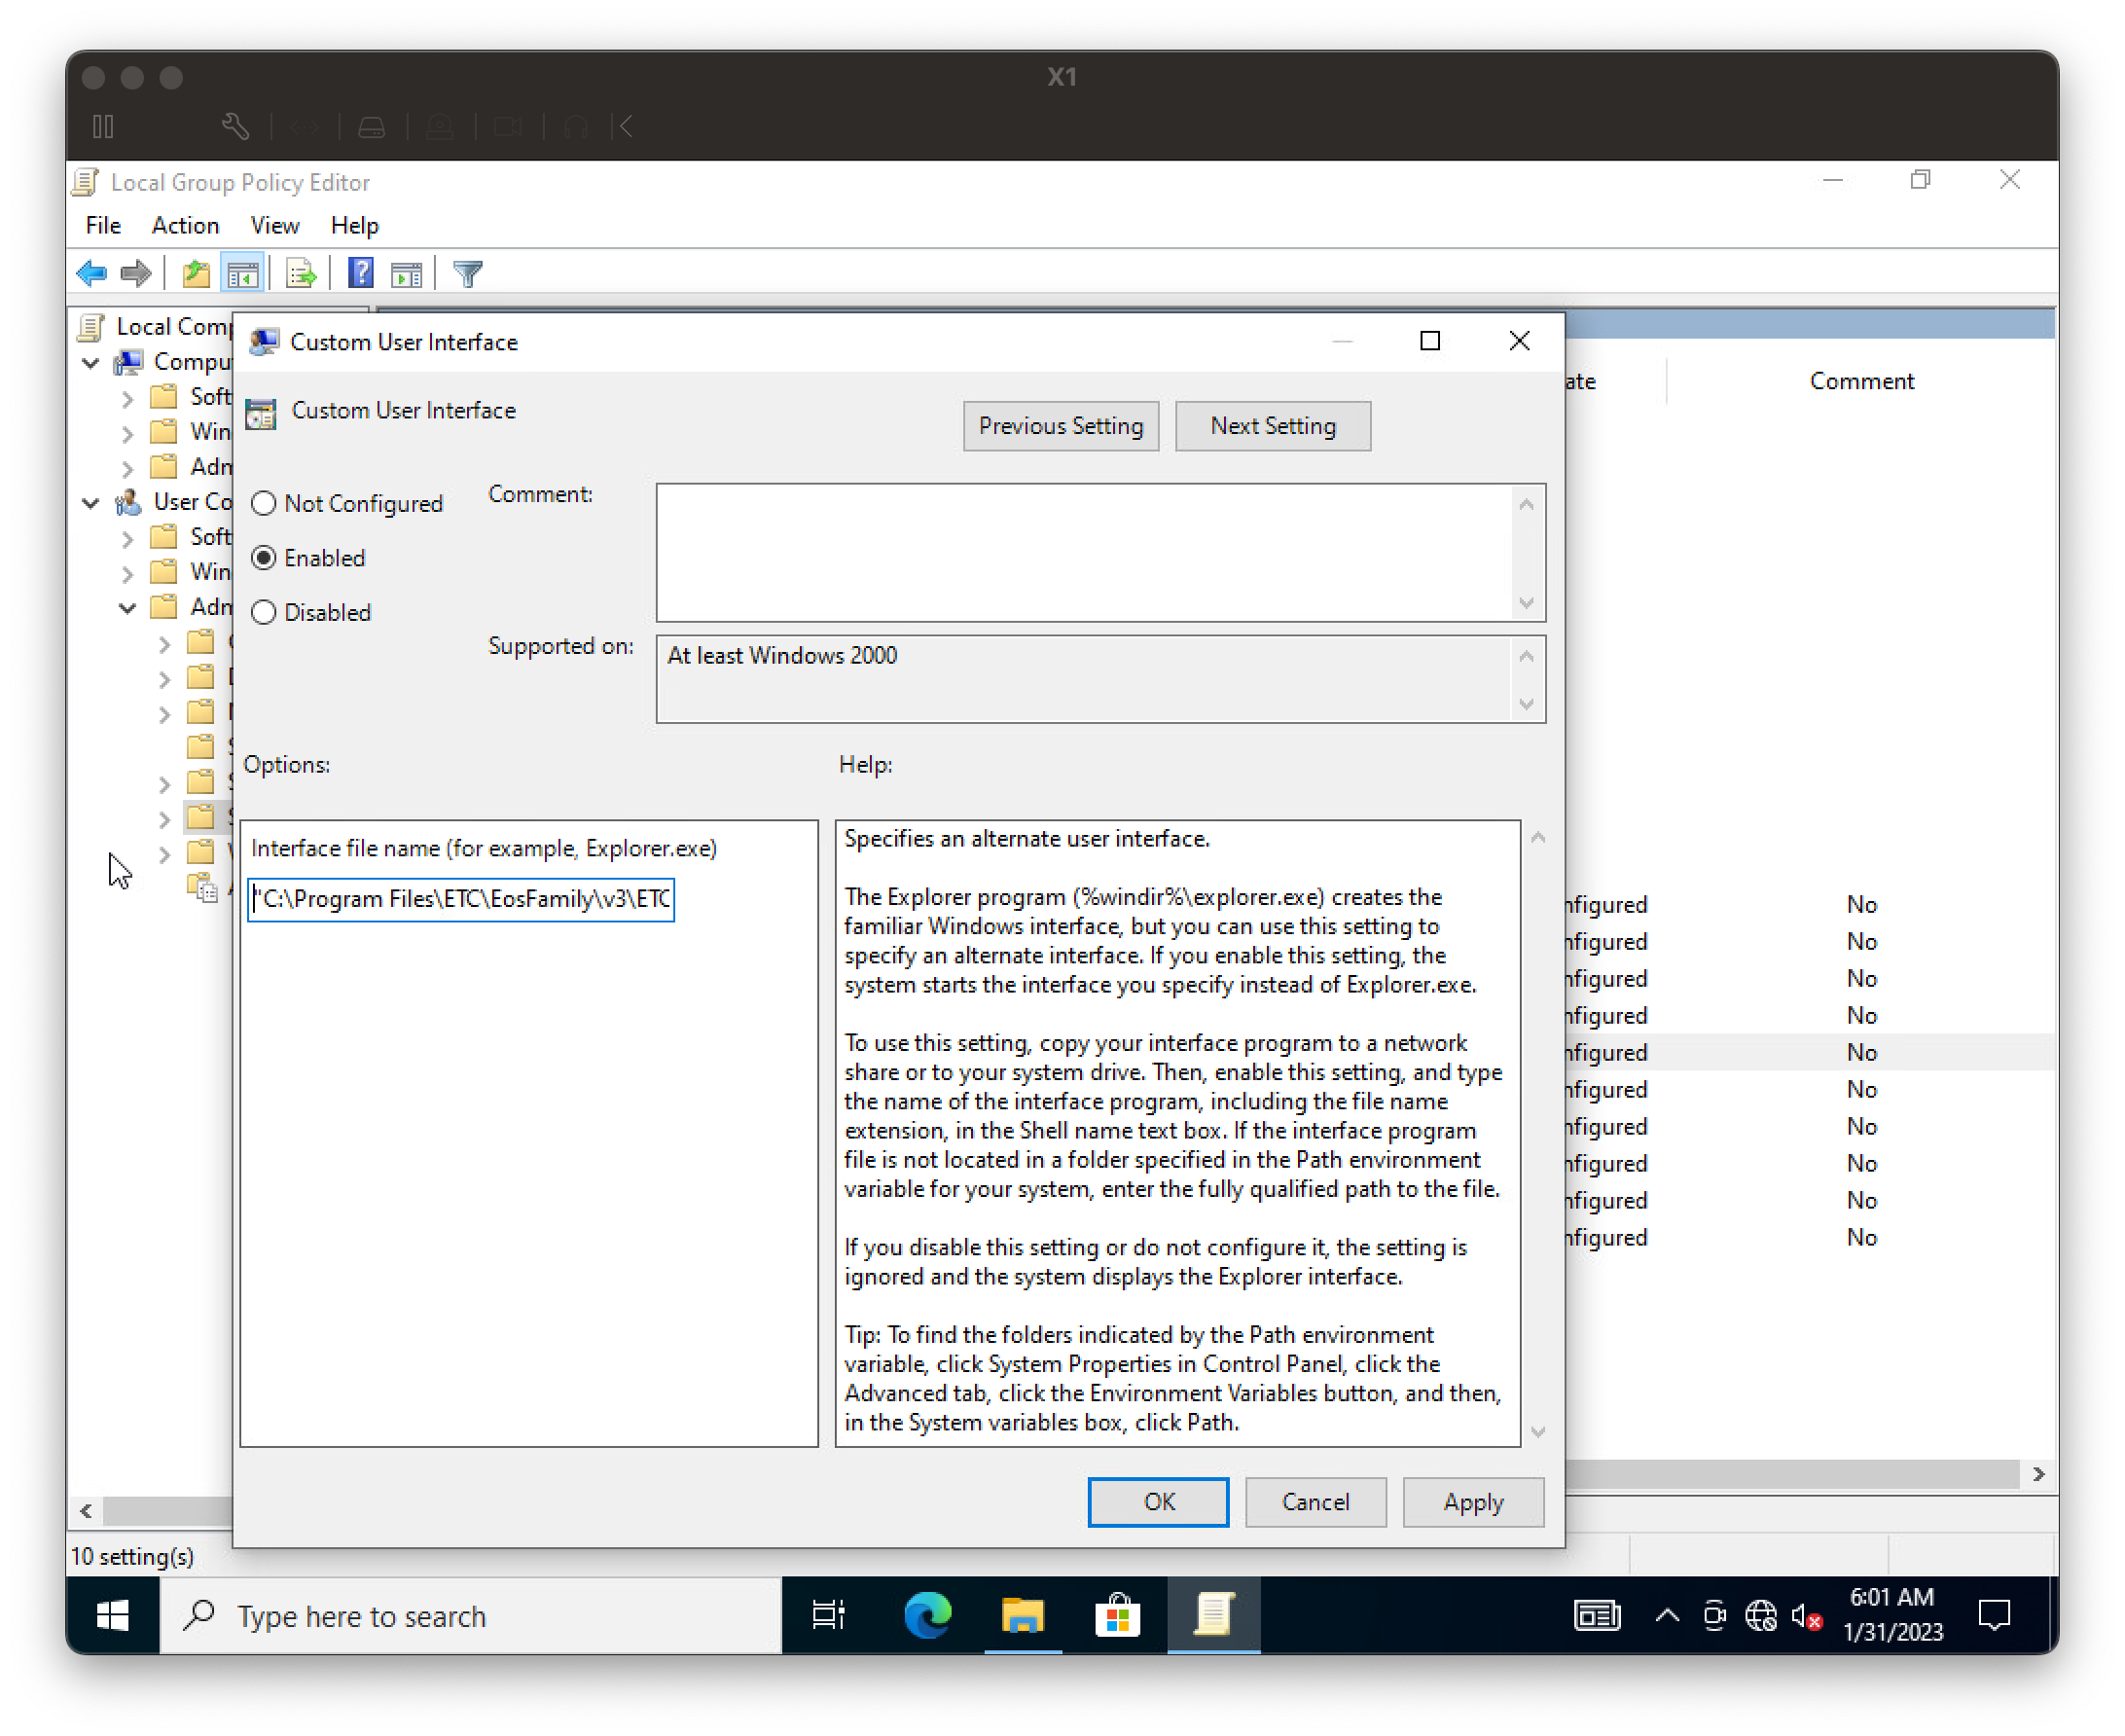
Launch EOS
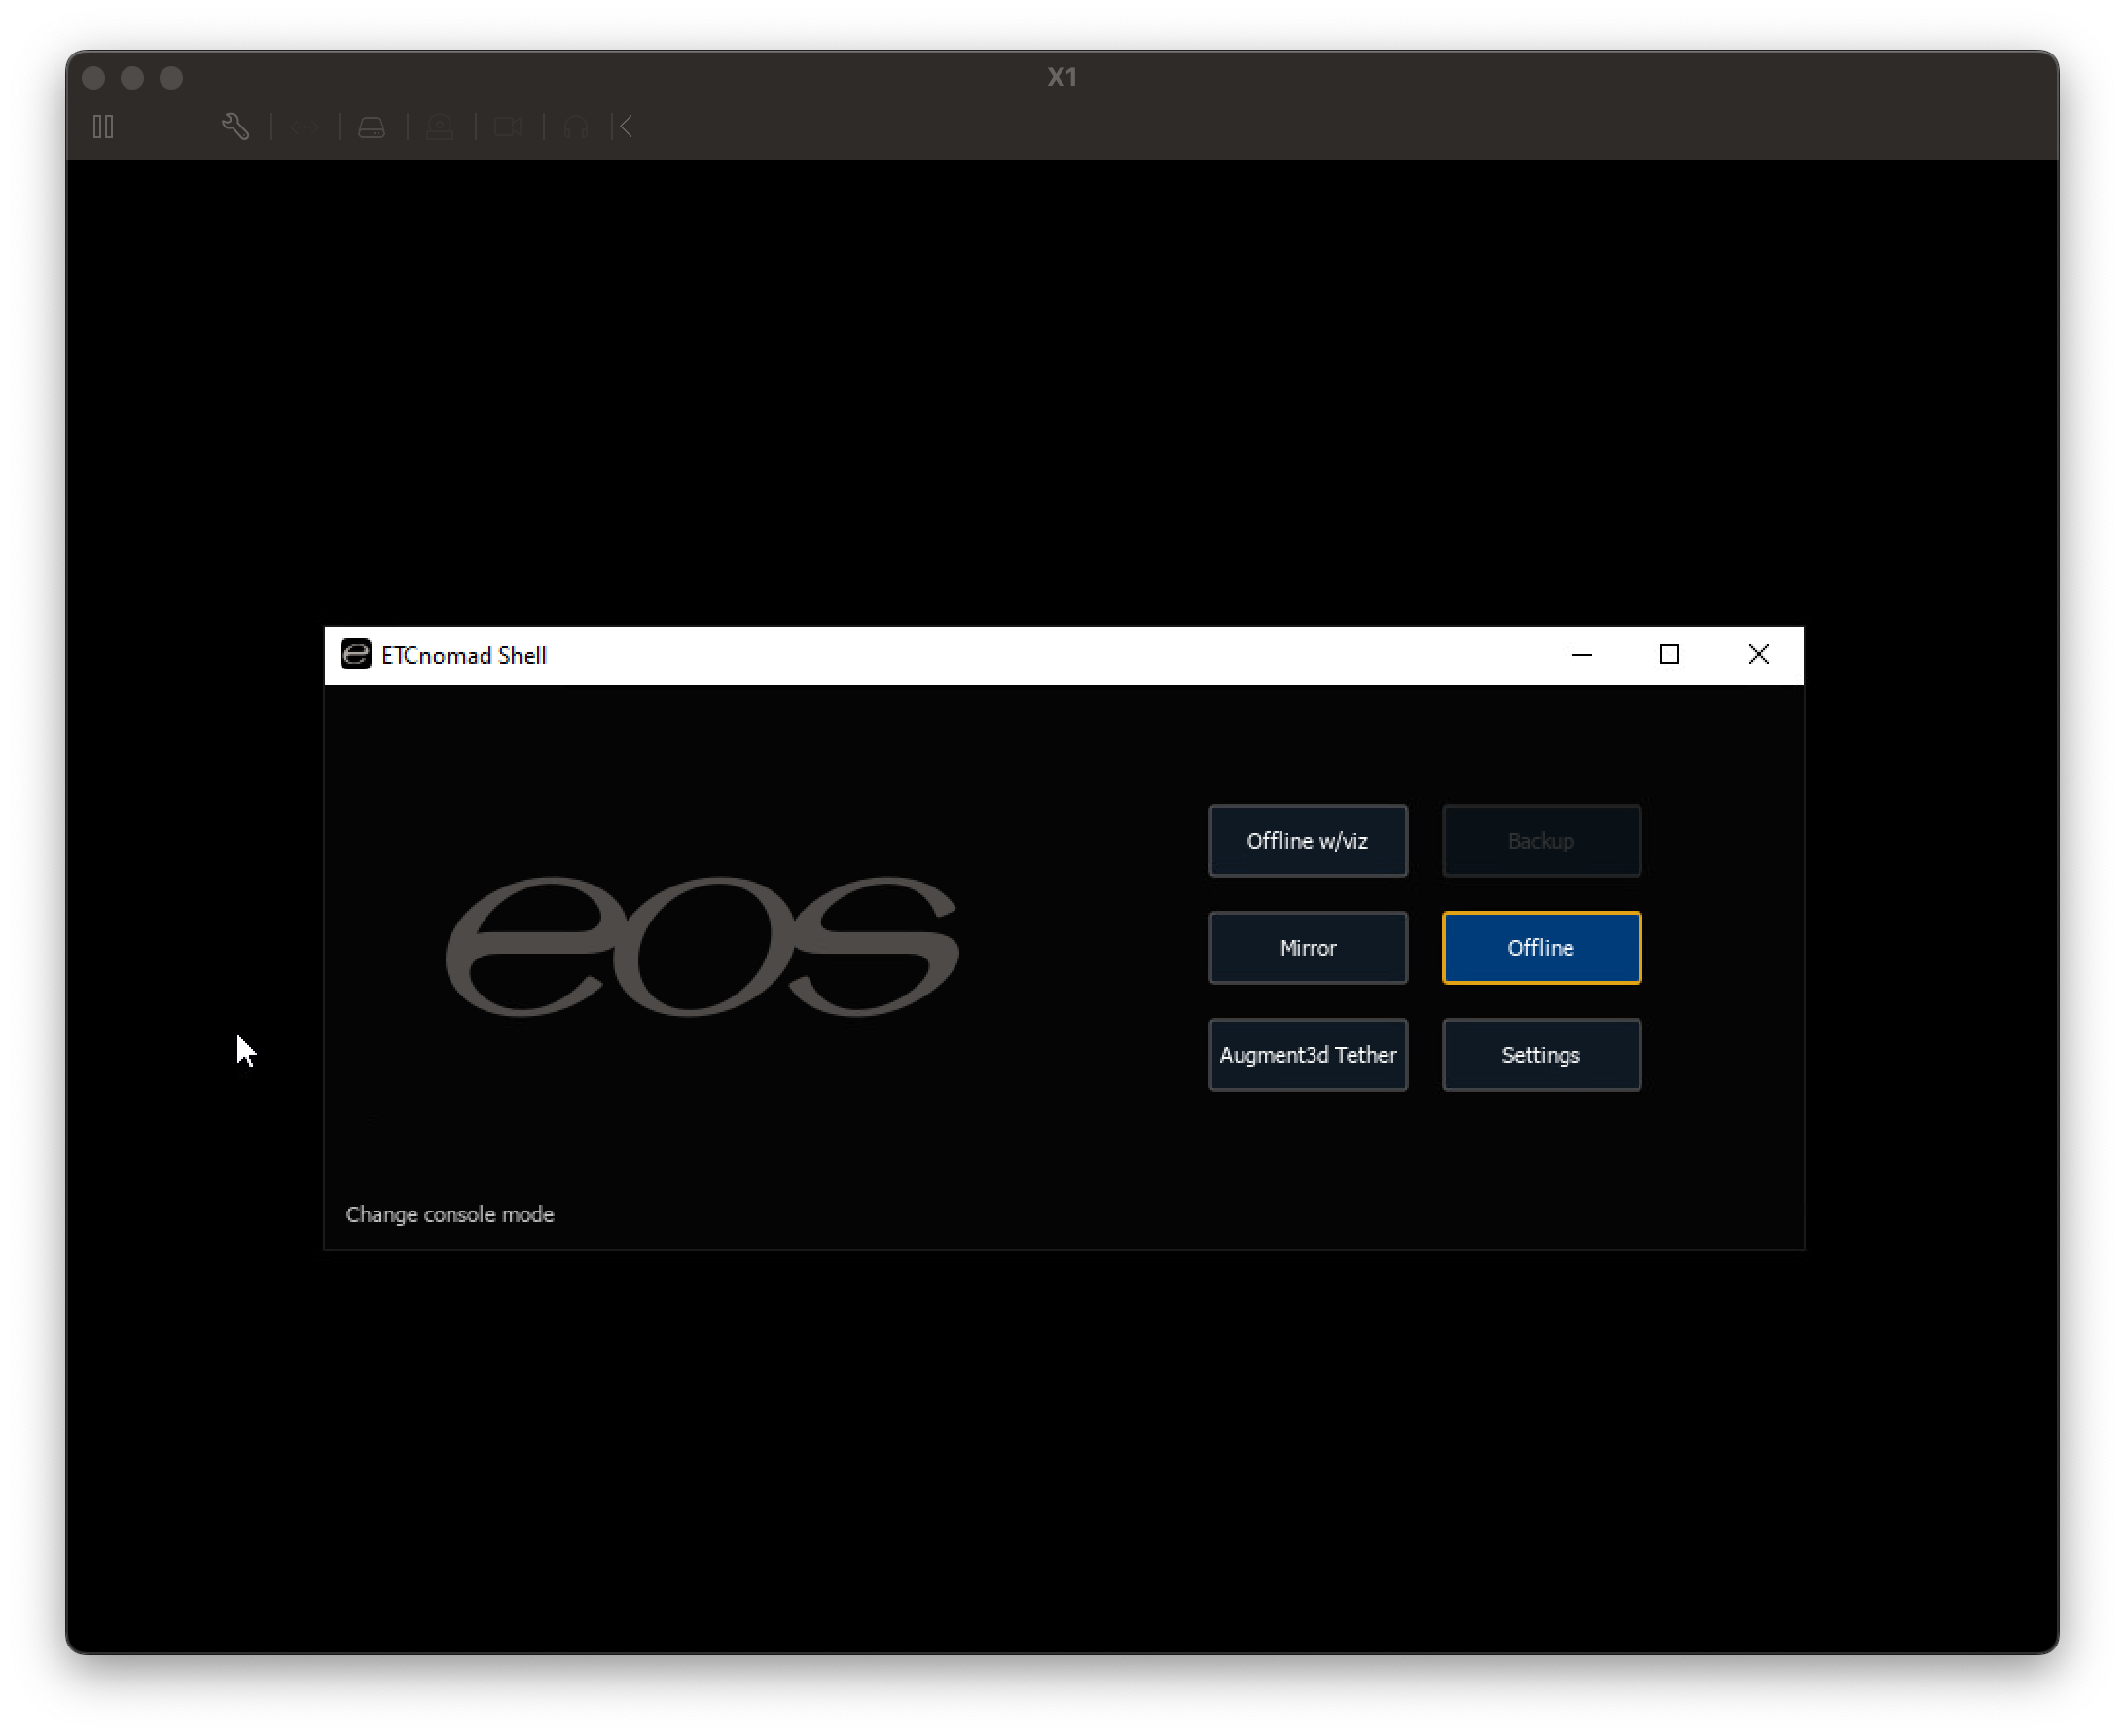
Log out of the eos user and log back in again. It will take you straight into the EOS Shell window. No start menu. No background. Nothing to get in the way. If prompted, choose the console version you want.
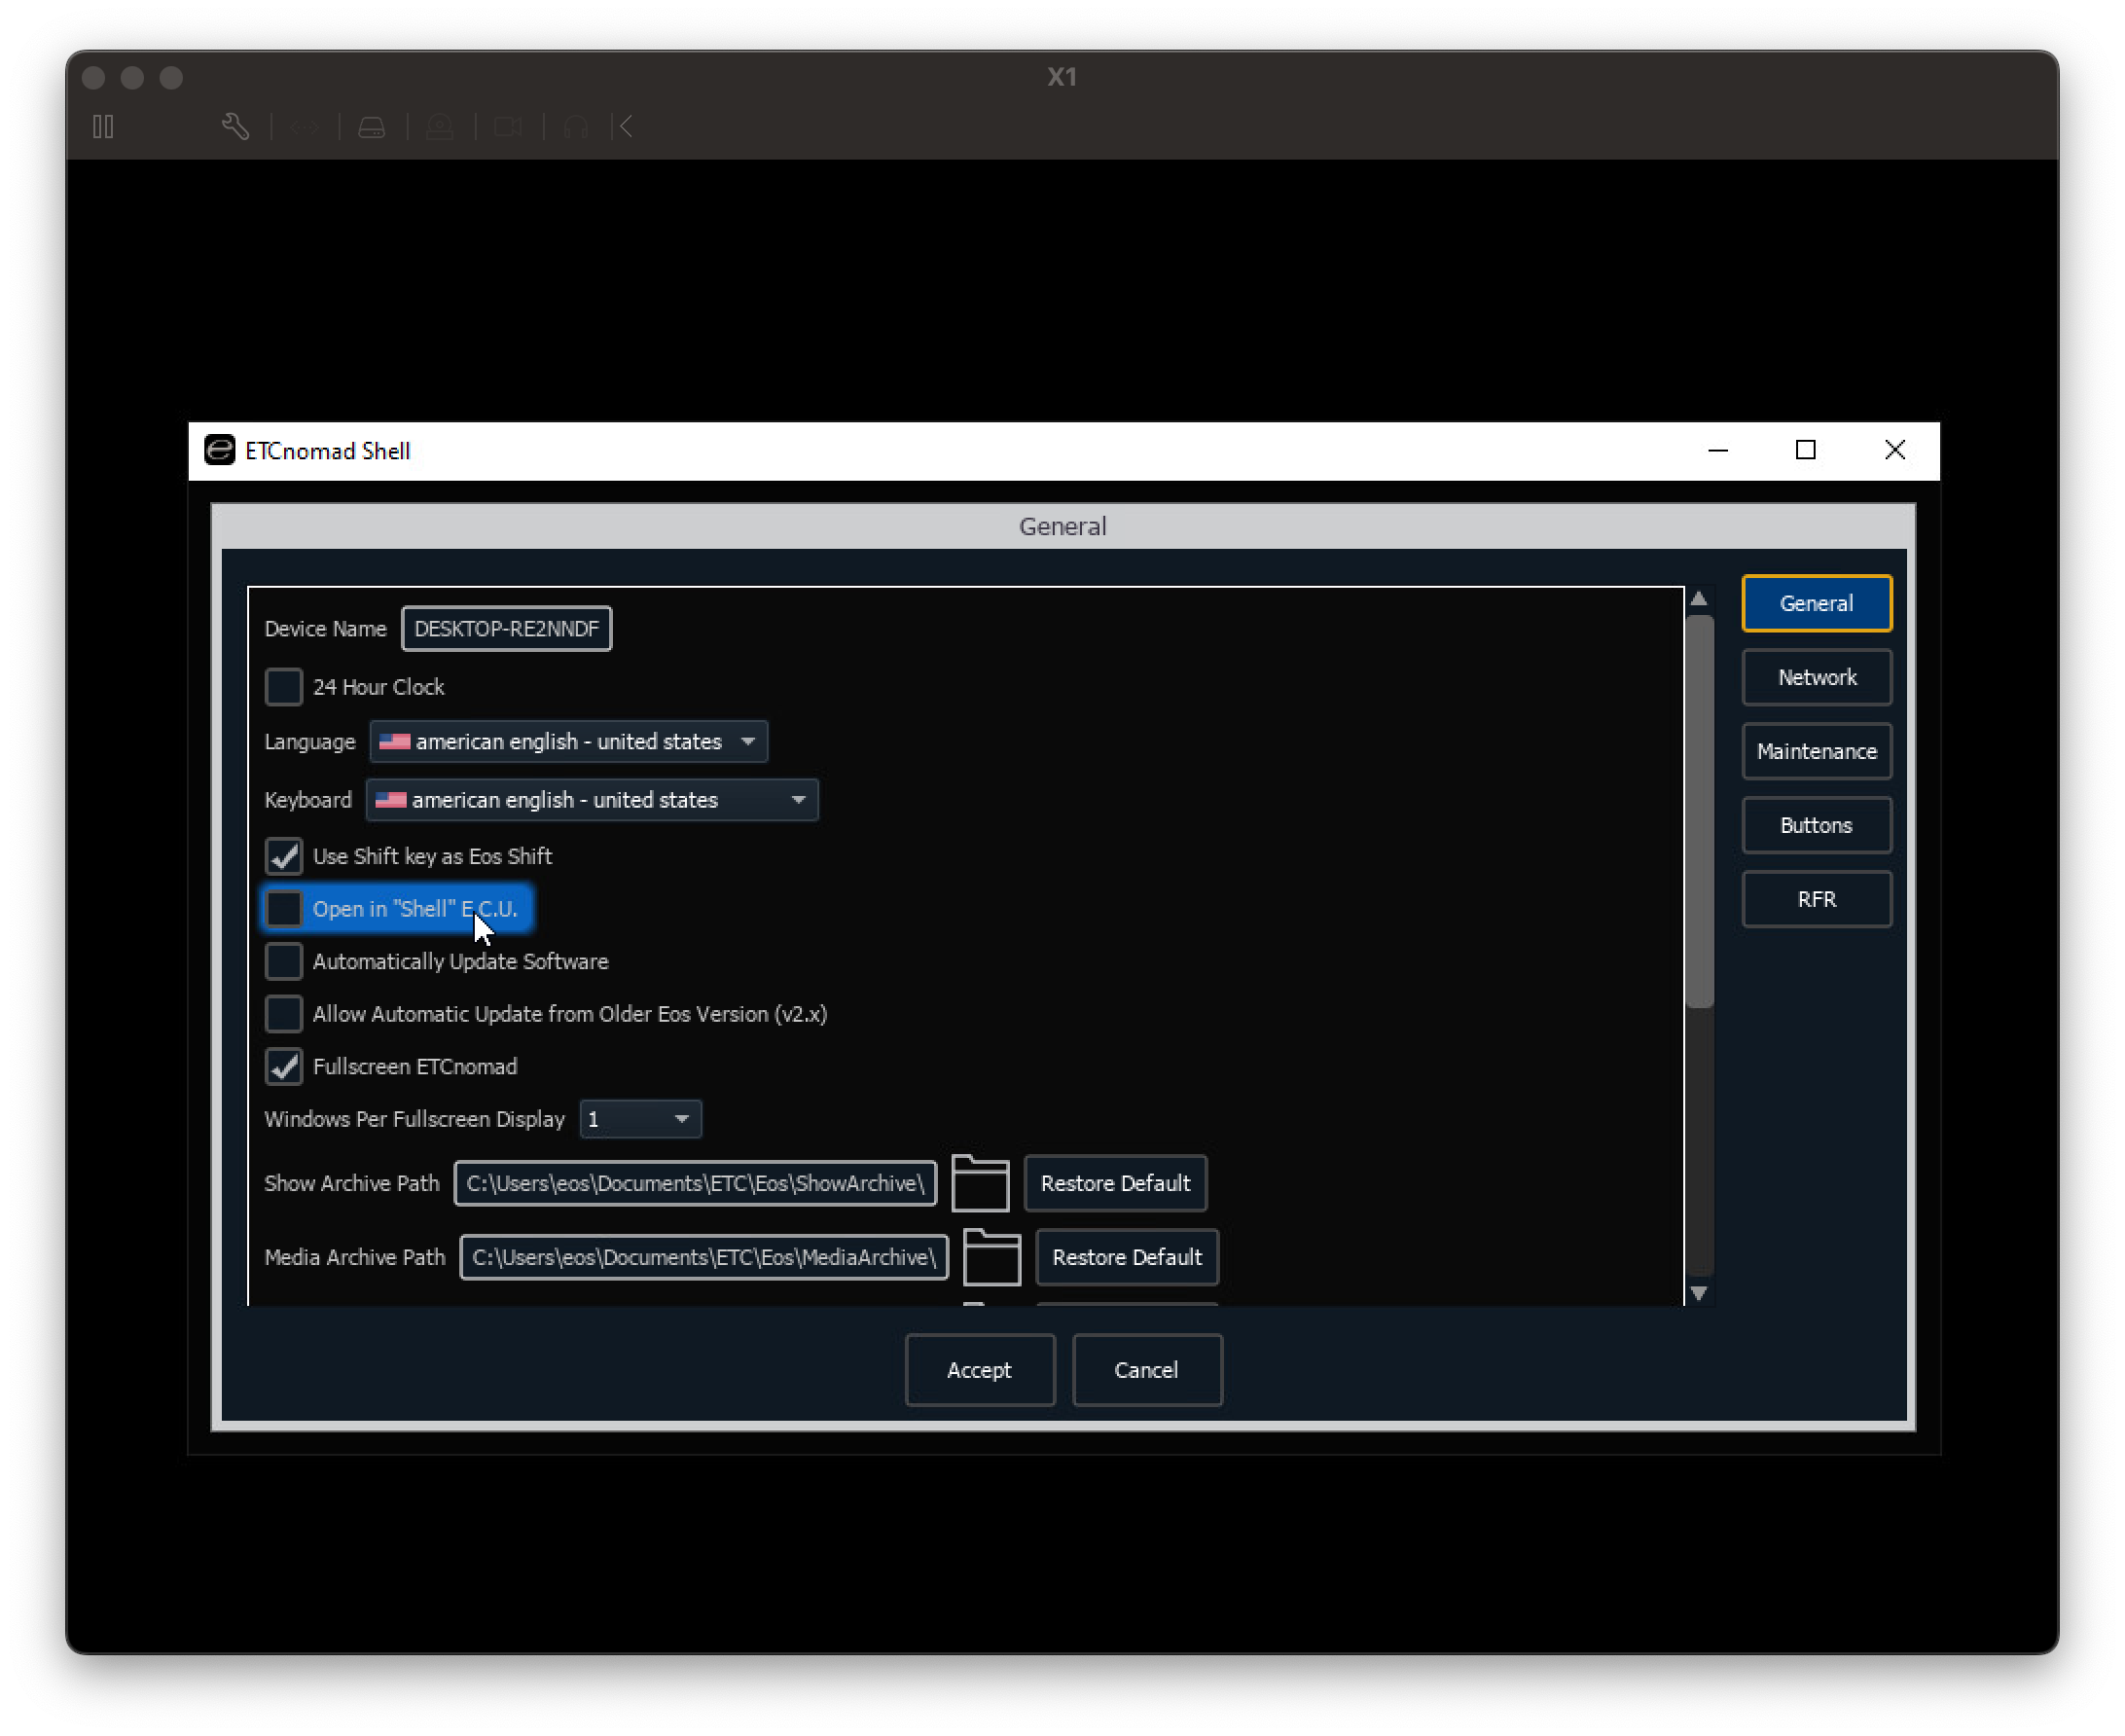
The next setting you want to change is to get the EOS shell to launch straight into the EOS Application at boot. Uncheck this box and press Apply. FYI - This setting is the same as real consoles.
Reboot and clock the boot
Now it’s time to restart the computer and see how clean the whole experience is.
Wait a second. How do you shutdown? There’s no shutdown button on the dialog and if I close the EOS Shell dialog, all there is to see is a black screen. None of the Windows shortcut keys even work. Except one.
Control-Alt-Delete to the rescue. Go ahead, press them.
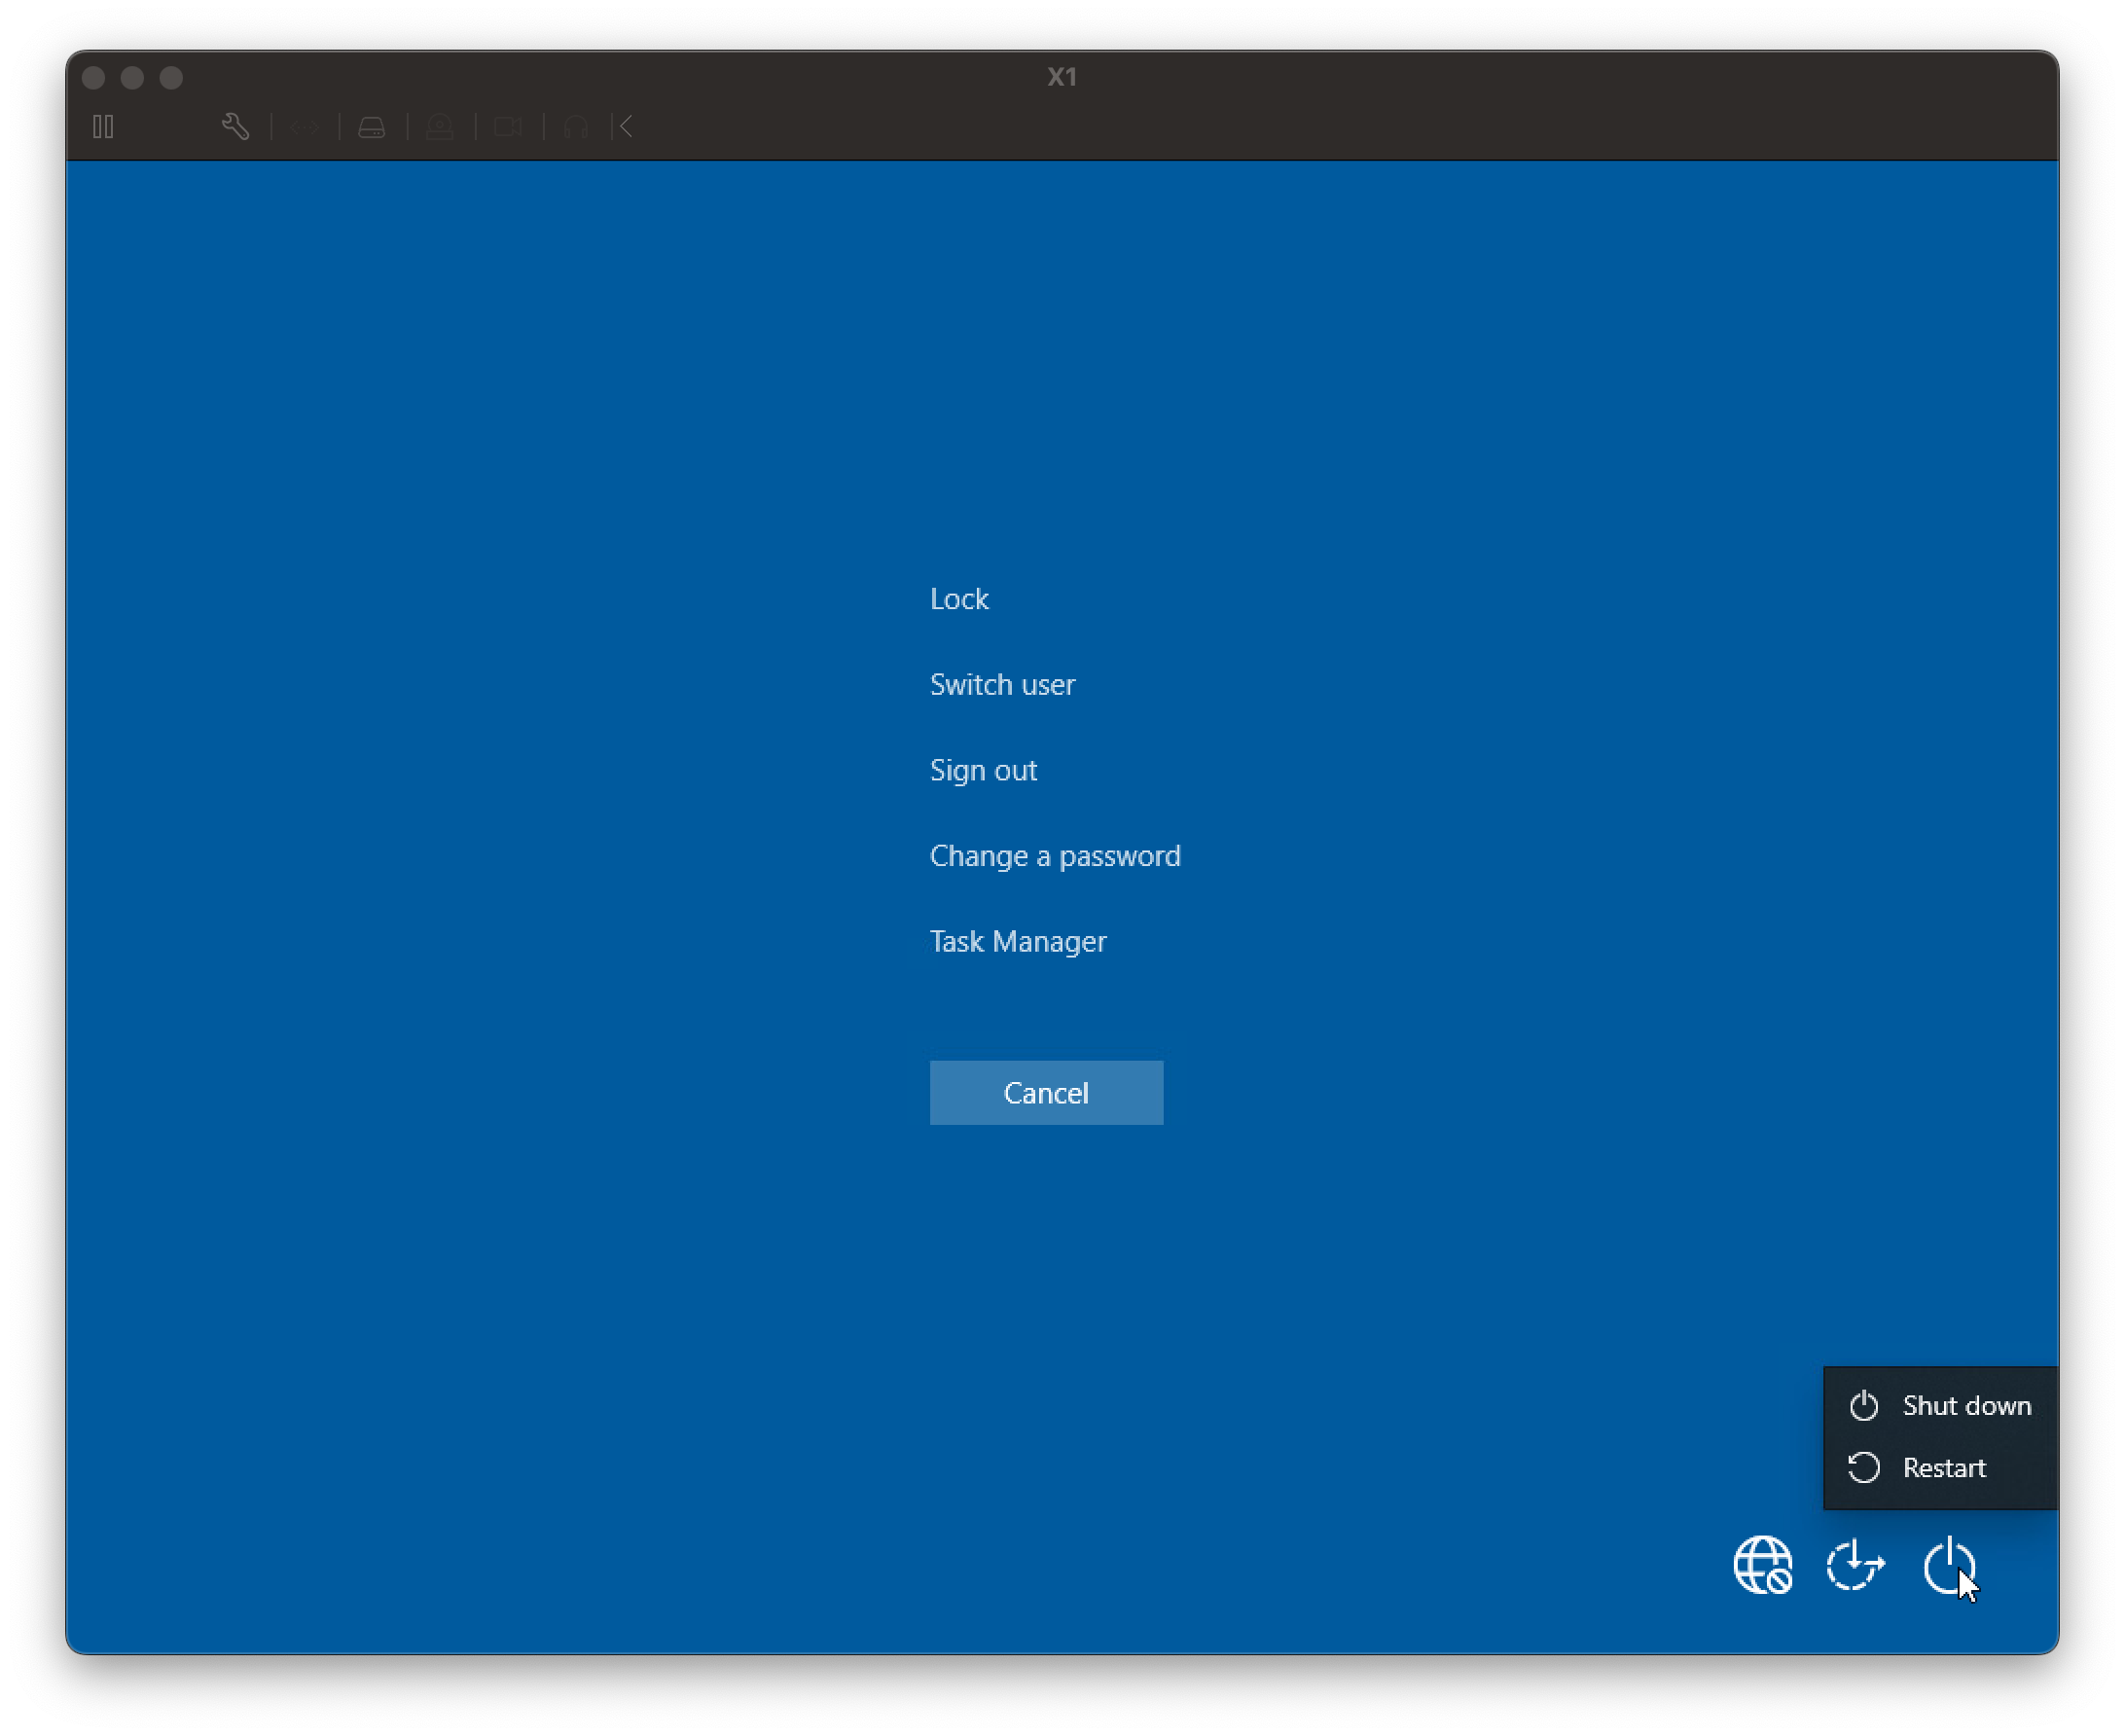
From this screen you can log out and reboot or shutdown. I wouldn’t reboot while the main EOS application is running, but I wouldn’t worry about the EOS Shell.
Let’s choose Shut down.
On my system, it takes about 30 seconds from power on to full EOS ready to work.
Final Thoughts
Microsoft Windows will auto login the last user if that account doesn’t have a password.
Let’s close the EOS main program if it’s still running, user Ctrl-Alt-Del so you can sign out of the eos user. We want to sign into the admin account.
This is a great time to finally set a password for the admin account. Press Ctrl-Alt-Del again and choose
The admin account is what we use to manage Network Settings, Windows Updates and other security related issues. It’s important to keep up to date on security patches. This is still a retail version of Windows and therefore hasn’t been as hardened as the console version of Windows IoT.